Friday, June 7, 2019
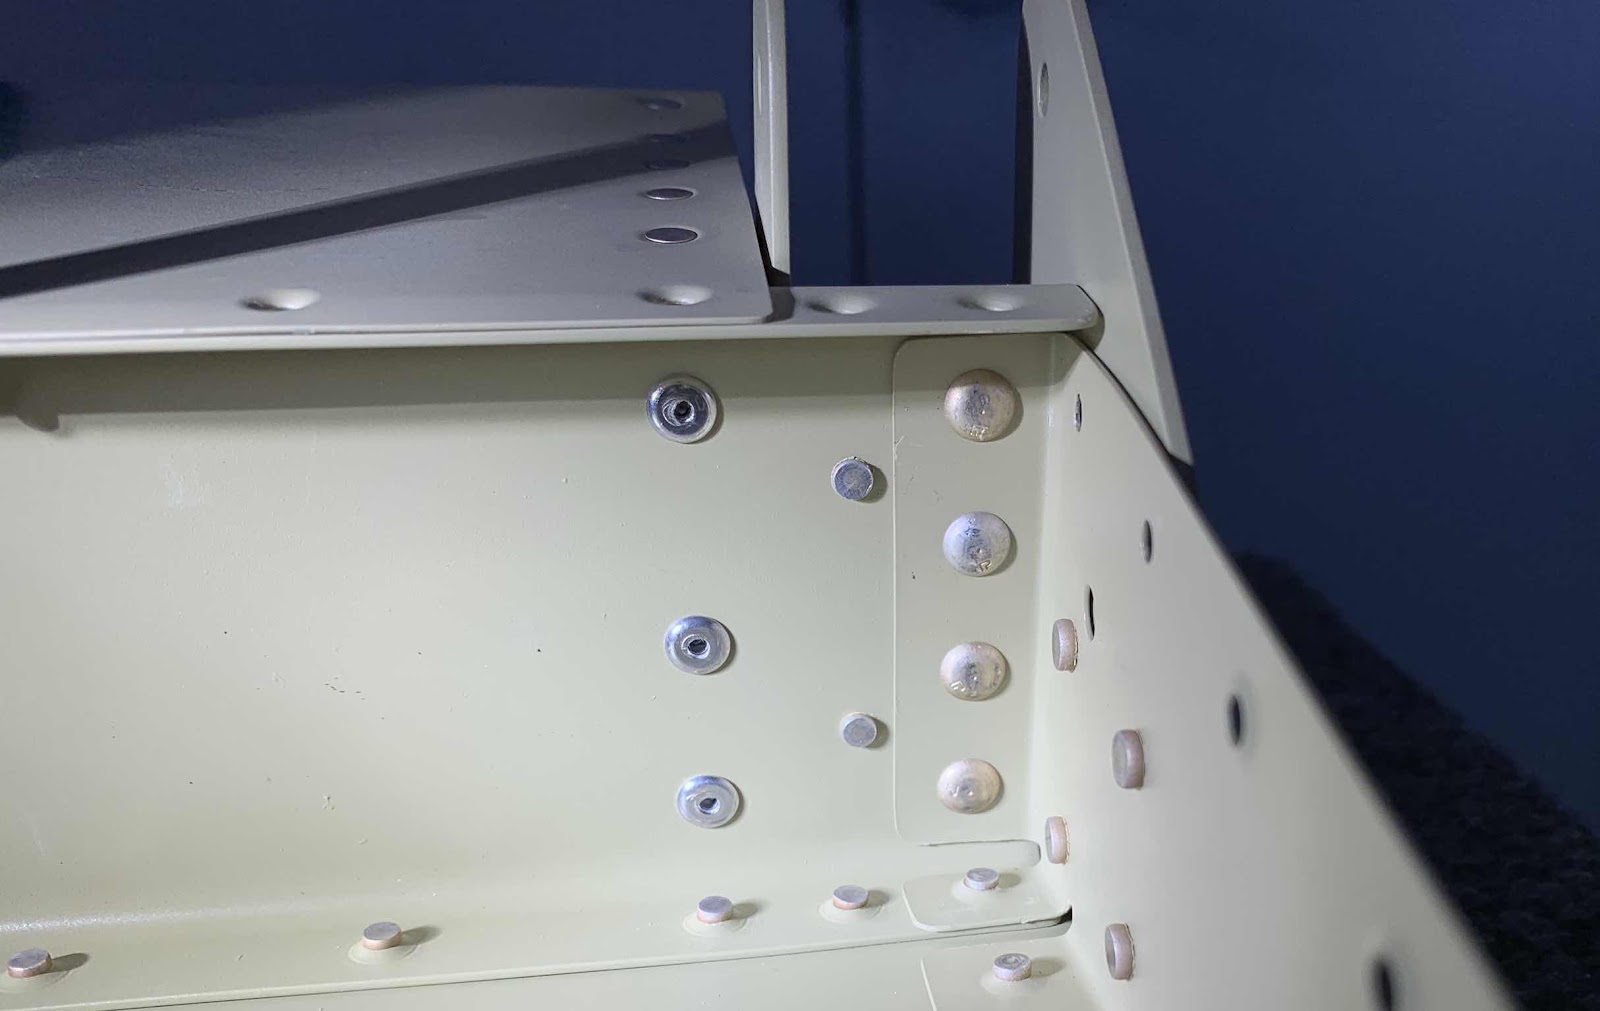
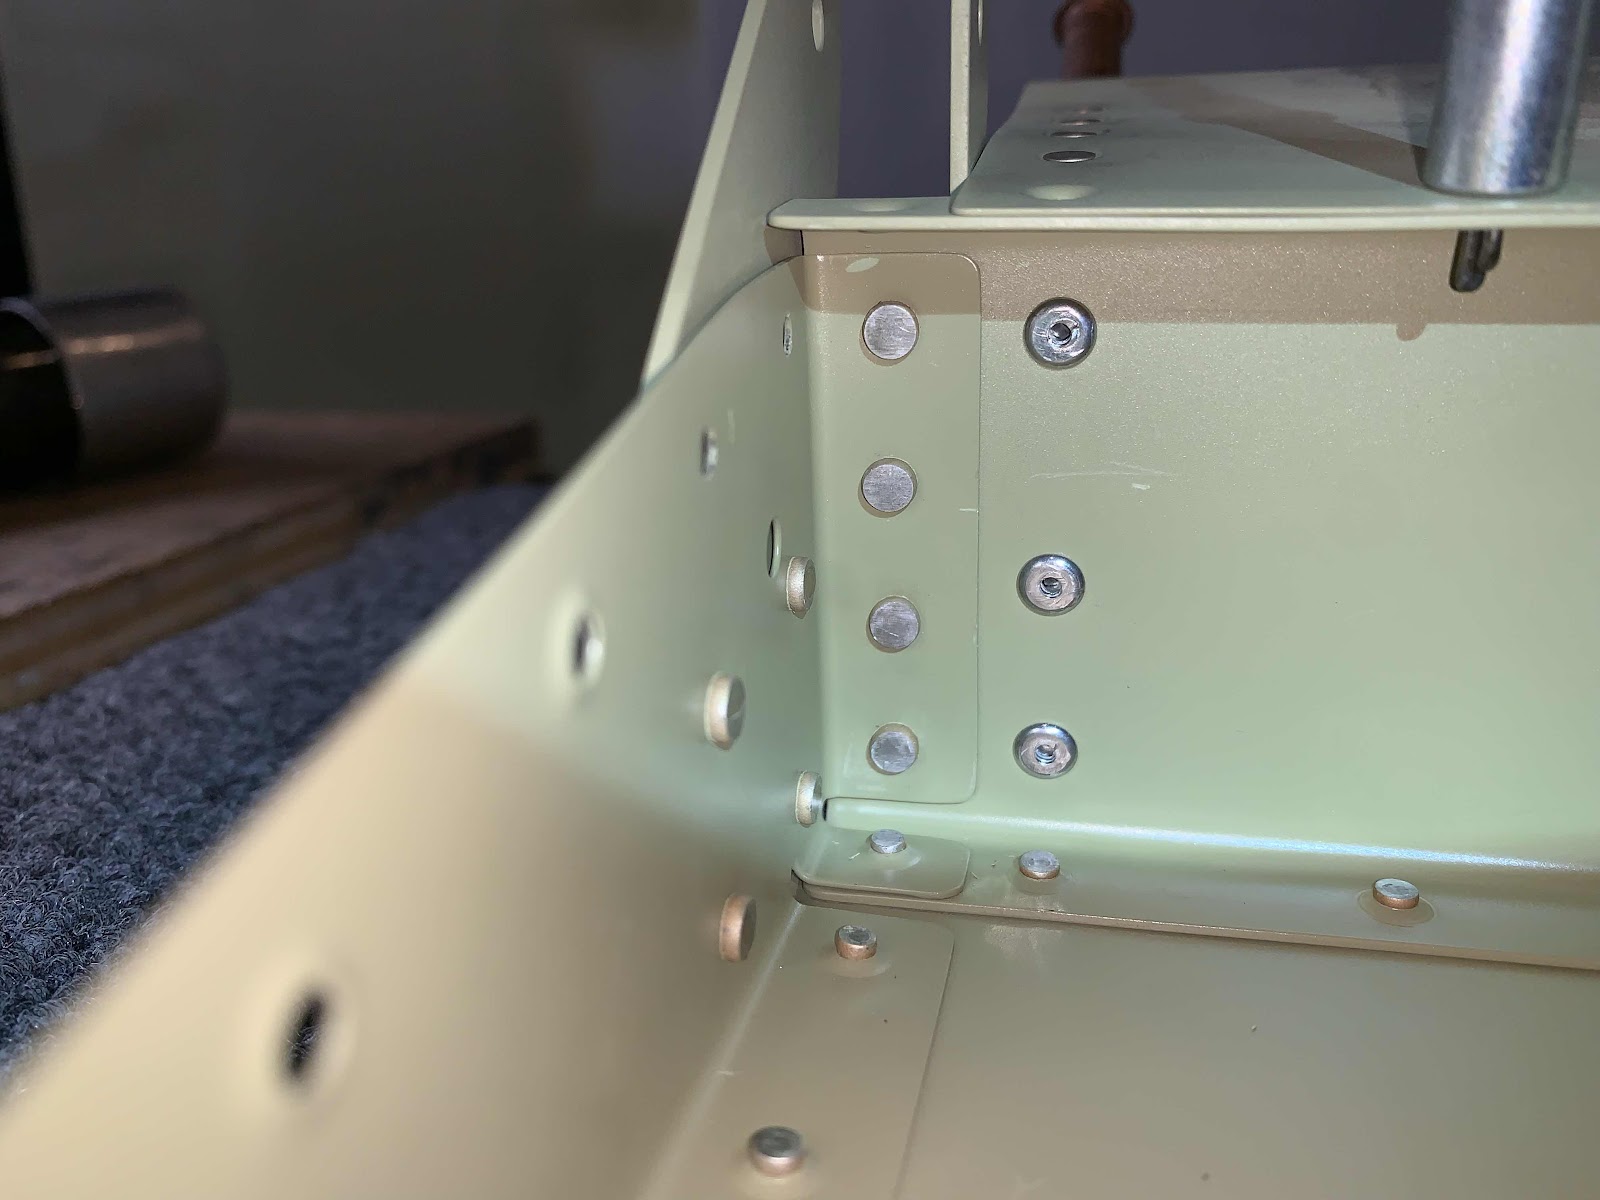
After letting the Akzo primer dry from the previous session, I started the final Aileron(s) assembly process in this session by riveting the A-1008-1 Doublers the left and right Spar. The only rivets that get set during this step are the four AN426AD3-5 on the inboard side of the Doublers. I used the pneumatic squeezer to set these four. The other four holes in the Doublers will be used to attach the Ribs to the Spar (in a later step).

Because the left and right Aileron’s were completely disassembled, I took the time to final install the hardware connecting the Counterbalance to the two A-1004-1R & -L Nose Ribs. The hardware for this installation is in the square box at the bottom of the picture below. I used LPS3 to generously coat the screws, nuts, Ribs, and Counterbalance.

—————————————————————————————————————
Saturday, June 8, 2019
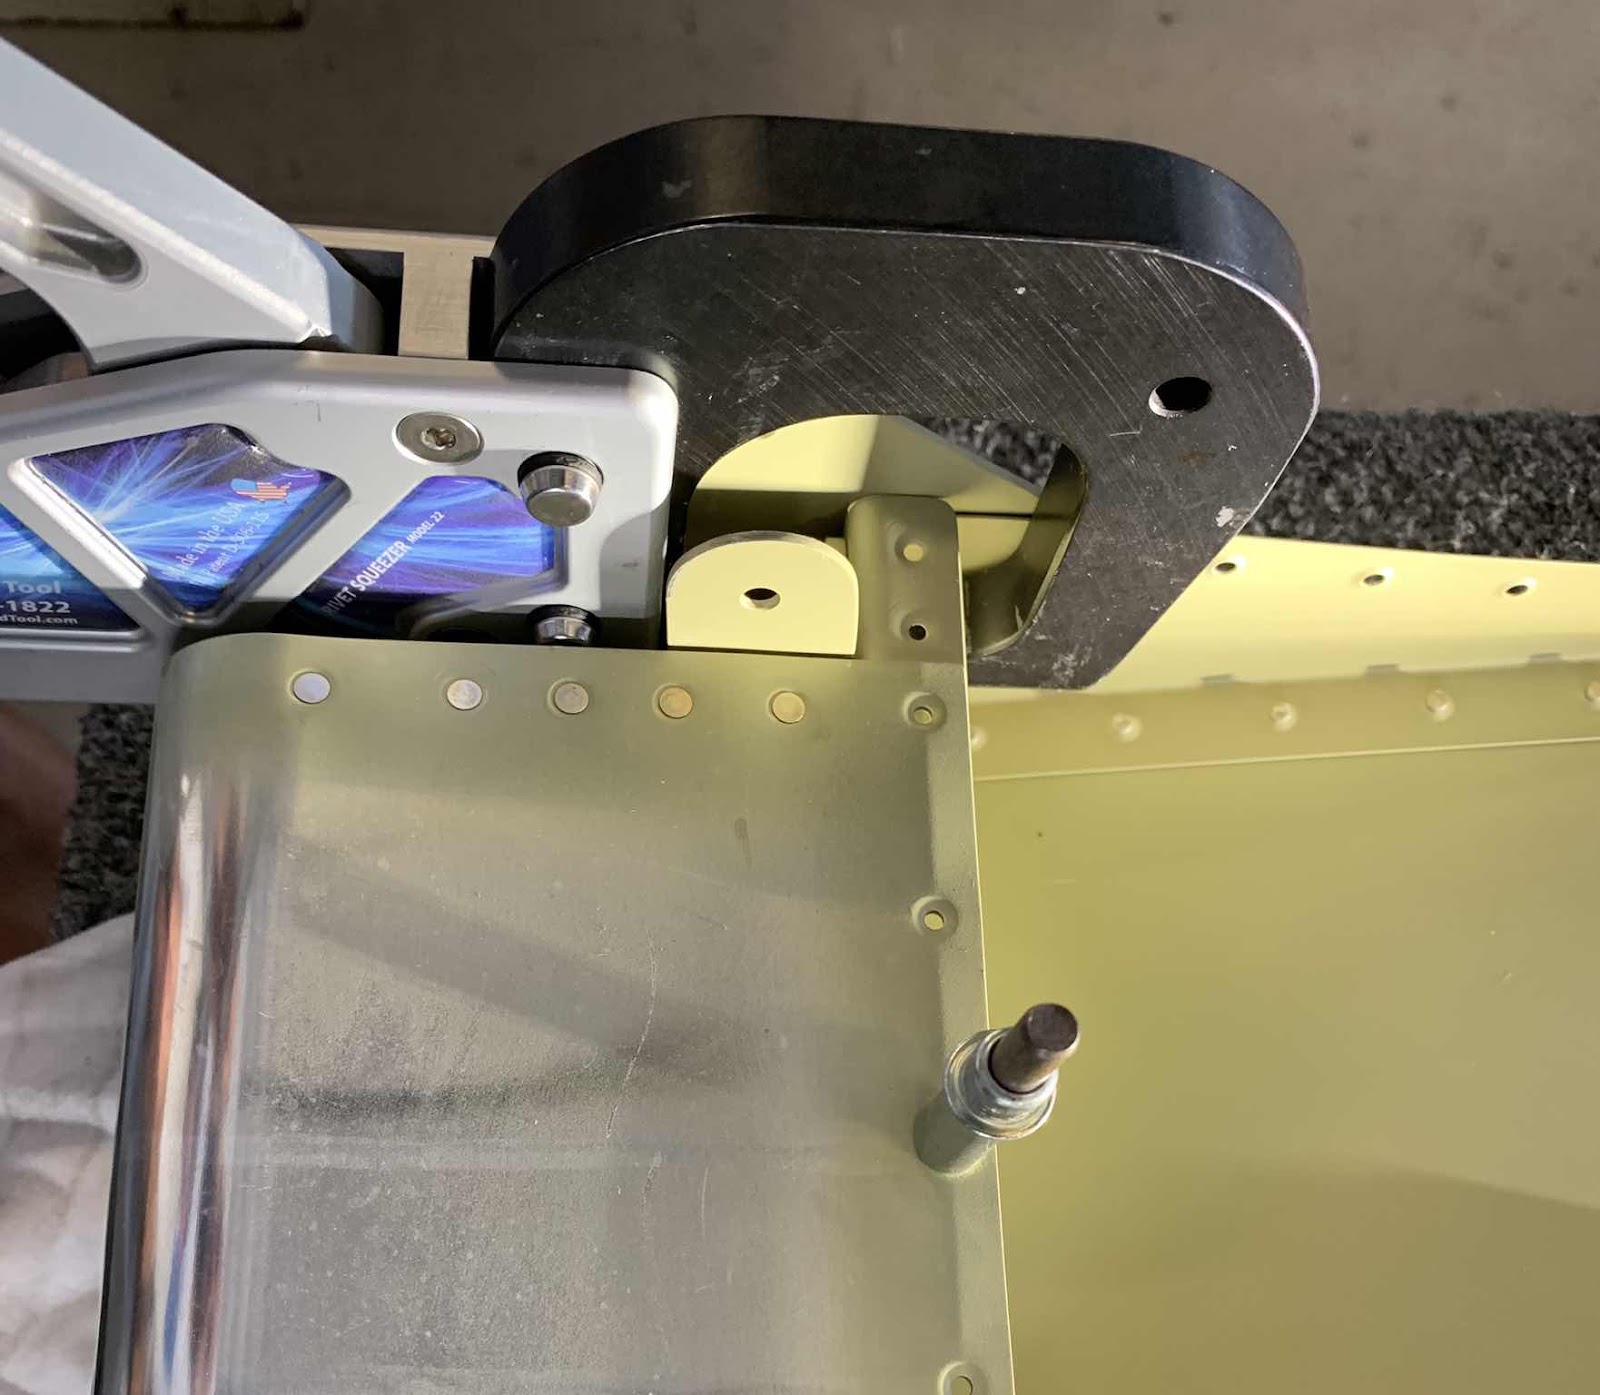
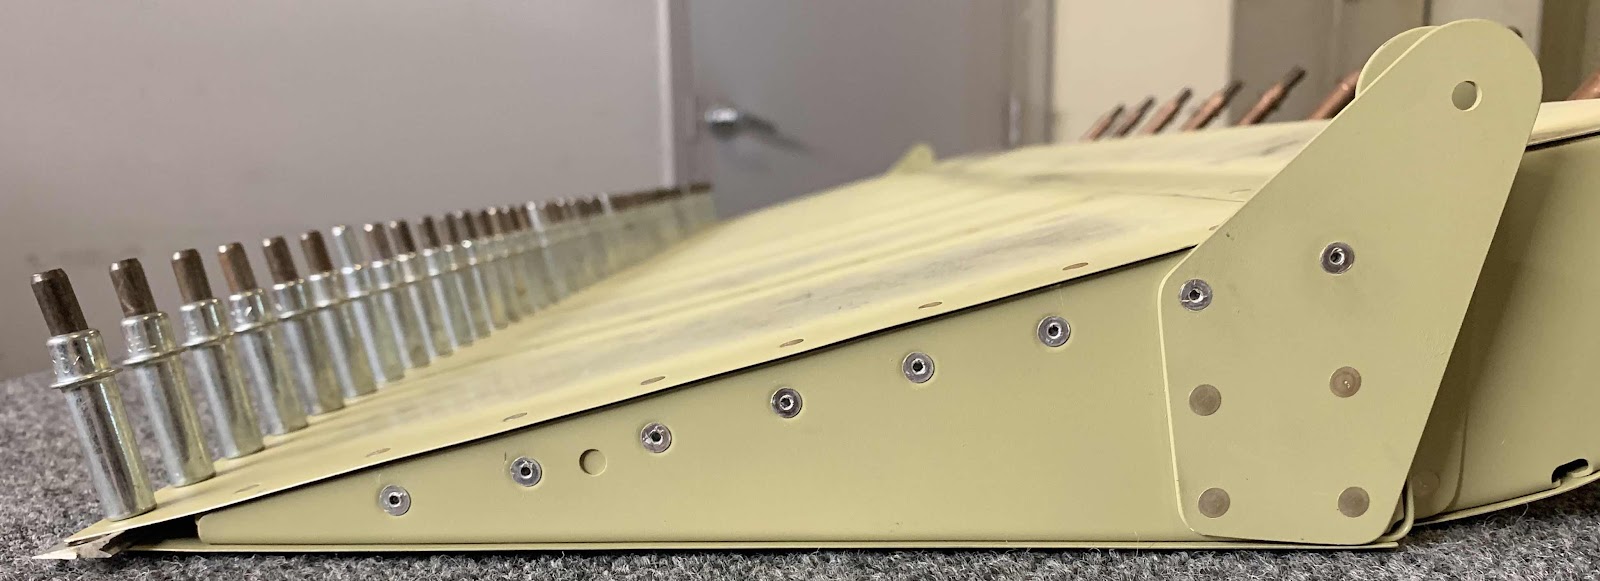
I started off today by setting the eight (four in each Aileron) AN470AD4-4 rivets in the Main Ribs to Spar. Pictured below is the right Aileron and the manufactured head of the rivets (already set). Now, the “rule of thumb” is to put the manufactured head of the rivet on the thinnest material. The flanges of the Main Ribs are definitely the thinnest material, but will NOT get the manufactured head of the rivet. The reason is the space between the Brackets is not wide enough to get a bucking bar or the yoke from a pneumatic or hand squeezer in there to set the rivets. Additionally, there is a slant between the Spar and the Top Skin that would prevent getting a rivet gun set squarely on the rivet (can’t really make it out in the picture).

Here is the shop head side of the four rivets shown above. The left Aileron was completed the same way. How did I do this?
The space between the Brackets I mentioned above was also too narrow to get an “un-modified” rivet set between them. I had a
10 1/2” 1/8 Universal Rivet Set that had to be grinned down as shown below.
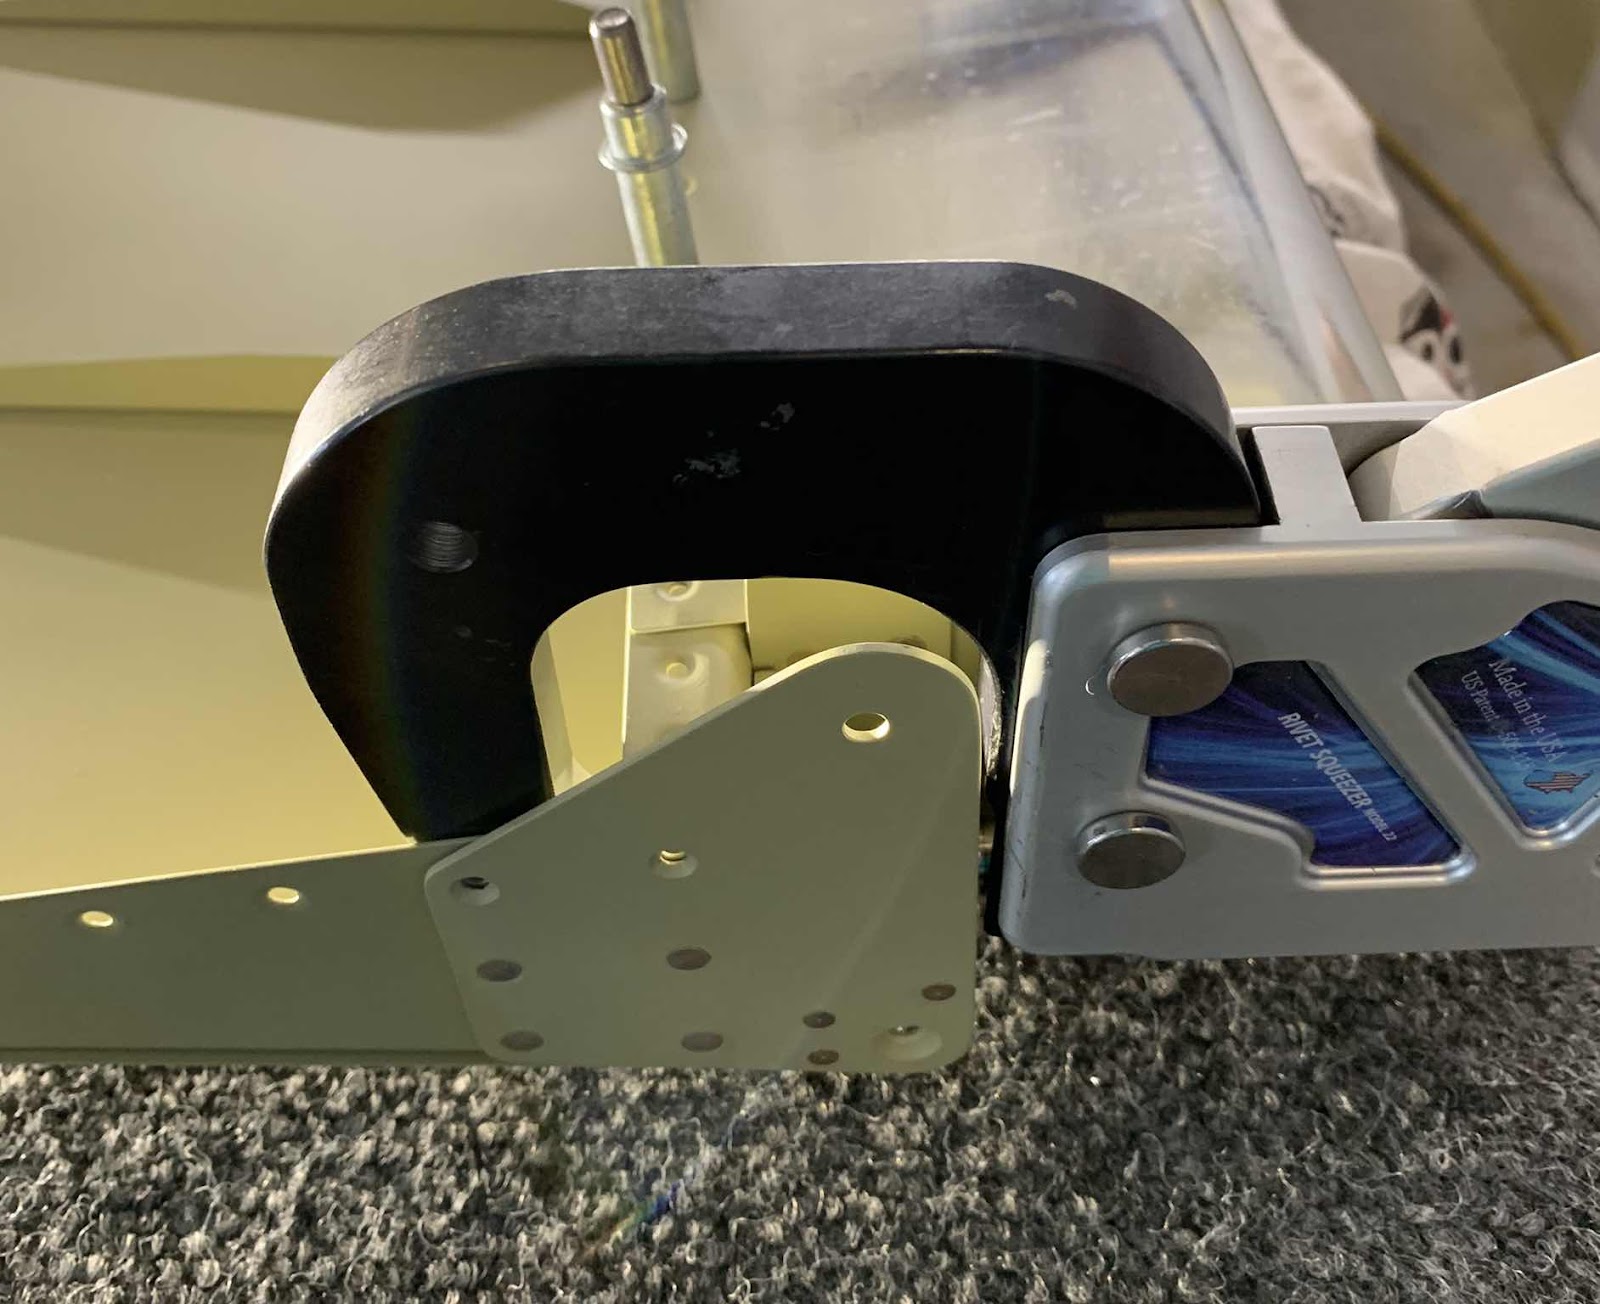
This made the Set skinny enough to fit between the Brackets. Here are a couple of pictures of what it looked like.

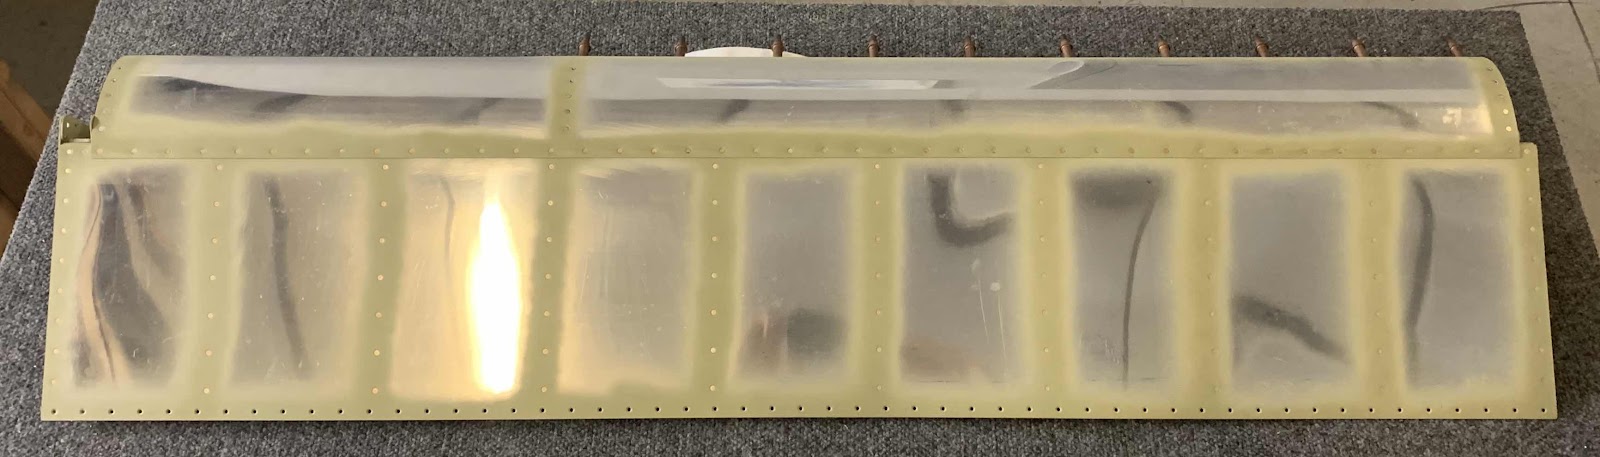
Holding the bucking bar on the opposite side was very easy and produced the results I showed in the pictures above. Next, was to cleco the Top Skin to the Spar at every other hole and clamp a straight board to the Top Skin assembly near the trailing edge (to hold the Top Skin straight while riveting). I didn’t have a board that I thought was sufficient, but I did have a Rear Spar I previously jacked up on the Elevators. So, I used the old Spar and clamped it to the Top Skin as shown below.

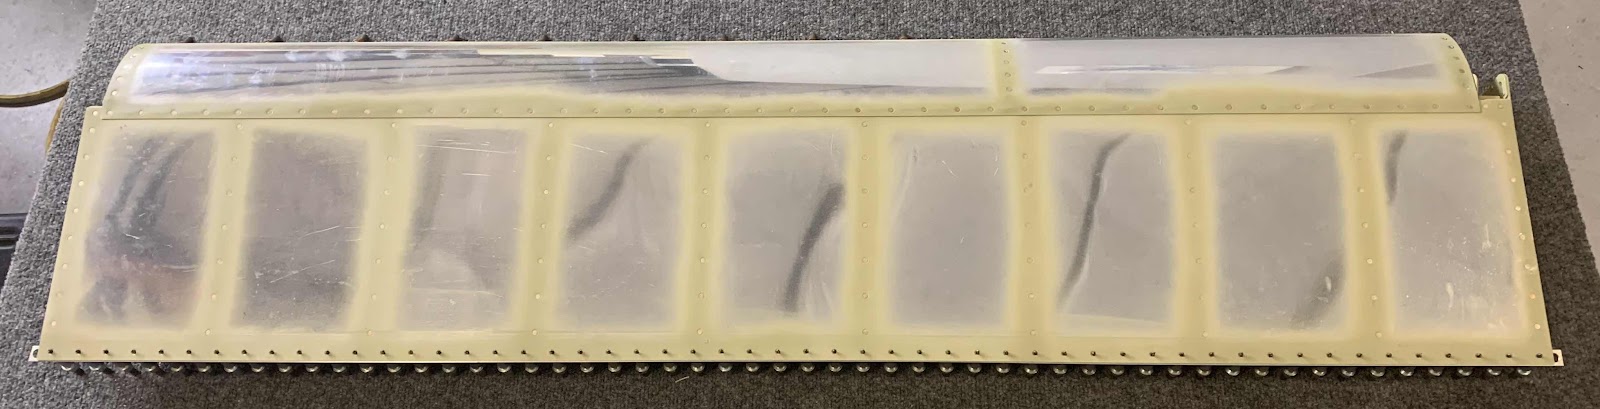
Then set the 42 rivets in the Top Skin to Spar.
—————————————————————————————————————-
Sunday, June 9, 2019