
The work and pictures from this post are from July 9, 2023
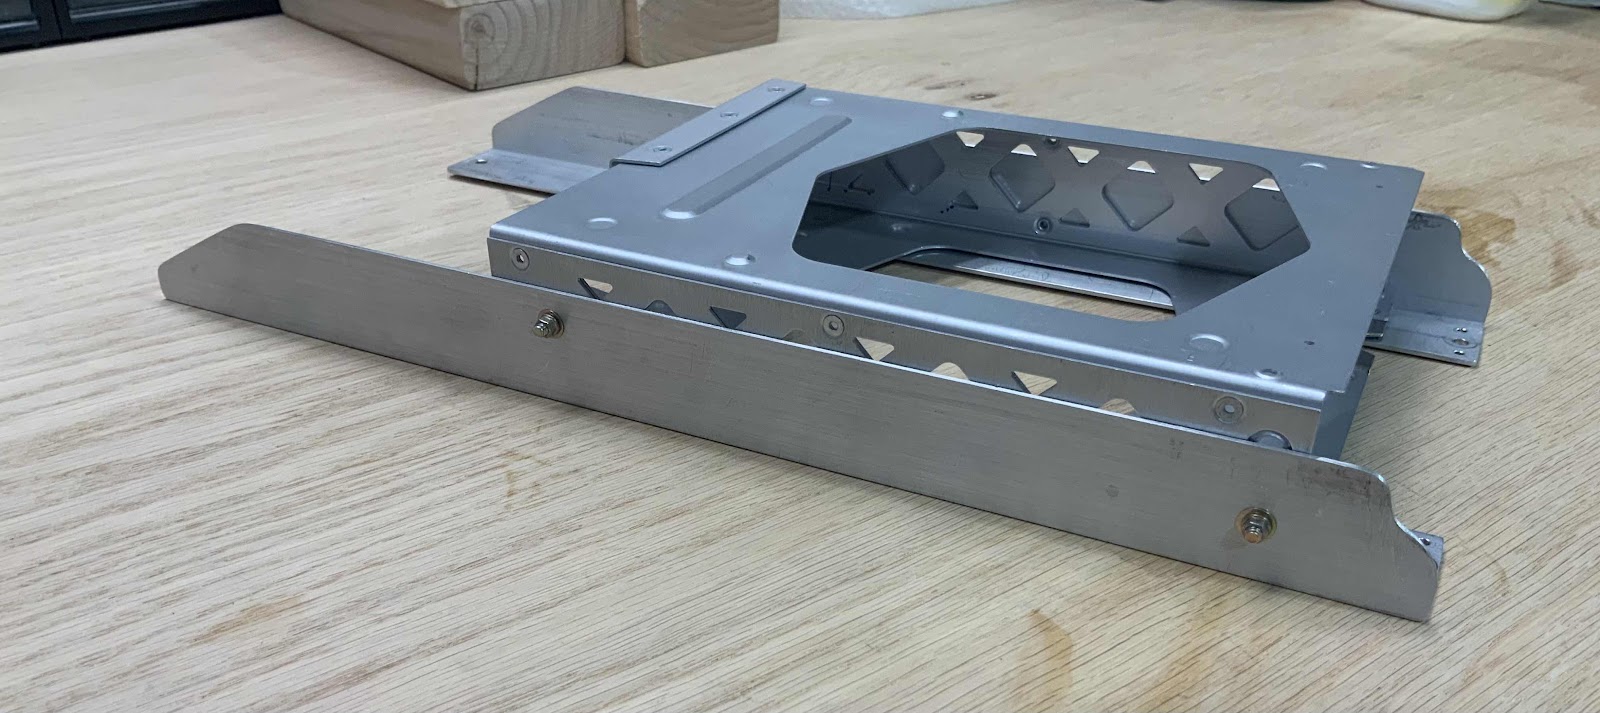
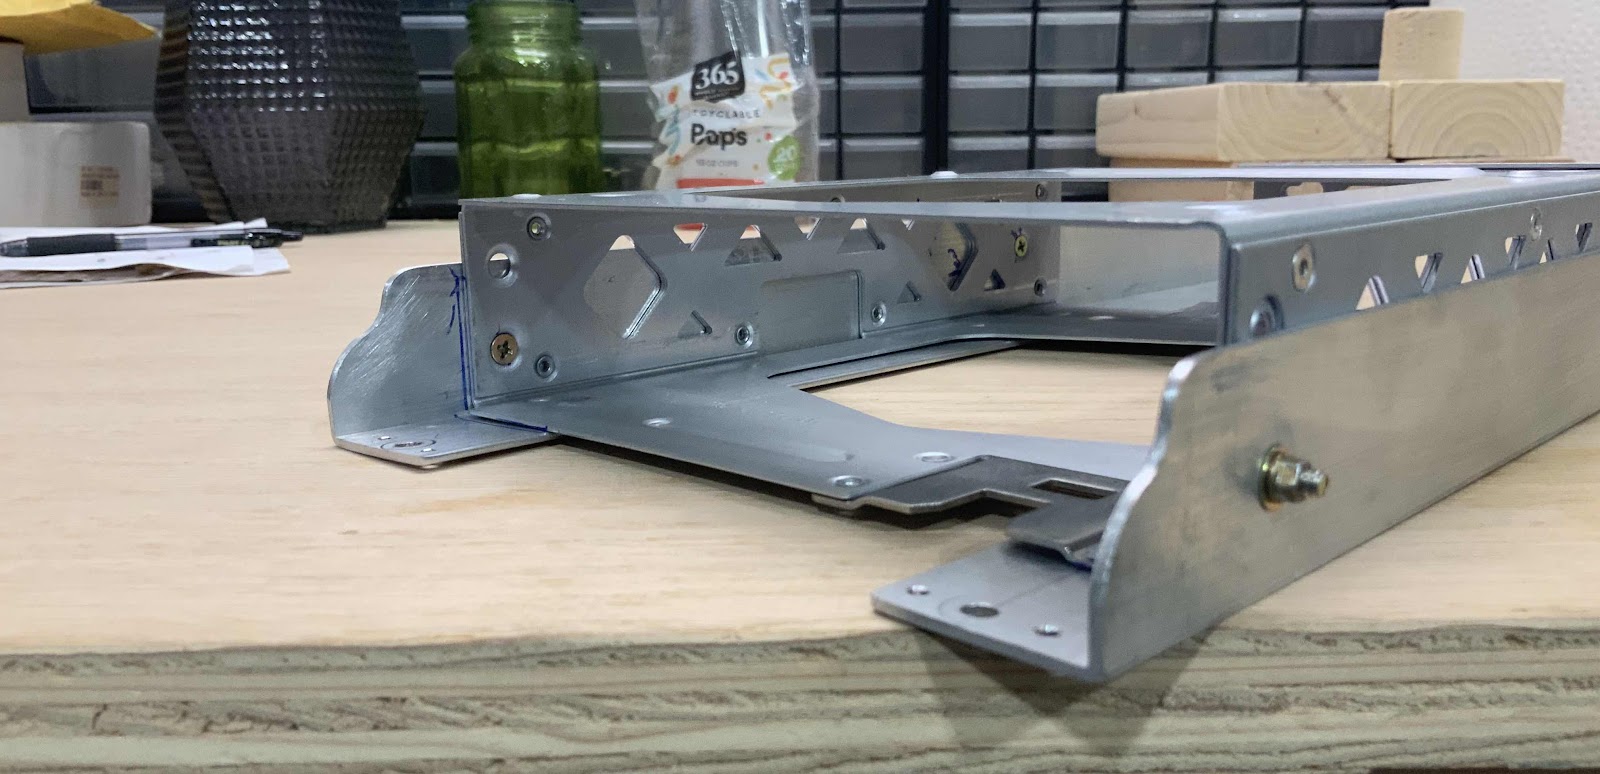
The four pictures below show several angles of the transponder tray attached to the aluminum angles. Since the last post, I had to make another modification to the angles. In the first picture below, on the left side of the angles, you can see I had to “round” those 90° corners as well. I had to sand the angles to about a 45° angle in order to clear the bend in the upper forward skin. It also cleans it up and looks more cosmetically pleasing (just like the front side).
The tray already had six countersunk mounting holes (three on each side) built into the assembly on either side of the tray. The front of the tray has an upper and lower mounting hole on the side(s) of the tray. I used the lower hole because the upper hole was too upper for the aluminum angle…..easy decision. The back of the tray only had a single mounting hole in the middle…..easier decision.


So, with the transponder tray figured out and mounted, I need to figure out how to mount the remote comm radio to the bracket/assembly. Here’s the comm radio sitting on the underside of the assembly (flipped over) where I intend to mount it. The comm also has the side brackets (came with the radio) attached to the radio and they “stick” out the sides of the angles (same on the opposite angle). I’ll figure out a mounting solution and show it in the next post.
