
The work and pictures in this post are from September 2, 2023.
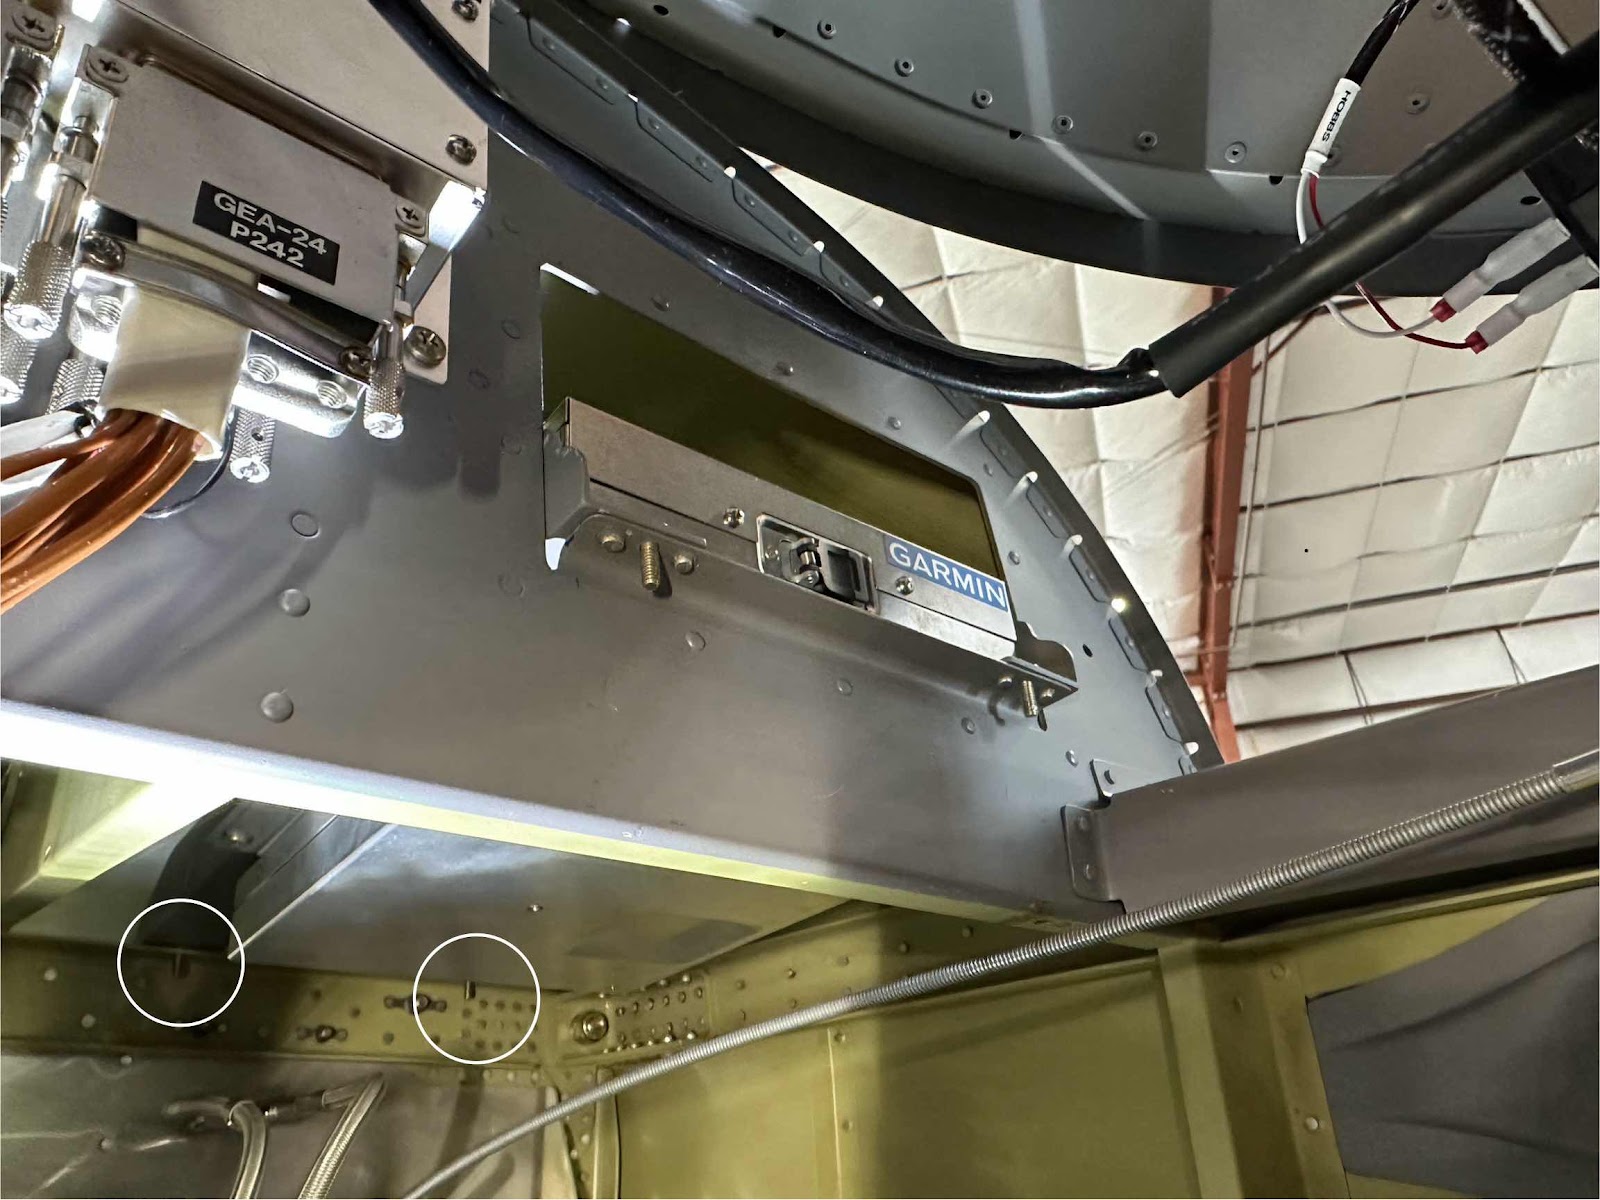
Here is the transponder/comm bracket installed on the airplane (mostly). I’m not going to final install it just yet…..I still need to do a little electrical work under the panel and don’t want the assembly in the way. In this picture, I only need to install four washers and nuts to secure the assembly to the airplane…..two in the front on the glove box flange and two in the back on the firewall angle (in the two white circles).
Here is another angle. I used screws here in this picture, but have since decided to use AN3 bolts. I always kind of looked at the glove box opening and thought to myself “why”? Now, I’m not sure this is what Van’s had in mind for this opening when they designed the airplane, but it sure works pretty damn good for this install. So, thank you Van’s for the adding this to the sub panel way back when!

This view is from the footwell looking up at the comm radio. When I was making the bracket, I decided to leave about an inch of space between the radio and the sub panel. I probably could have moved it back toward the sub panel more, but I saw no real reason to. There is plenty of room to connect the radio’s harness at the rear, so this gap seemed to work out pretty well.

This is just another angle. The cable you see in this picture is for co-pilot heat. I just need to re-install the adel clamp right next to it in the nutplate. I removed this clamp for a little easier access to the area under the panel when I was test fitting the bracket.

Well, other than installing it for good, that pretty much completes the “JVL Aviation’s Transponder/Comm Bracket”. It took some time and a little trial and error to get it just how I wanted it, but I think it is a pretty good install. I also bet the aluminum angles added a little extra strength to the sub panel in that area. I’d like to think I made it a little better.