I previously started work on this section back in March of 2019. Again, since we are waiting on the Finishing Kit, I’m completing small unfinished jobs.....this is another one of them.
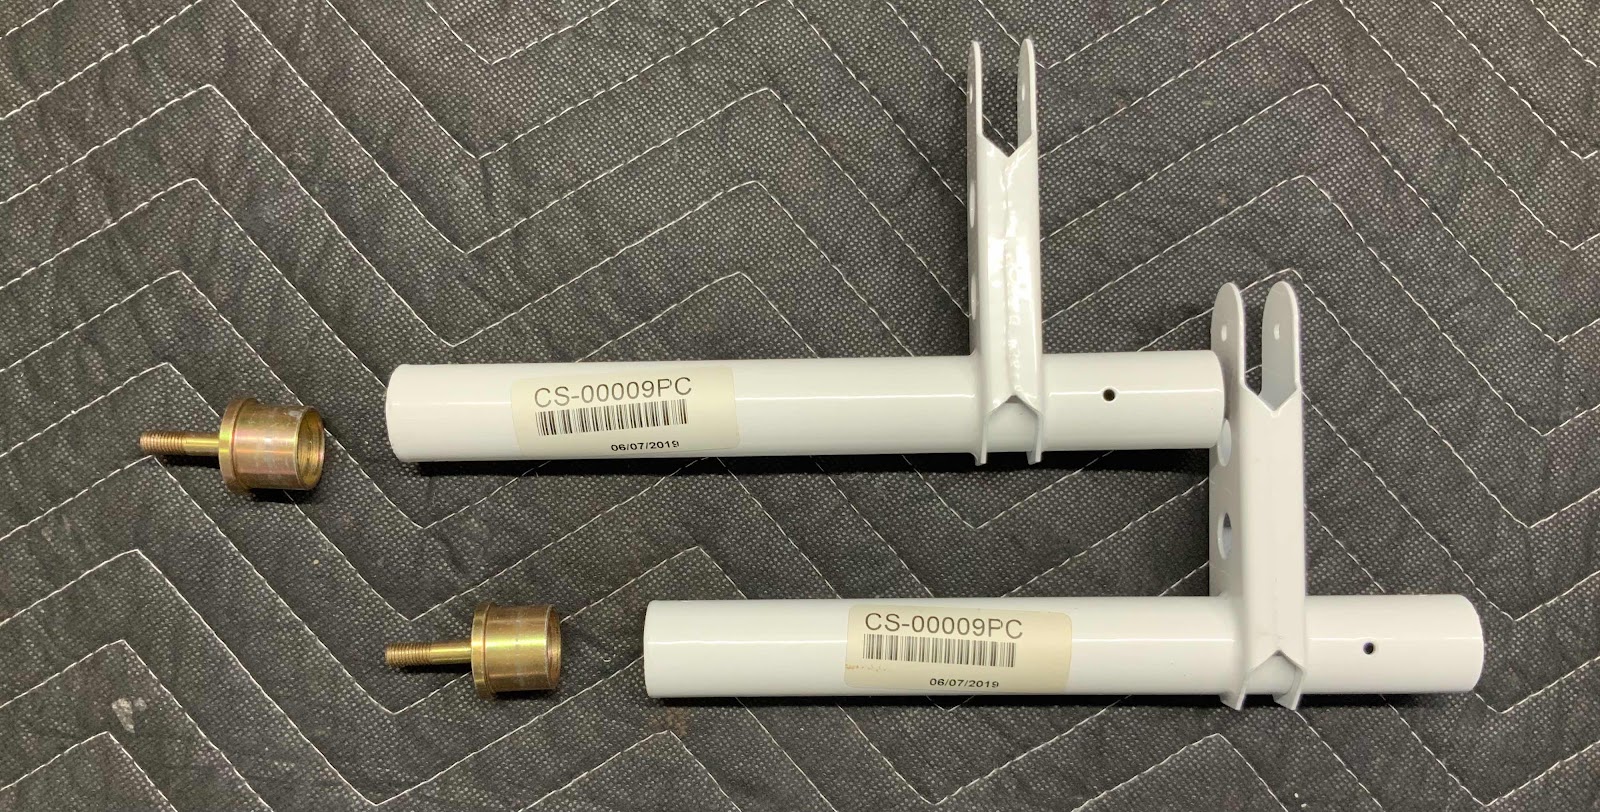
Below are the two CS-00009PC Aileron Torque Tubes and two VA-162 Pushrod Ends. The Pushrod Ends get inserted into the “long” end of each of the Torque Tubes. The two pieces were then match-drilled #30 to the prepunched holes in the Torque Tube. The pieces were then disassembled, deburred and primed. I used a paint brush to paint the inside portion of the Torque Tube that will accept the Pushrod Ends and the “flange” of the Pushrod Ends.
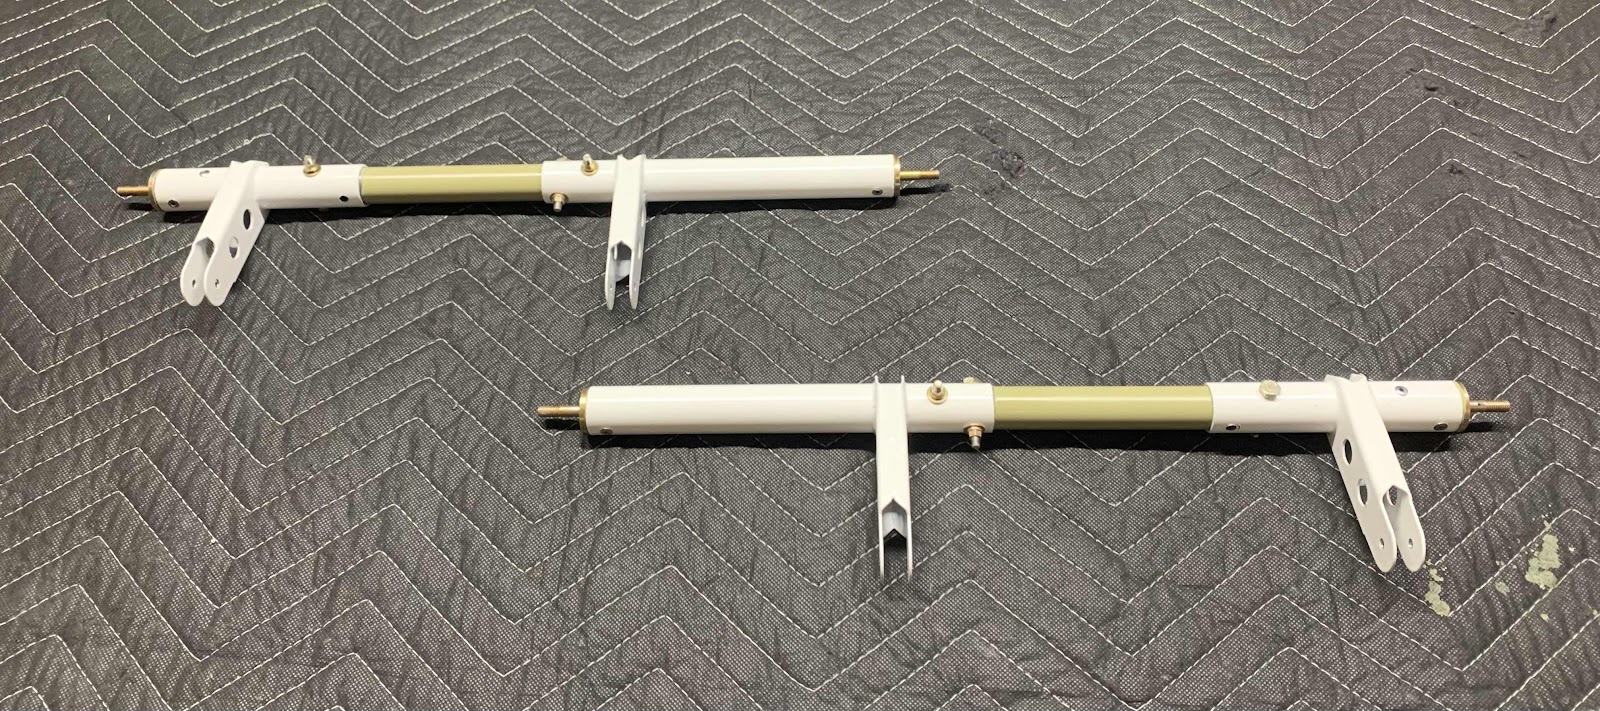
The Pushrod End were then inserted back into the Torque Tube (still wet with primer) and riveted together with four MSP-42 rivets (two on each assembly). This picture shows the rivets installed. This assembly is now called the CS-00009 Torque Tube Subassembly.

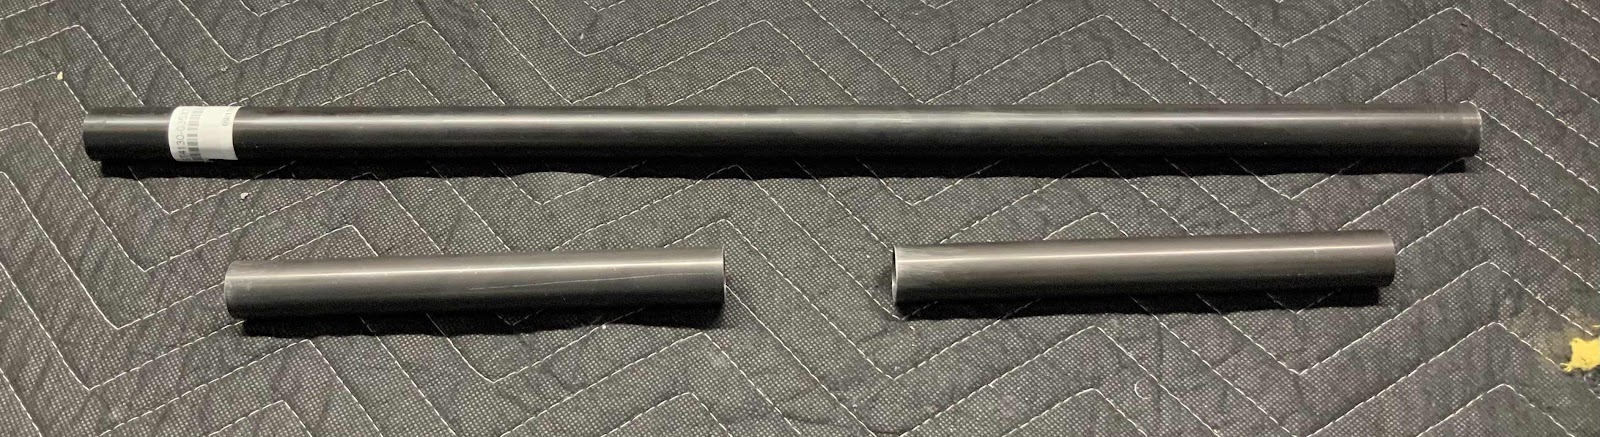
The next step was to fabricate two CS-00009B Torque Tube Collars with stock ST4130-035x7/8x22. Each Collar is cut to 7 5/16 [185.7 mm]. The picture below shows the stock material and the two Collars cut to length. I used a hacksaw for the initial cut and sanded to the exact length with 220 grits sandpaper.
The Collars get inserted 1 1/2” [38.1 mm] into the CS-00009 Torque Tube Subassemblies. So, I measured 1 1/2” from one end of each Collar and marked them with a sharpie. The Collar was then inserted into the Torque Tube Assembly up to the 1 1/2” mark. The Collar was then match-drilled with the four pre-punched holes in the Torque Tube. Now the pieces need to be primed. I used a large syringe to squirt primer “inside” the Torque Tube Subassembly and rotated it around to cover the entire inside with primer. I then used orange tape to mark off the 1 1/2” on the Collar and used a spray gun to paint the remaining portion of the Collar. Lastly, I use a paint brush to coat the 1 1/2” portion of the Collar and inserted the two pieces together. They were secured together using two AN3-13A bolts, NAS1149F0332P washers and MS21042-3 nuts. This picture shows all of that completed. I will eventually torque the four bolts.
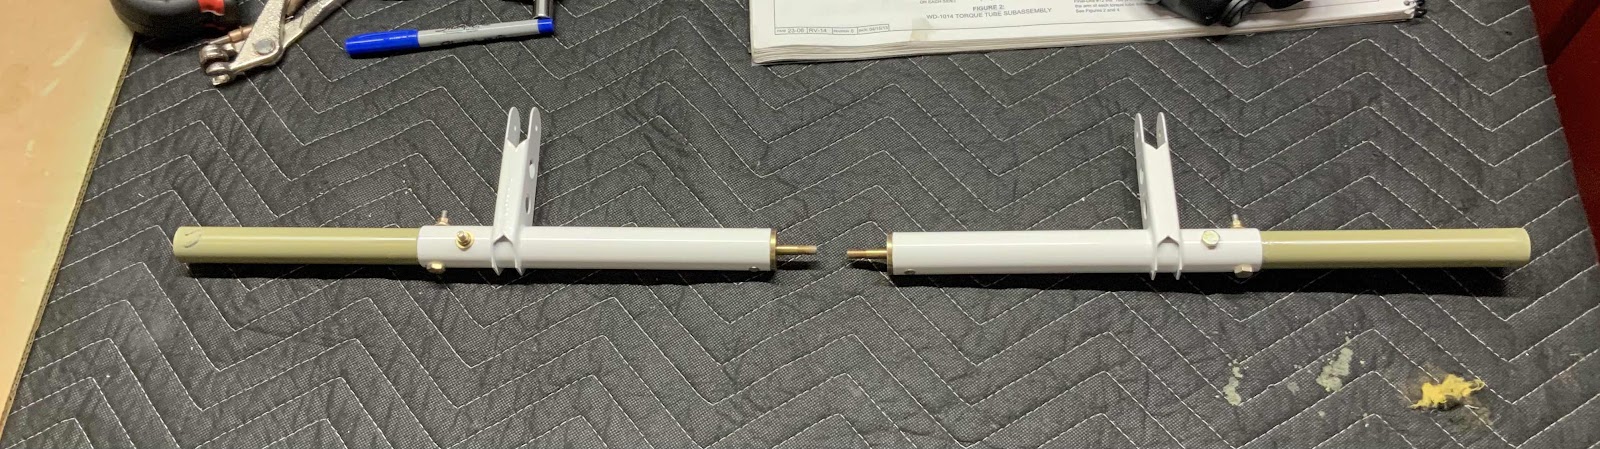
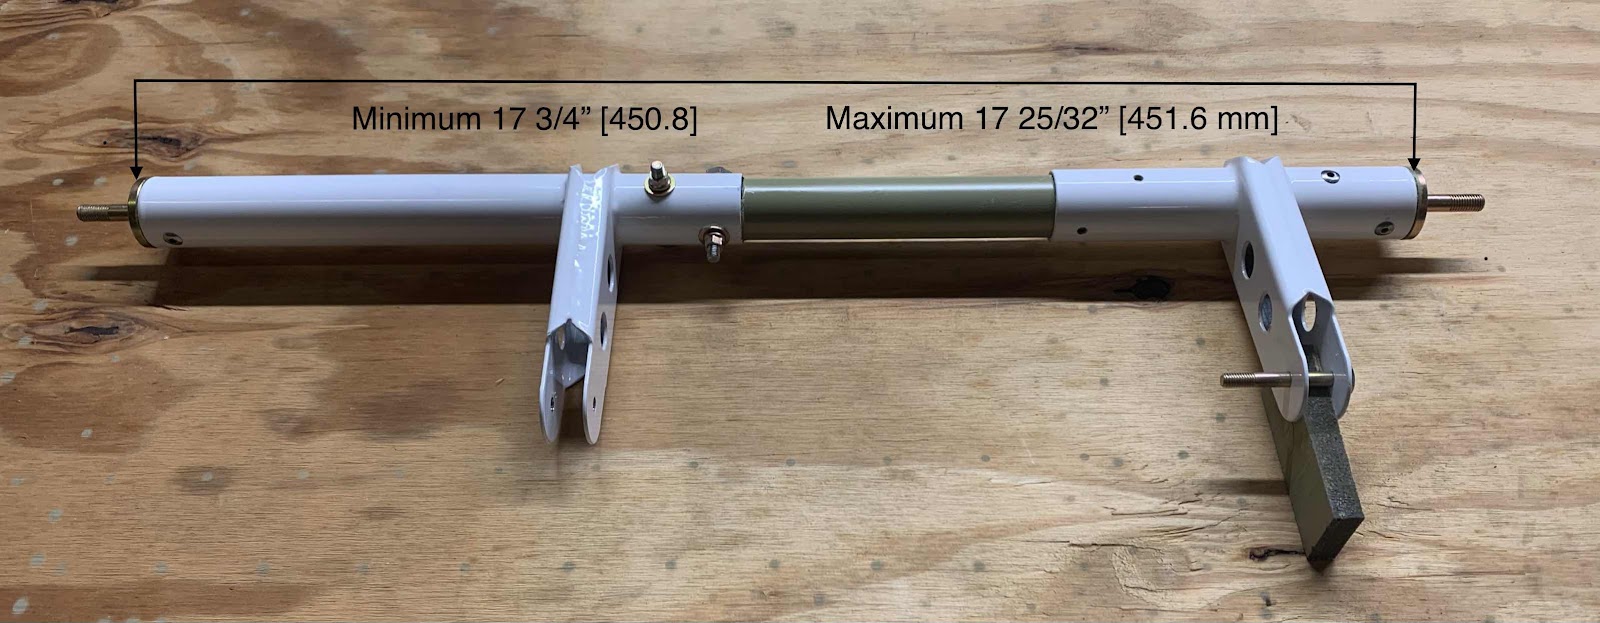
On the right hand side of the picture below is the WD-1014 Torque Tube Subassembly. It was previously completed in the same manner as described above for the CS-00009 Torque Tube Subassembly (specifically, the attachment the VA-162 Pushrod End). Now, with the second Subassembly completed, it also needs to be attached to the Collar. The plans call for the minimum and maximum distances shown below.....(I chose the middle.....451.2 mm). Once the distance is set, the four prepunched holes in the Torque Tube Assembly are match-drilled to the Collar and clecoed.
Lastly, for now anyway, a temporary bolt was installed in one of the match-drilled holes with the WD-1014 Torque Tube Subassembly to hold the assembly together and keep the appropriate parts together. The next step is to install the assembly into the Wing Root area.....which I will do in a later session.