
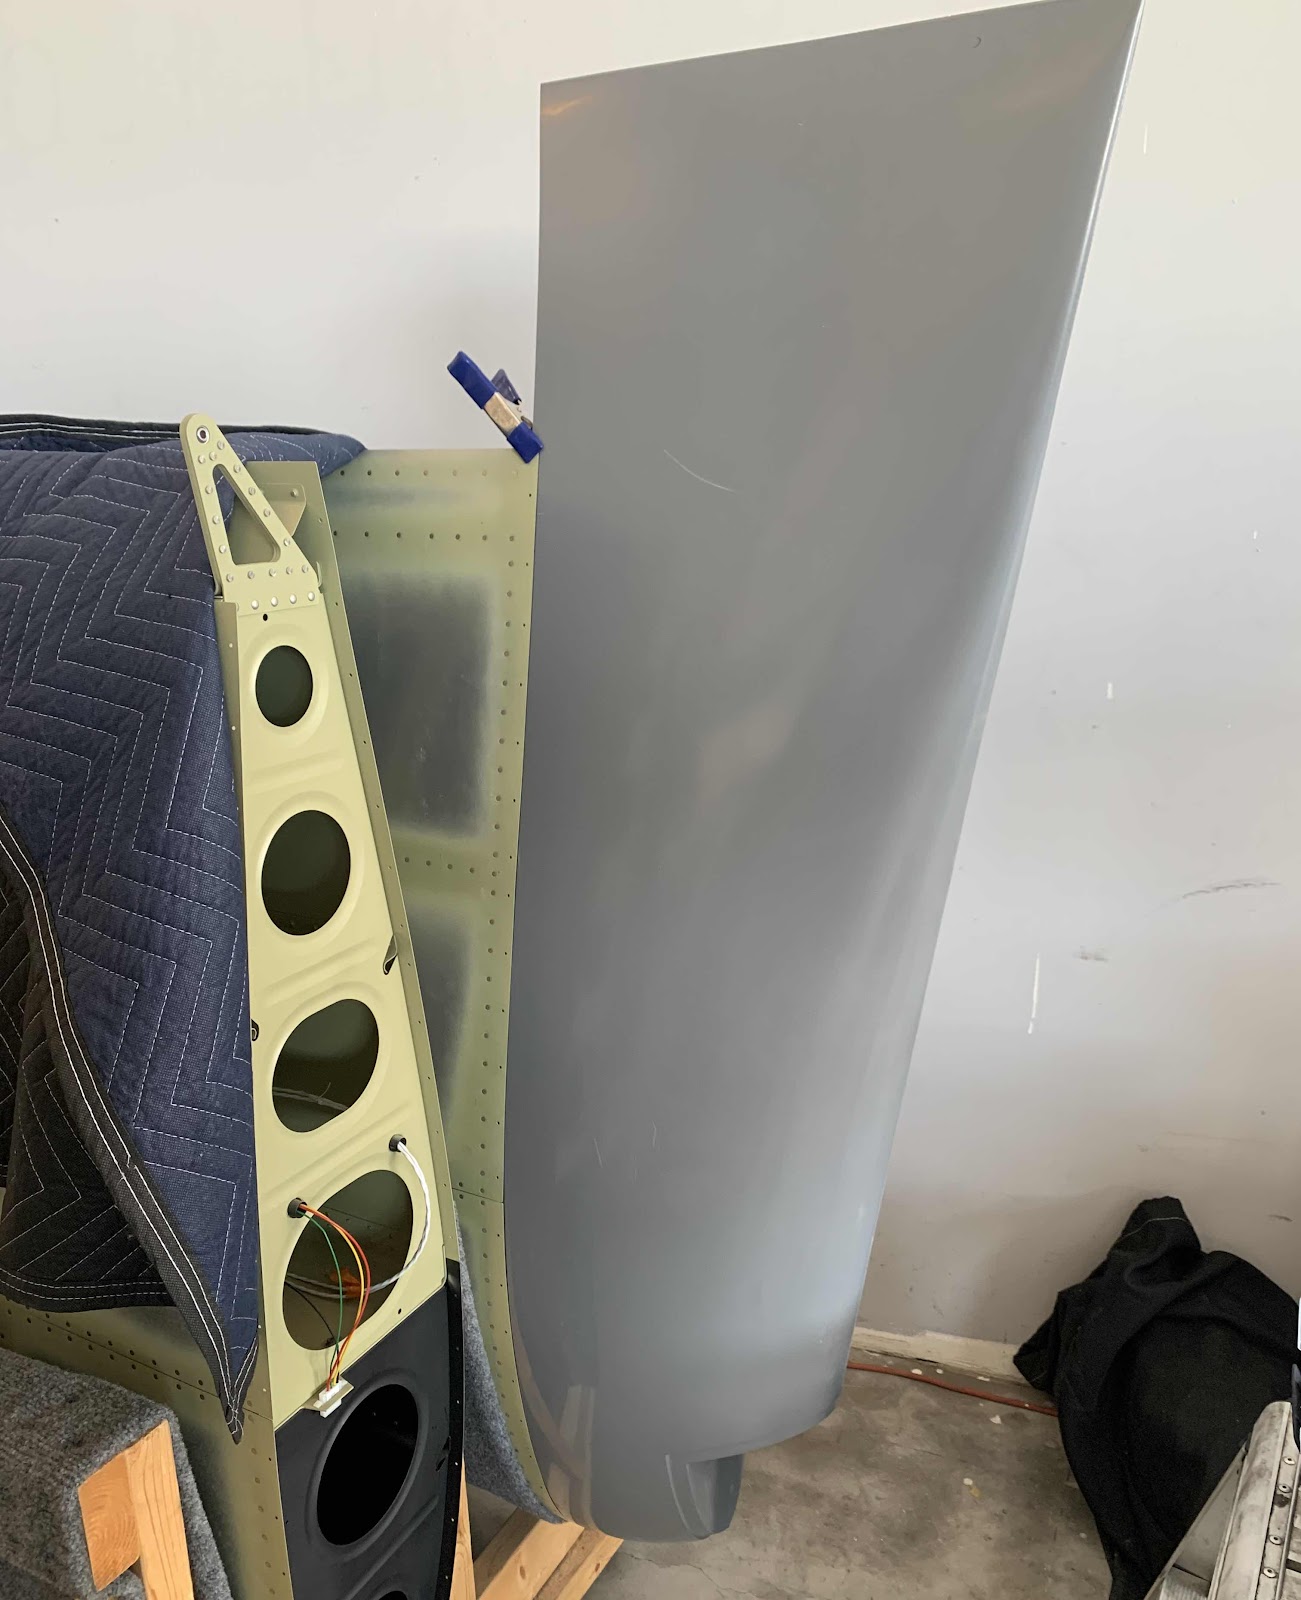
Our Wings are currently in the Wing cradle I build awhile back. In order to work on the Wing Tips properly, I will eventually have to remove the Wing(s) from the cradle and put them on the work benches. However, for the initial fit, I did it with the Wing still in the cradle. This step only required me to mark the ends of the Top and Bottom Outboard Wing Skins on the Fairing. The clamp in this picture is actually in the way of making this mark....I just used it to hold the Fairing for the picture.
Here is a closer look at the flange on the Fairing. In this picture, I have already removed a majority of the excess material with my rotary cutoff wheel. The recessed fairing portion of the Fairing needs to be 1/2” [12.7 mm] wide. There is still about a 1/16” that still needs to be removed.
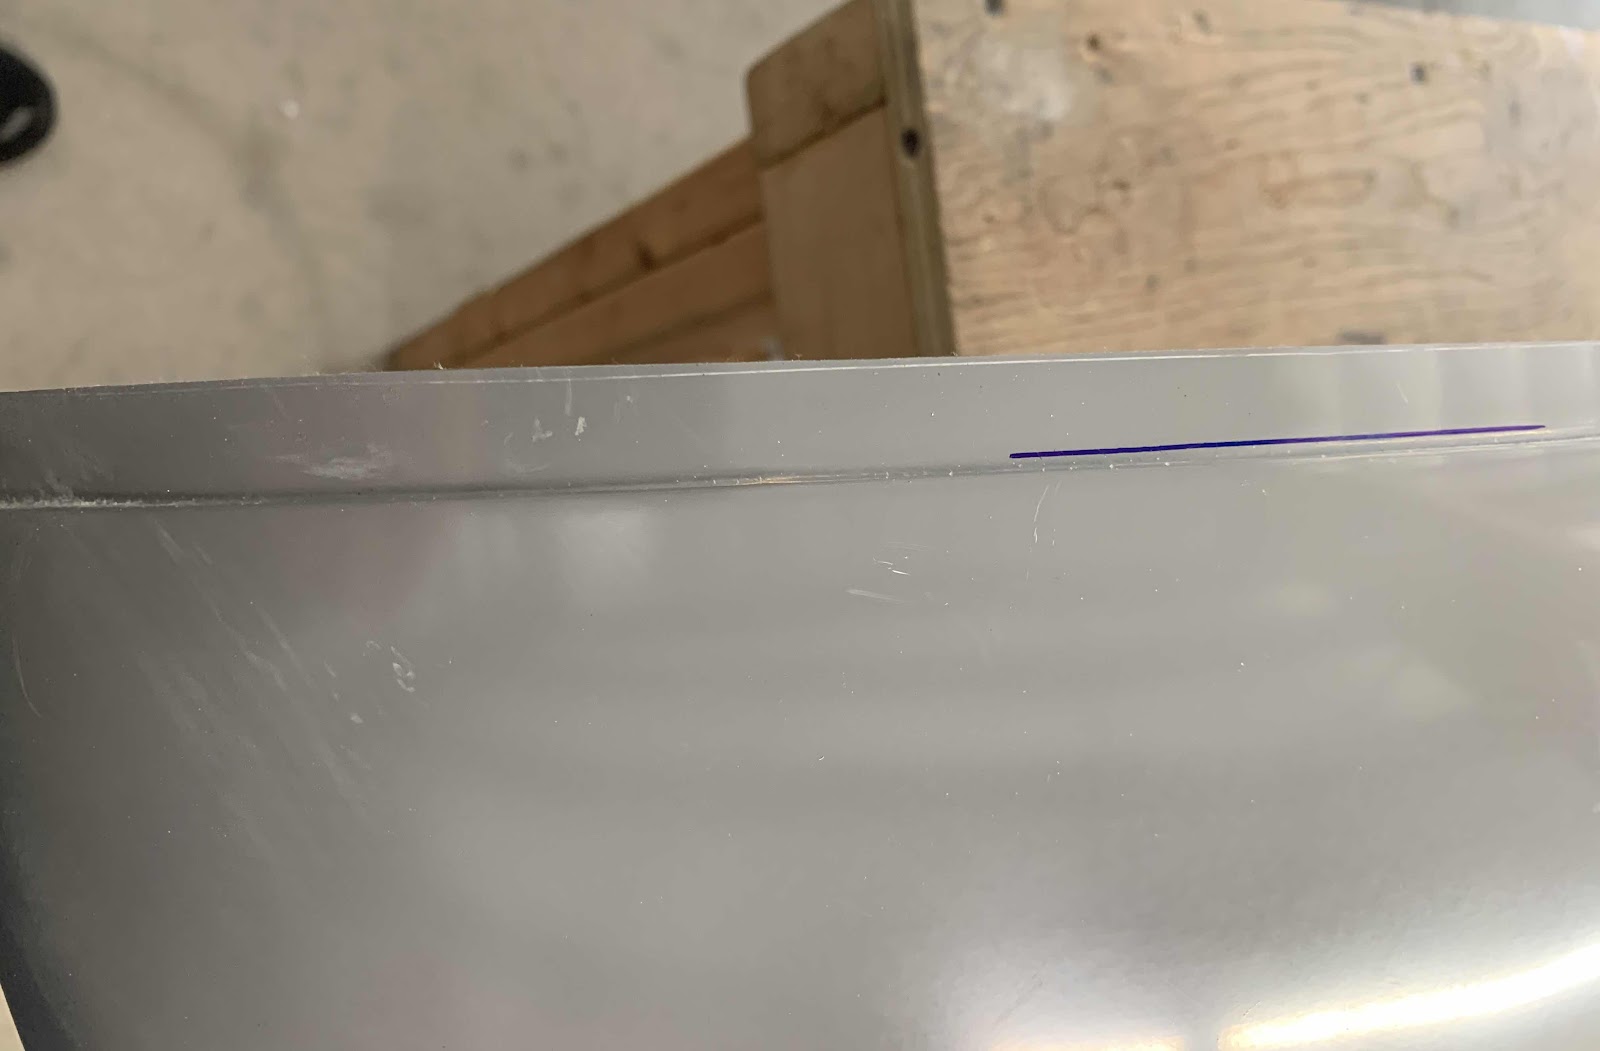
This shows the location where I marked the Top Outboard Wing Skin (blue mark on the left side of the Fairing). An additional 3/16” [4.8 mm] had to be removed to make the 90° angle where the Skin meets the Fairing. This extra trim will make space for the Aileron to move without interfering with the Fairing.
The bottom side of the Fairing also had to have a couple of “notches” trimmed into it. One notch to clear the Aileron an the other to clear the Outboard Aileron Hinge Bracket. Here are the dimensions specified in the plans.....
The bottom side of the Fairing also had to have a couple of “notches” trimmed into it. One notch to clear the Aileron an the other to clear the Outboard Aileron Hinge Bracket. Here are the dimensions specified in the plans.....

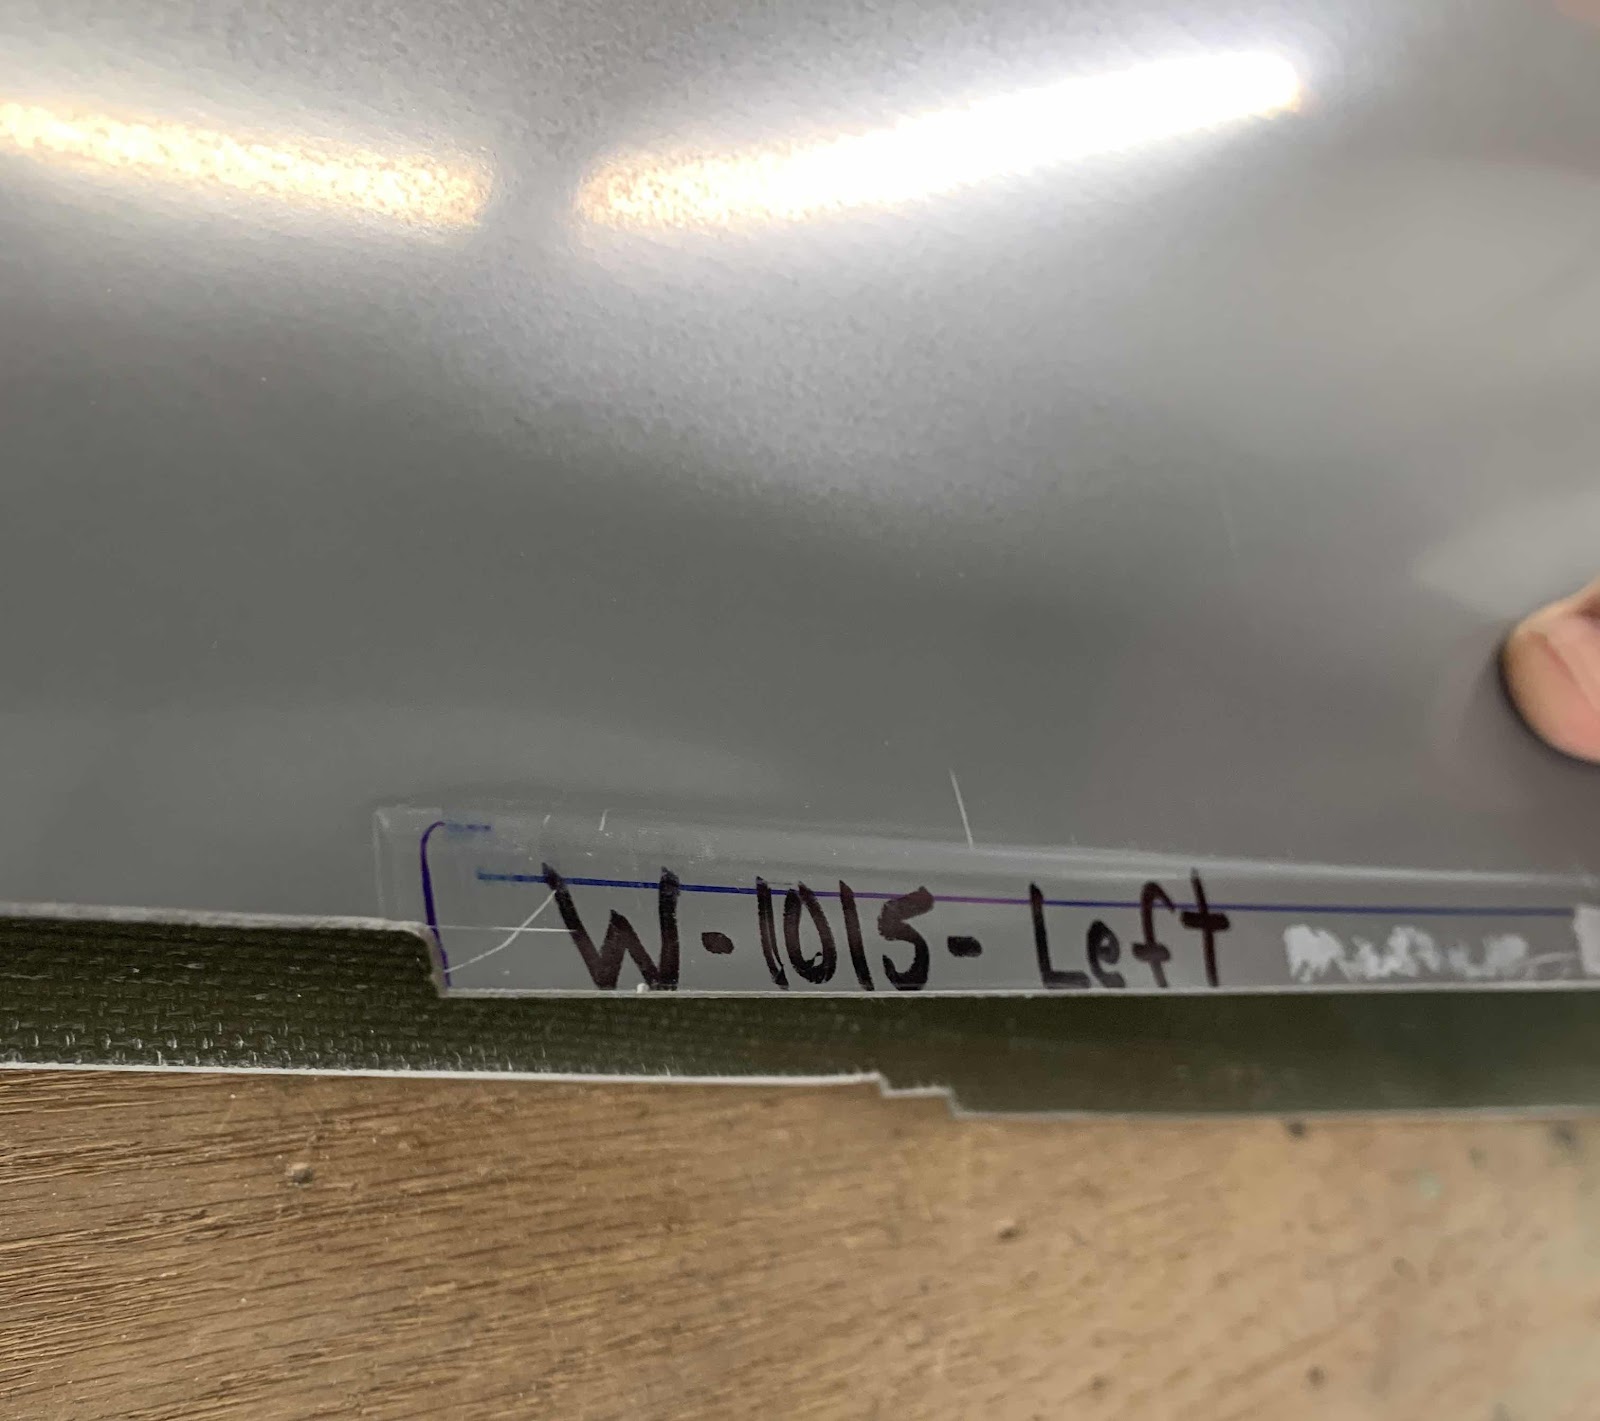
.....and the finished product. The blue mark is the location where the Bottom Outboard Wing Skin meets the Fairing.
