In Part 6, we completed this work for the left Wing Tip Fairing. Tonight, we will complete the work on the right Wing Tip Fairing. We also used the same measurements from Part 6 to make our rivet patterns on this Fairing. I marked the rivet pattern much better on this Fairing than the last, so hopefully it’s easier to understand (it was for me). Here is the rivet pattern for the top of the Fairing.....
.....and the rivet pattern for the bottom of the Fairing.

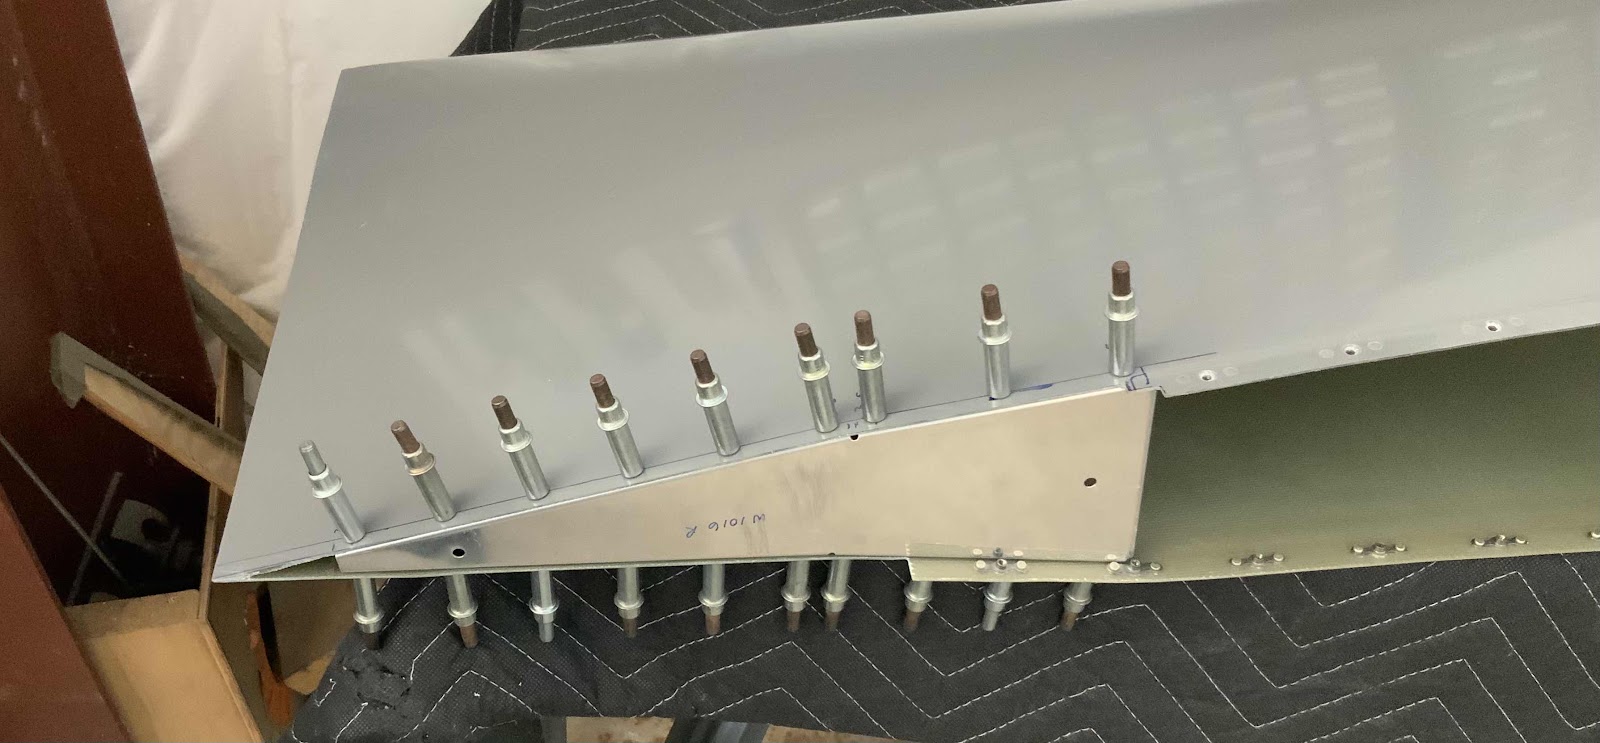
The top of the Fairing after match-drilling.....
.....and the bottom of the Fairing after match-drilling.

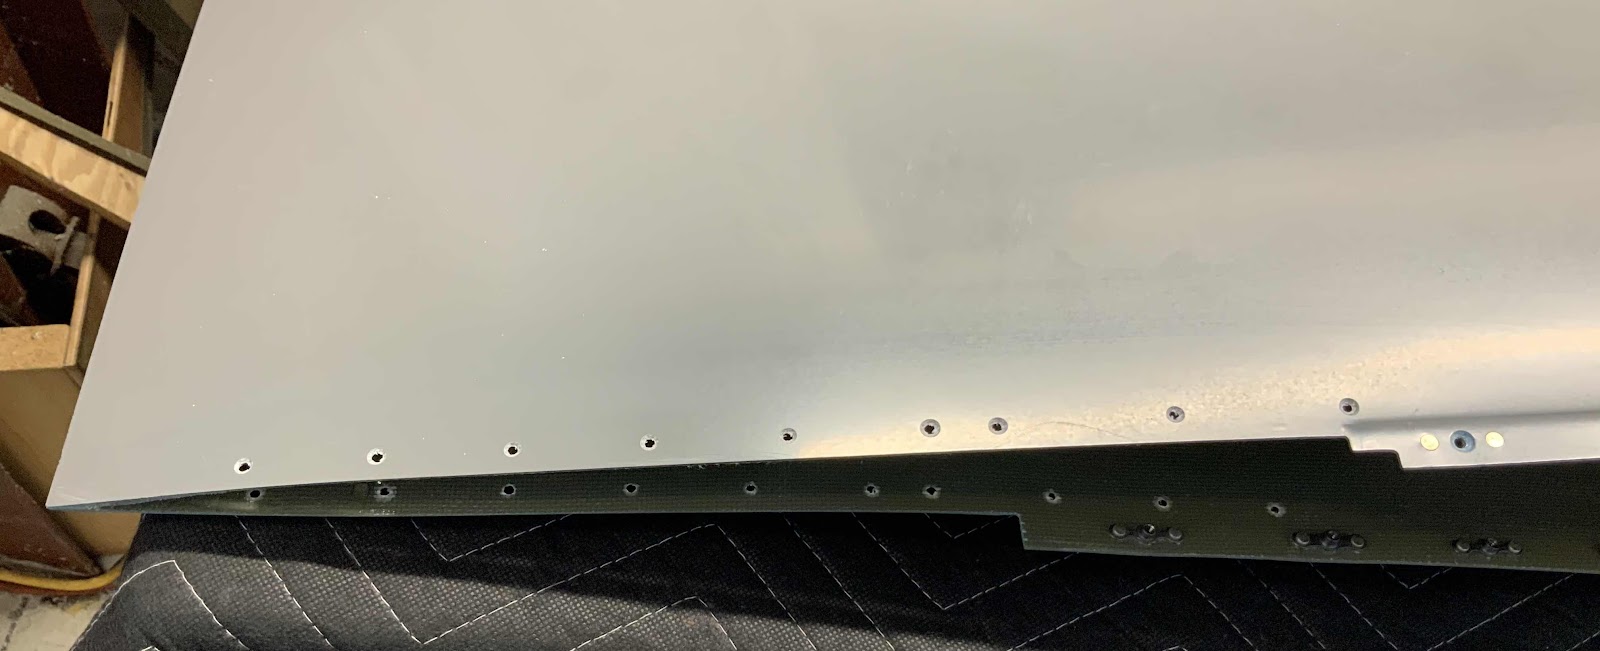
After completing the match-drilling, we removed the Rib and inspected the rivet holes.....looks like our measurements also worked great for this Rib.
Lastly, the 19 holes (10 on the top and nine on the bottom) were countersunk for either an AN425AD3 or MK-319 rivet (more on the rivets during another session). Here is the completed countersinking on the top of the Fairing......

.....and the completed countersinking on the bottom of the Fairing.

After completing the required countersinking, I treated the right and the left Rib with Alumiprep, Alodine and Akzo primer. They are hanging up to dry and will be ready to install during the next work session.
