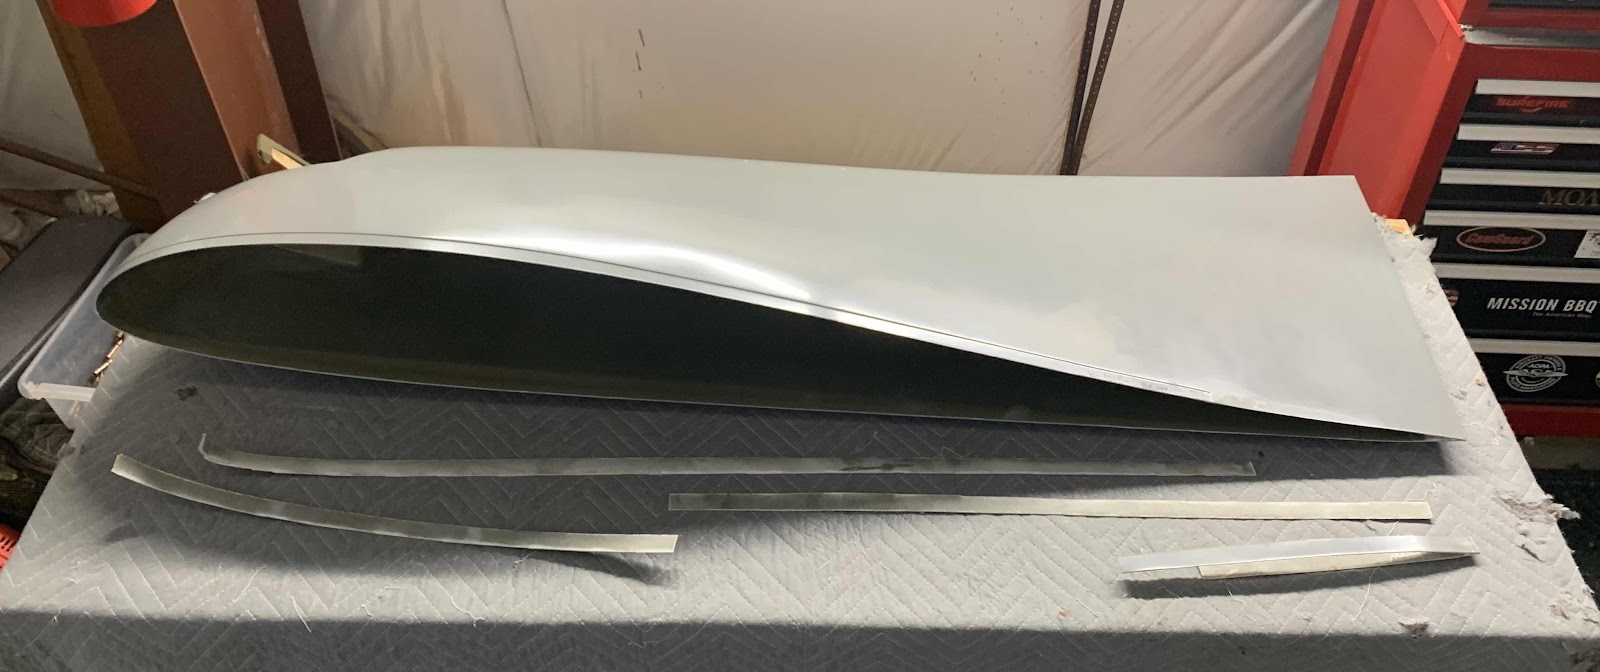
While waiting on the Finishing Kit to arrive, we started work on the Wing Tip Fairings. As with all of the Fairings, you start off by trimming and fitting.....and these are no different. Pictured below is the left Wing Tip as it arrived in the kit from Van’s.

Based on the dimensions in the plans, I marked the “cut line” with a sharpie and used my rotary cut off tool to remove the excess material shown in the picture below. Once a majority of the material was removed, I used a sanding block with 80 grit sand paper to sand up to the cut line. If you look closely at the Fairing, you can see the recessed portion of the Fairing. This is the portion of the Faring that will be inserted into the Wing and be attached via nutplates. From this recessed point to the inside edge of the fairing is the 1/2” the plans are calling for (where the cut line was).
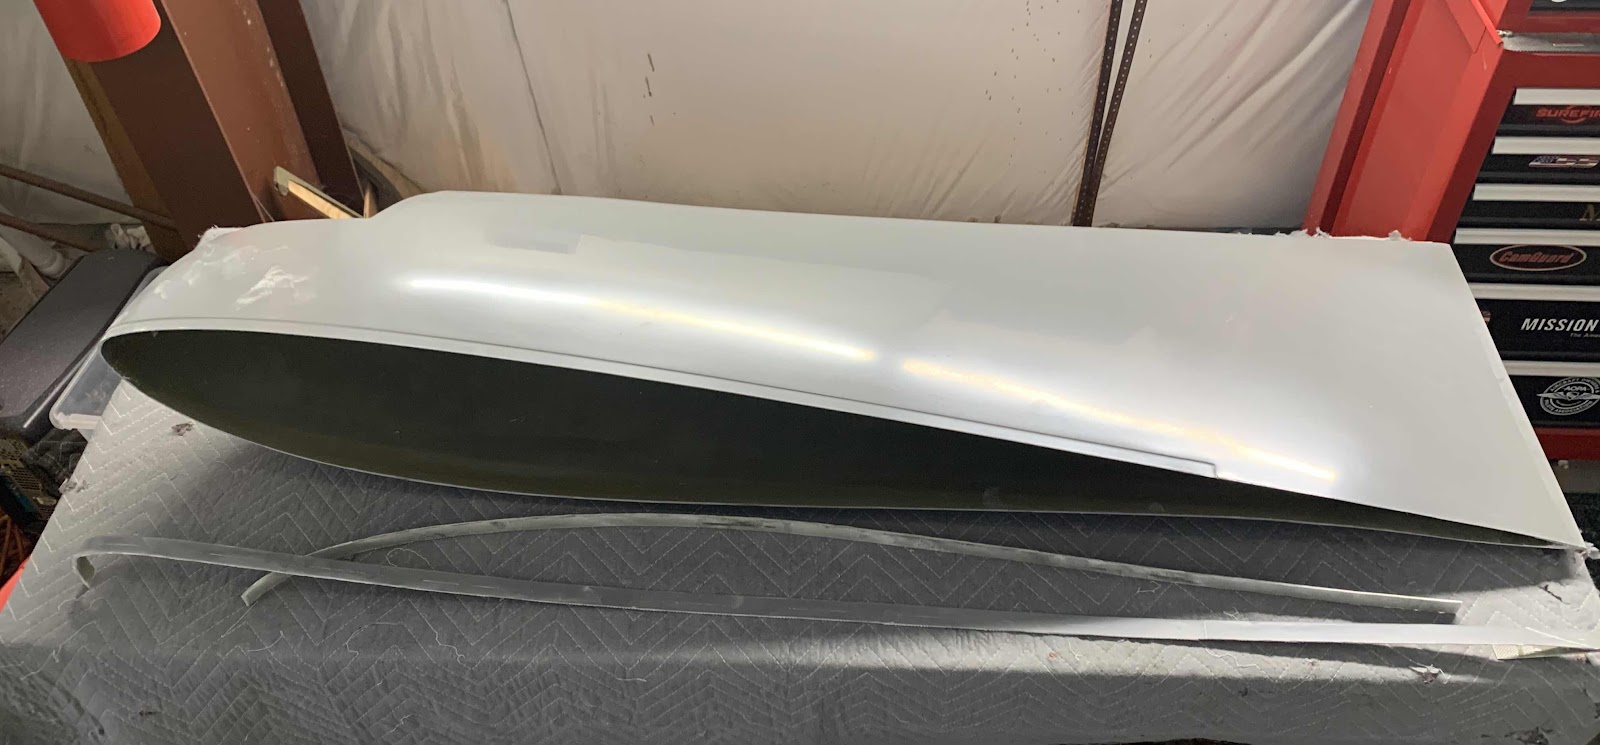
Below is the right Wing Tip Fairing as it arrived in the kit.....

.....and with the excess material removed (to the same dimensions as the left side).