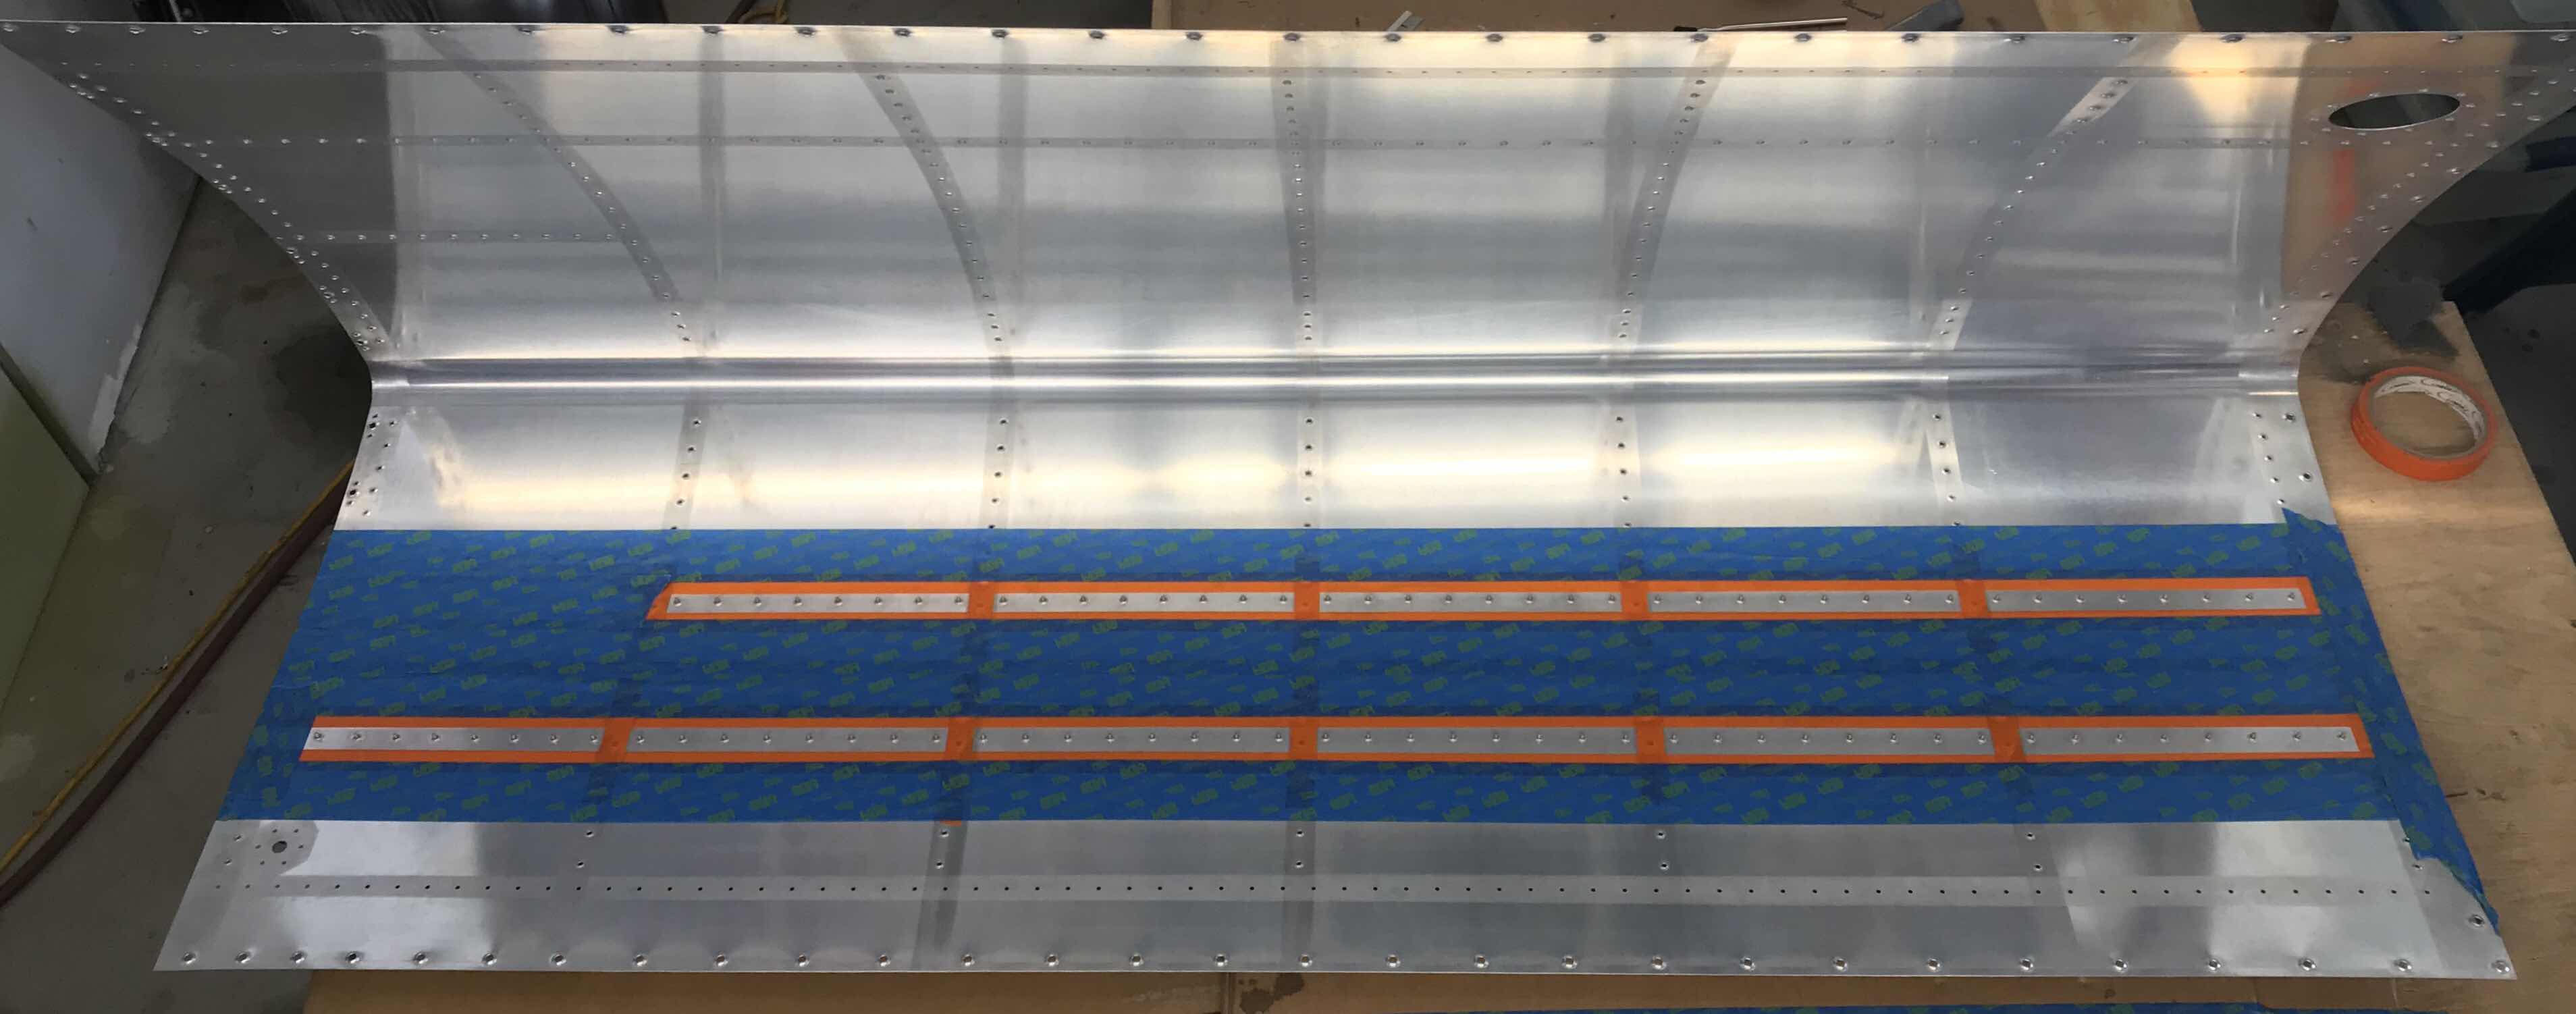
Well, I’m not doing a very good job of building one Tank at a time.....so, I’m going to stop saying it. Instead, I’ll say.....I’m building the Tanks together. Prior to applying the Proseal, I have to scuff the mating surfaces of the Right Tank Skin (just like for the Left). If you look closely in the two pictures below, you can see the scuffed “lines” (along each row of holes). Each row of holes will be used to attach the Stiffeners and the Ribs.
In the first picture, you can also see the area on the bottom left where the Fuel Drain Flange will be installed. And in the second picture, you can see the area on the bottom left where the Fuel Cap Flange will be installed.


Once all the required areas were properly scuffed, I inserted all 88 AN426AD3-3.5 rivets into the holes for the 11 Stiffeners and taped them into place. I will be back-riveting these rivets when I install the Stiffeners.

Lastly, I taped off the areas where the Stiffeners will be riveted into place to help reduce any mess while using the Proseal. The Right Tank Skin has been prepared and is now ready to have the Stiffeners riveted into place and Proseal applied.