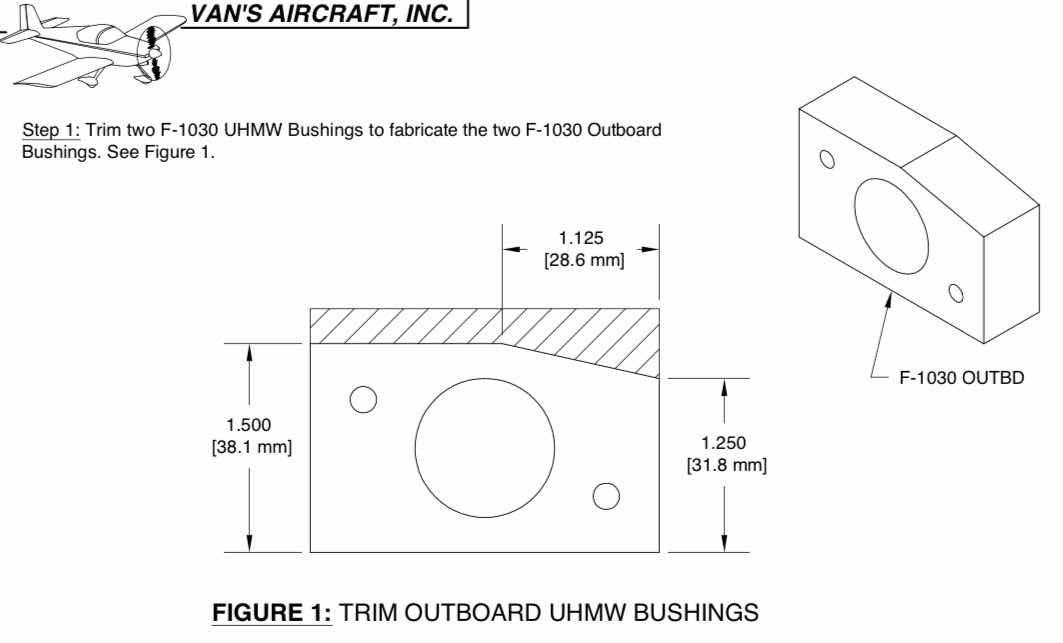
The fabrication of the two F-1030 Outboard Bushings from two of the F-1030 UHMW Bushings (shown below) are actually the first steps listed in the plans for Section 32.. All four of the Bushings are the same, but I will use the top two for the fabrication.

So, essentially, we will need to make those two blocks look like this....
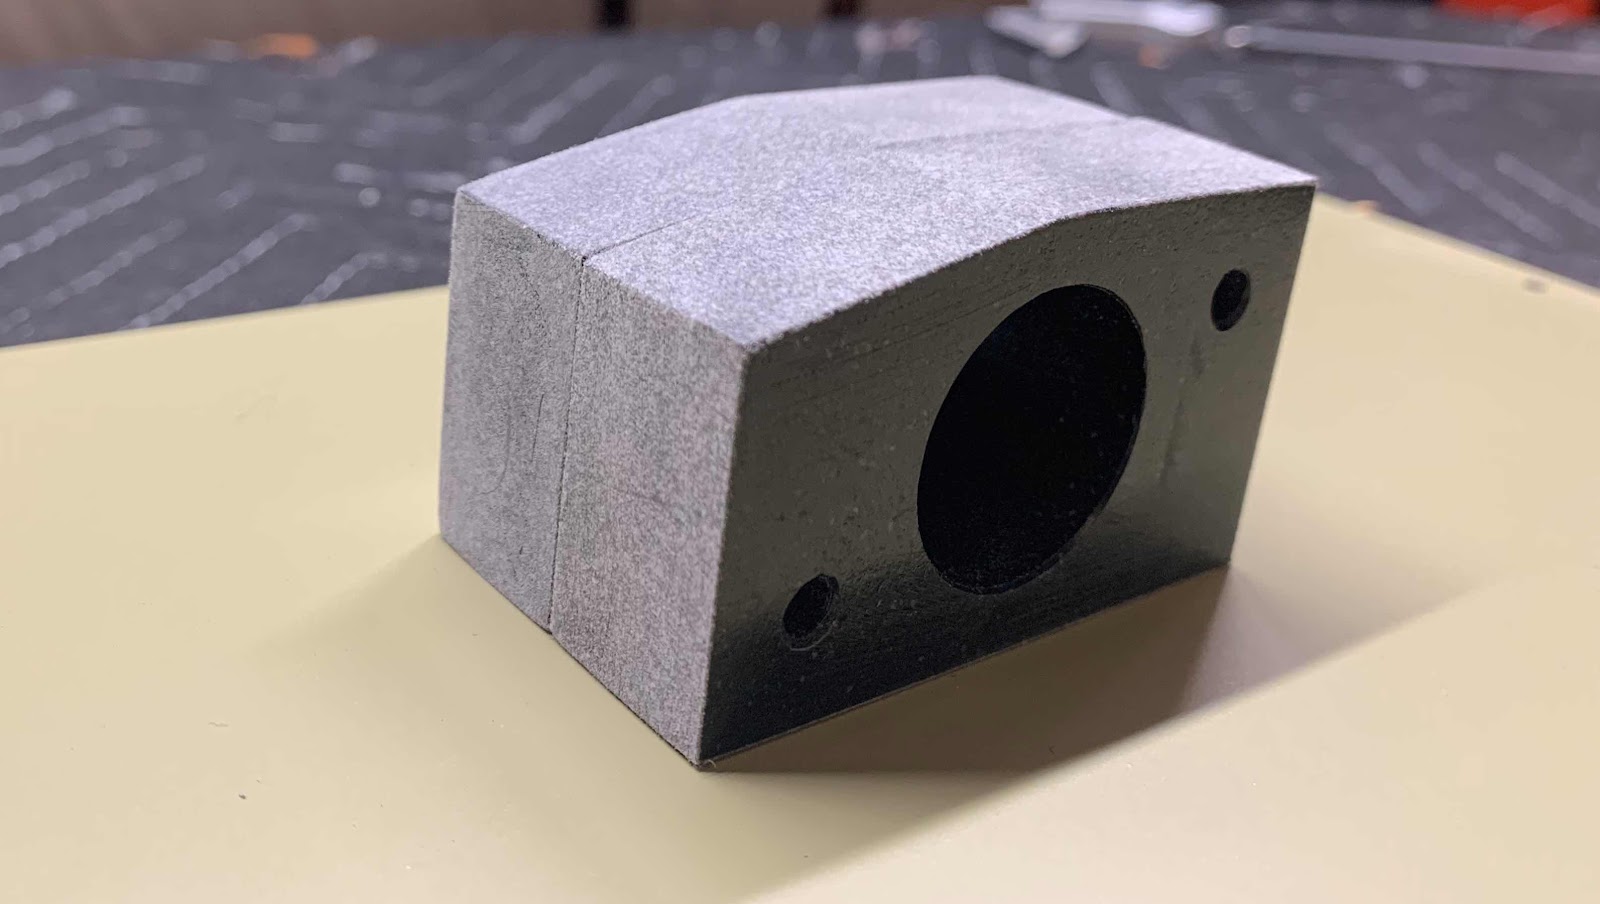
I have been working on these pieces a little bit at a time, so the session total shown at the bottom of the post will reflect the total time for the several sessions I’ve worked on the two pieces. Below is one of the two completed bushings. The largest part of the material was removed with a bandsaw and the final shape was made using 220 grit sandpaper.
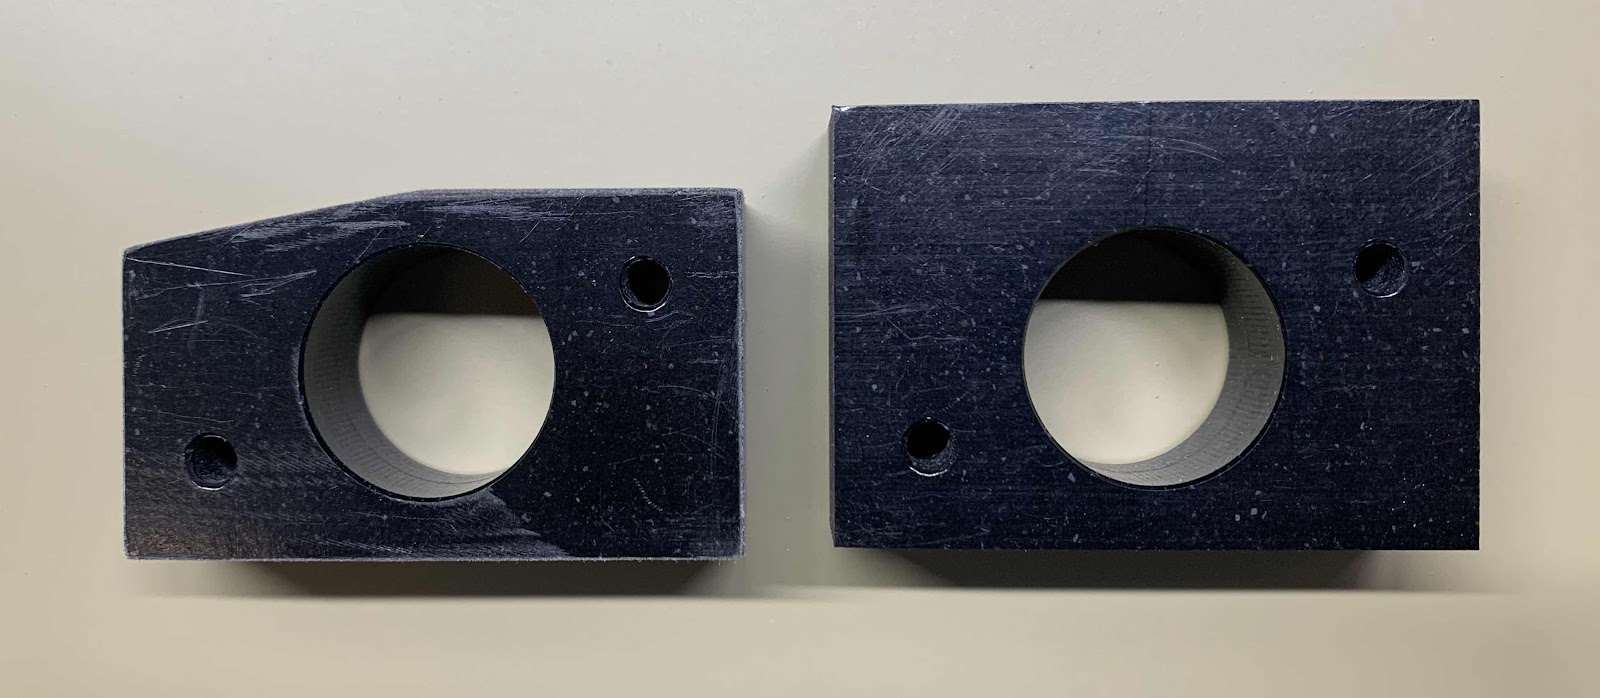
Here are the two completed blocks showing the before and after.....

.....and the two completed Outboard Bushings side by side.
Once the two blocks were completed, they were installed on the plane. Here is the excerpt from the plans that describe how.....

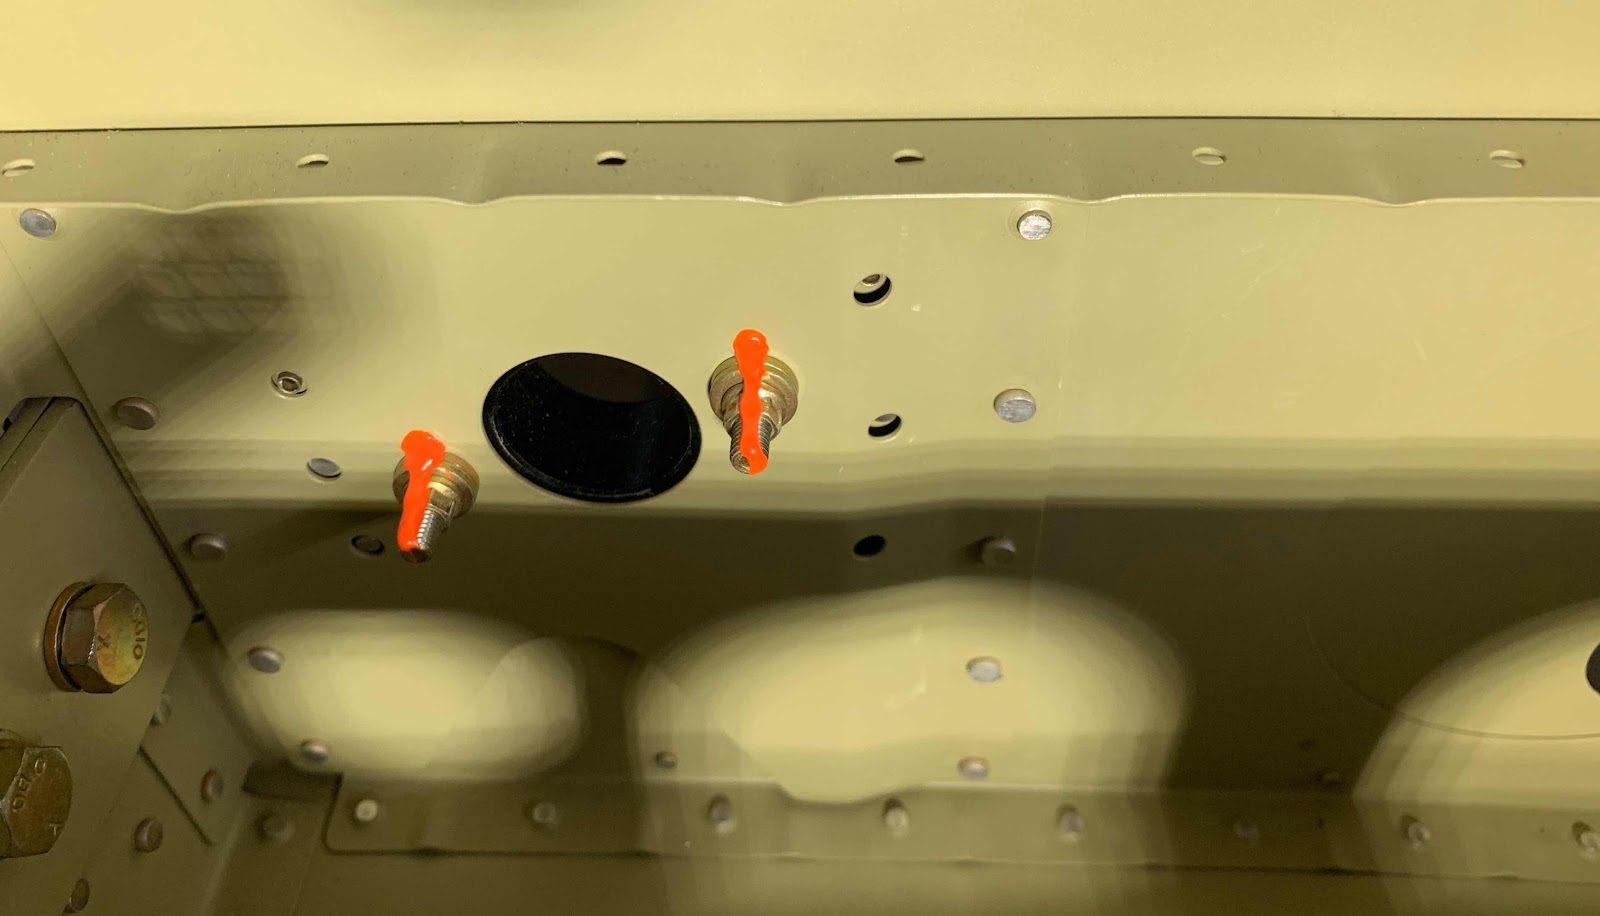
This is the Bushing installed to the Flap Block Bracket on the right side side exterior....

.....and the right side interior. I seemed to have gotten a little excited with the torque seal again. (NOTE: The plans warn against over tightening the hardware. It states, “tighten the nuts and bolts just enough to increase the turning friction of the bolts in the blocks. DO NOT use standard torque”. If you were using standard torque values for this combination of nut and bolt (AN3-12A bolt and MS21042-3 nut) it would be torqued to 42 in/lbs (28 +14). With this in mind, I “torqued” the nuts to 30 in/lbs so I could get all four nuts consistent and the same.

Here is the Bushing installed to the Flap Block Bracket on the on the left side exterior.....

.....and the right side interior.