
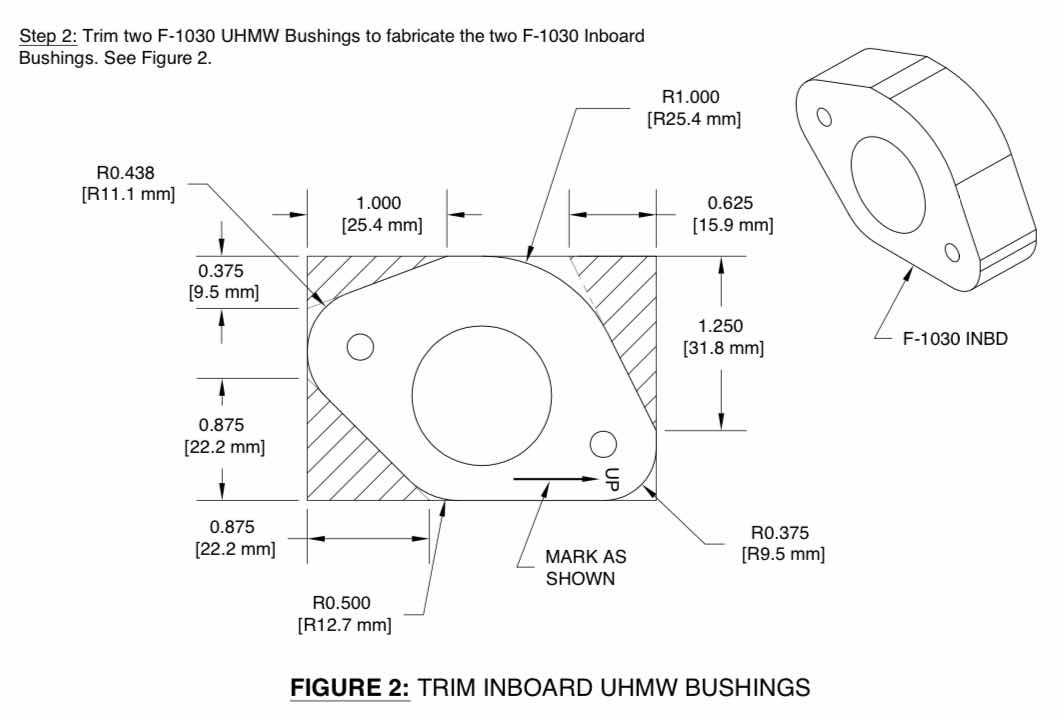
In Part 5, I prepared the two Outboard Bushings.....during today’s session, I completed the two Inboard Bushings. Here is an excerpt from the plans showing how the two Bushings should be trimmed.....
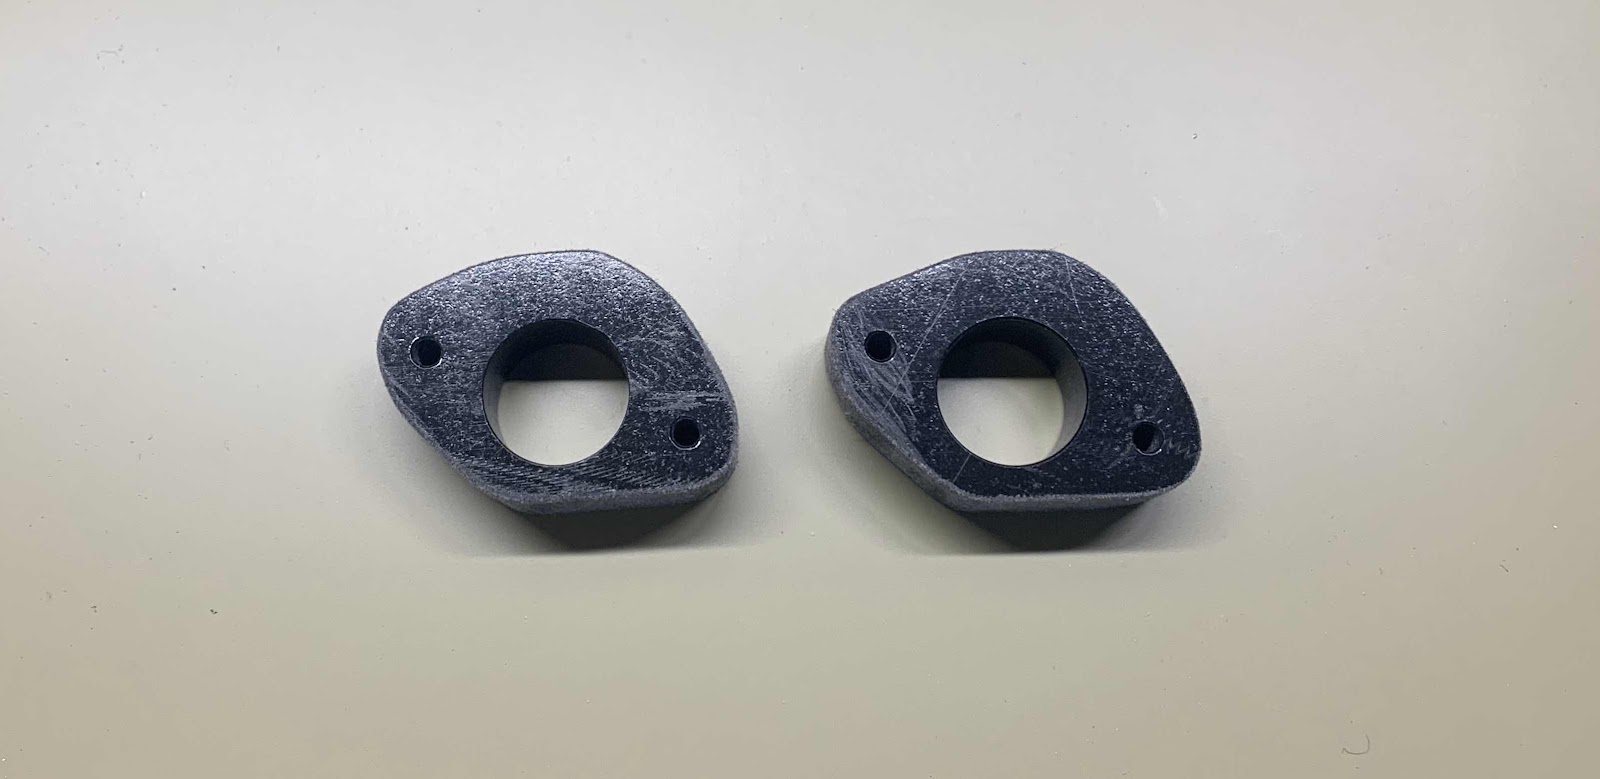
.....and what mine looked like after being trimmed. They actually came out pretty close to the template. I also put them next to each other and sanded all the sides and angles of each piece the same.....just like the Outboard Bushings.
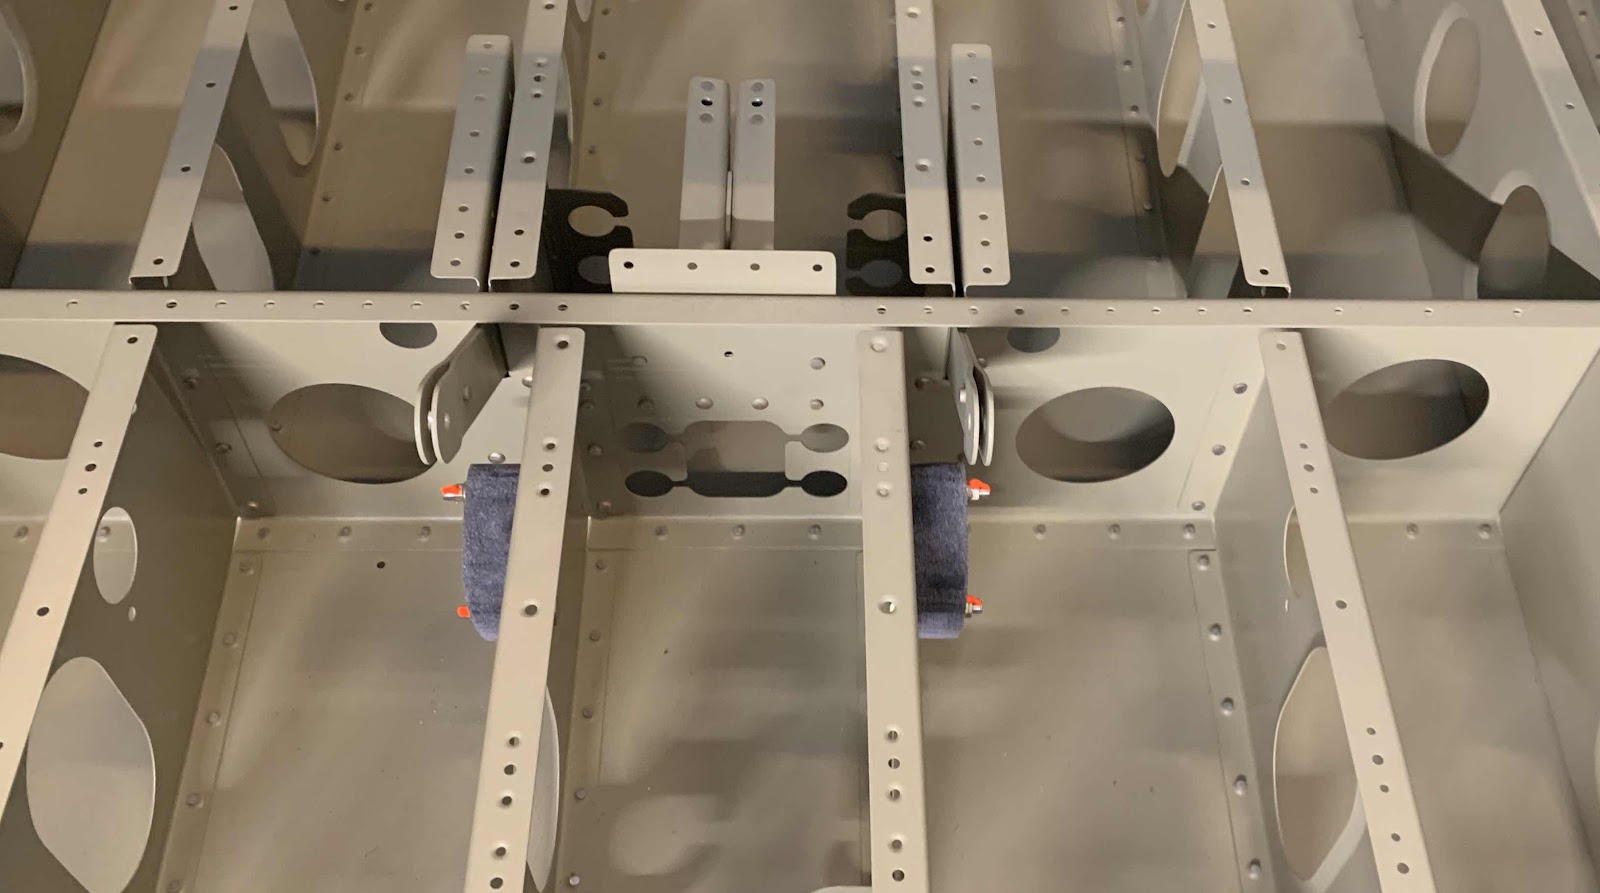
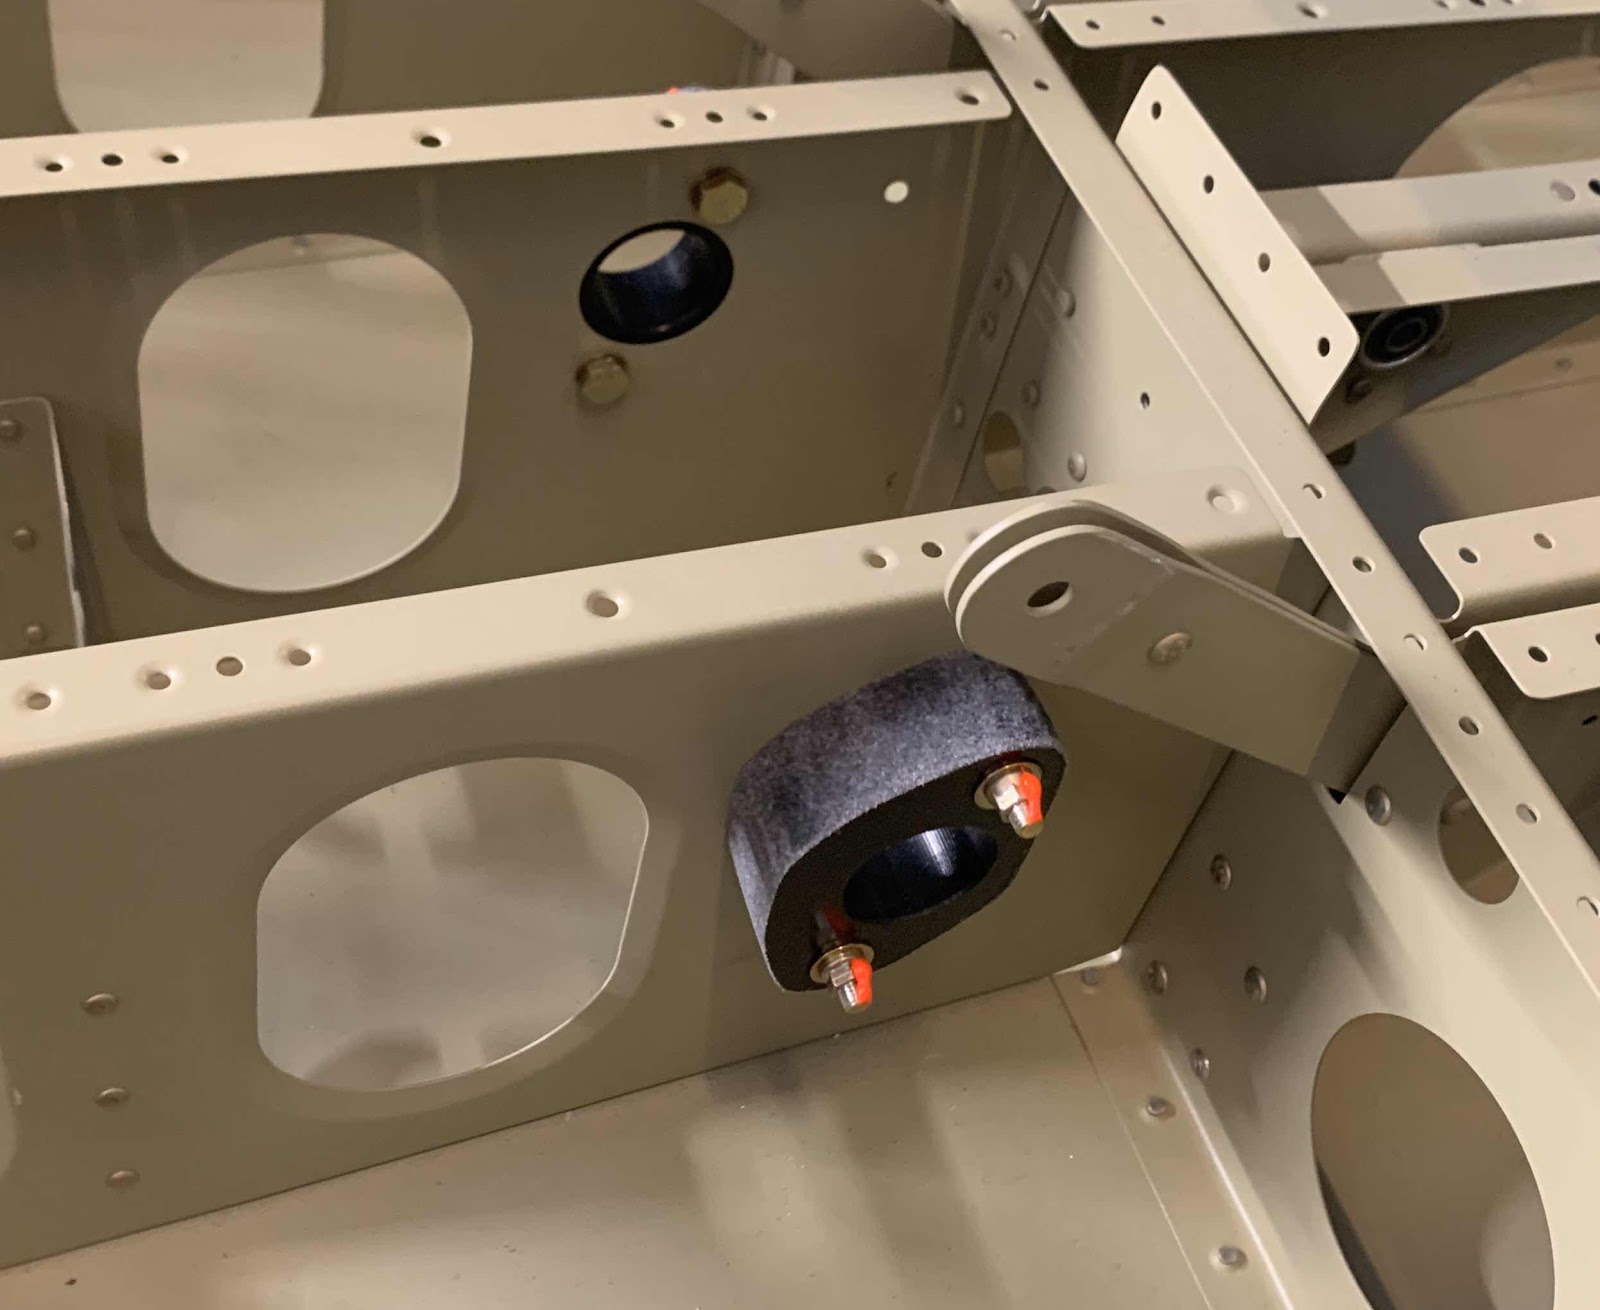
Next, the Bushings were attached to the F-01417-L & -R Seat Ribs as shown in the picture below.
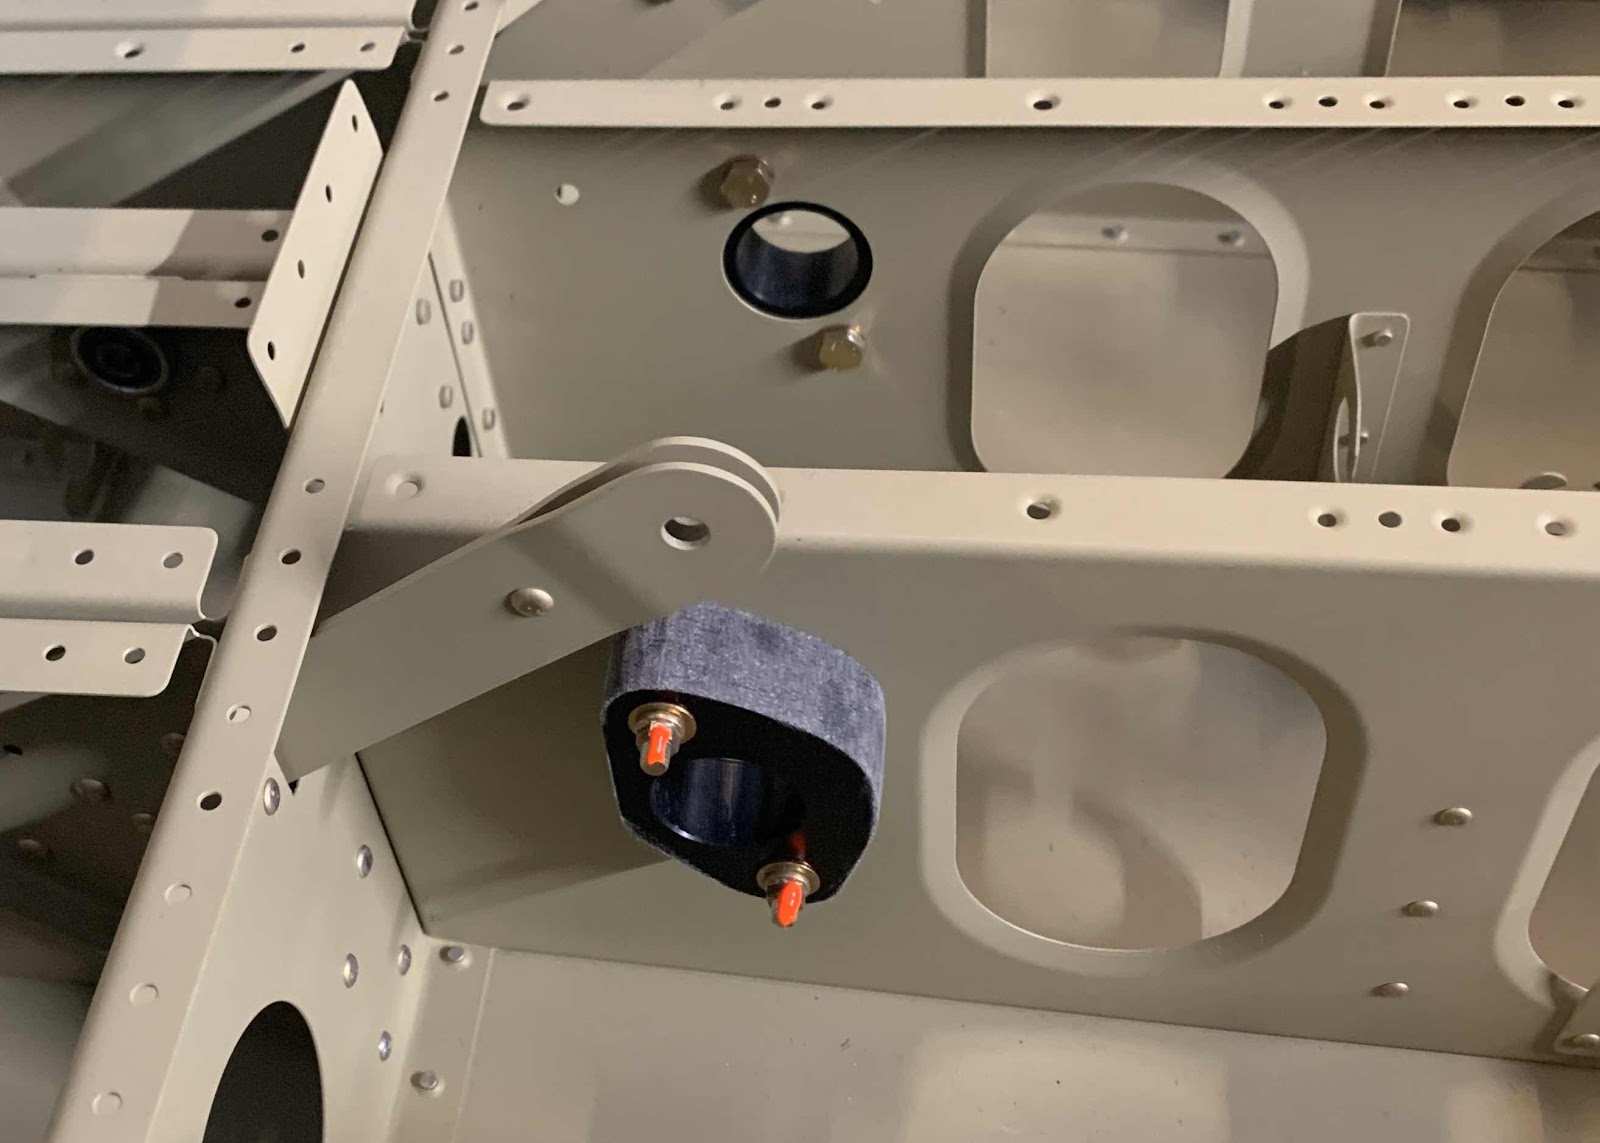
Here is a close up of the -R Bushing (-L is in the background). The following hardware was used to install each of the Bushings....
- AN3-11A bolts (x2)
- NAS1149F0332P washers (x4)
- MS21042-3 nuts (x2)
As with the Outboard Bushings, the plans stated to NOT torque the bolts/nuts to normal torque values. So, I got them very snug and “just a little more”.....somewhere in the neighborhood of 25 in/lbs.
Here is a close up of the -L Bushing (-R is in the background). The same hardware was used to install this Bushing.
That completes the installation of both Outboard and both Inboard Bushings. These Bushings will be used in a later session for the Flaps actuation.