VERY BIG DAY!!!!!
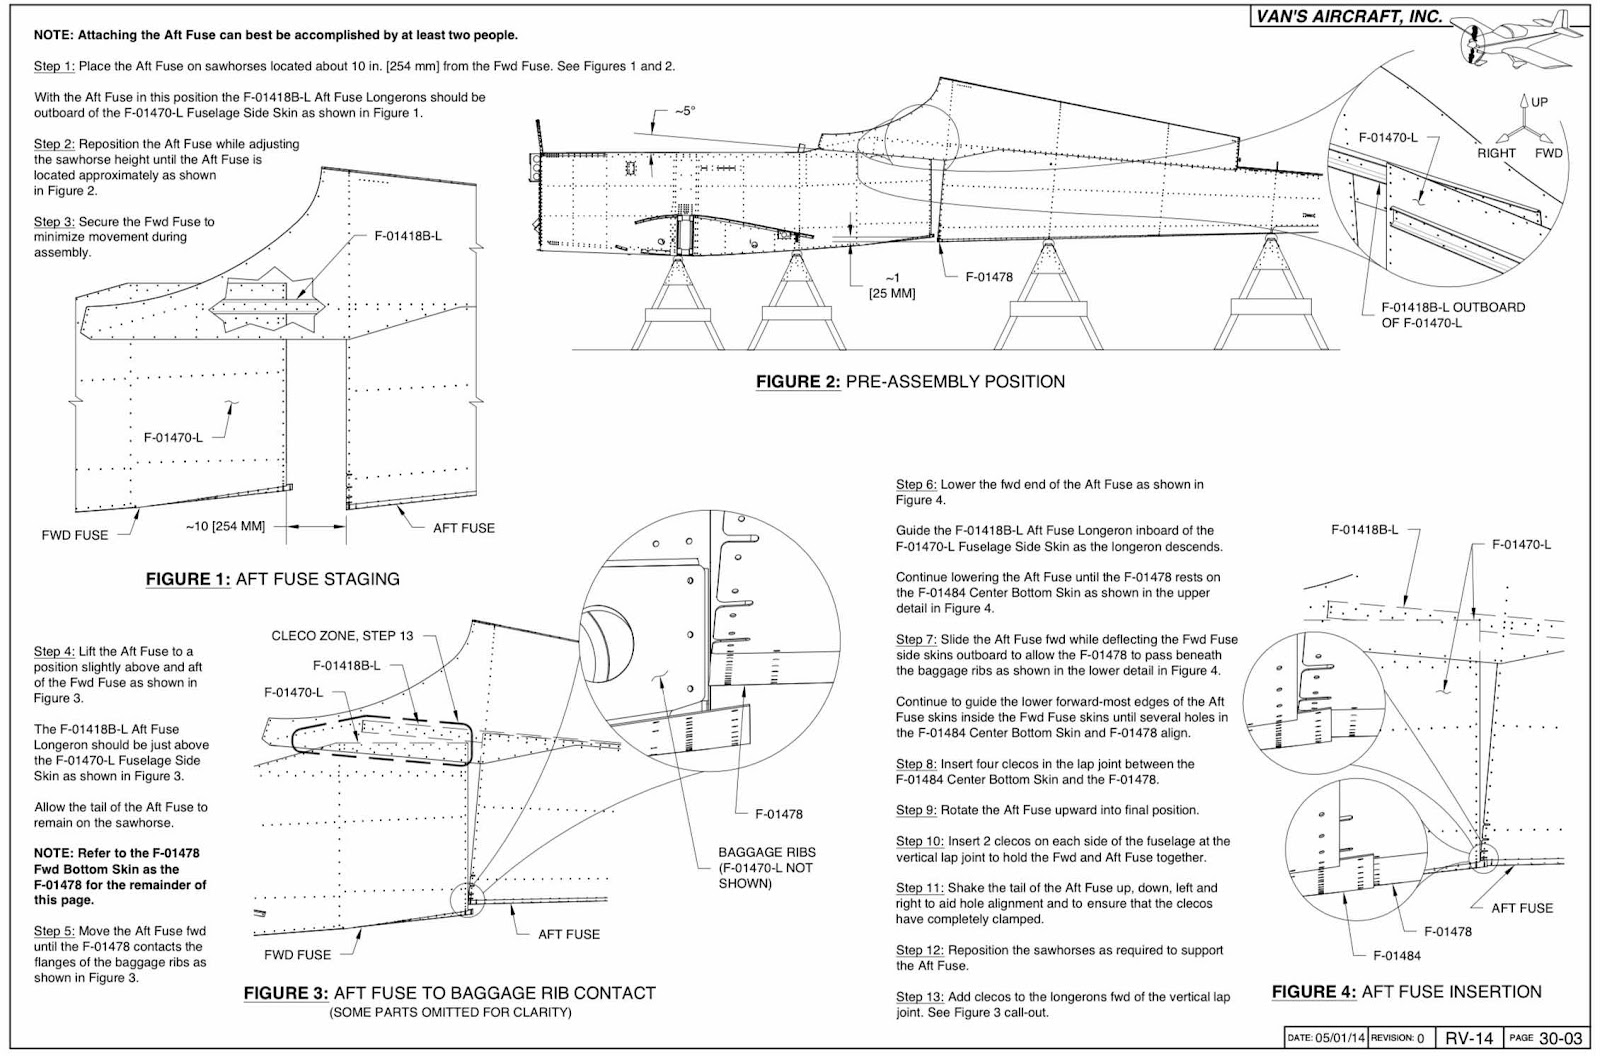
The forward and aft halves of the Fuselage get attached!!! The plans (shown below) goes through a very detailed process of attaching the two halves together. At first read, it was a little confusing and hard to follow. Then, I calmed down and read each step word for word.....and completed each step in order. Some advice.....have plenty of helping hands. We had a total of four people helping during this session and it made it so much easier. From moving the Fuselage halves around, adjusting the height of the sawhorses, to installing clecos.....more hands was a tremendous help.
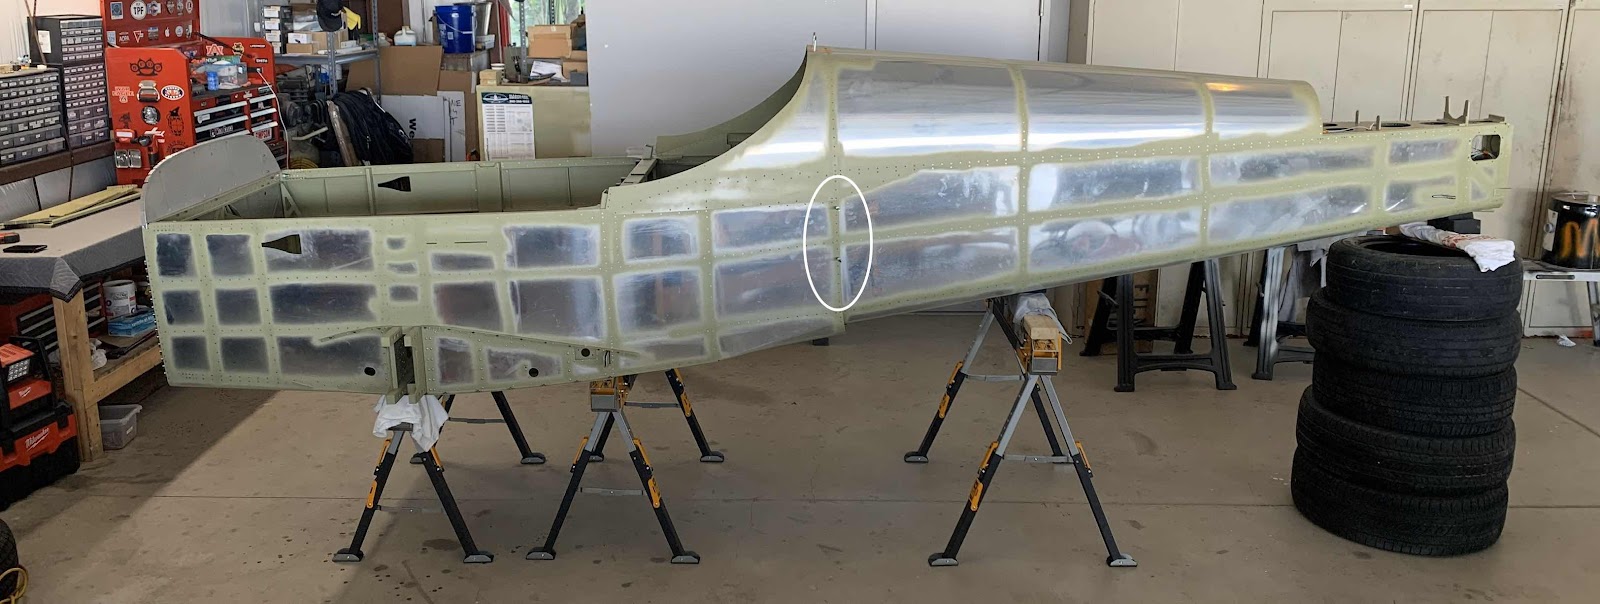
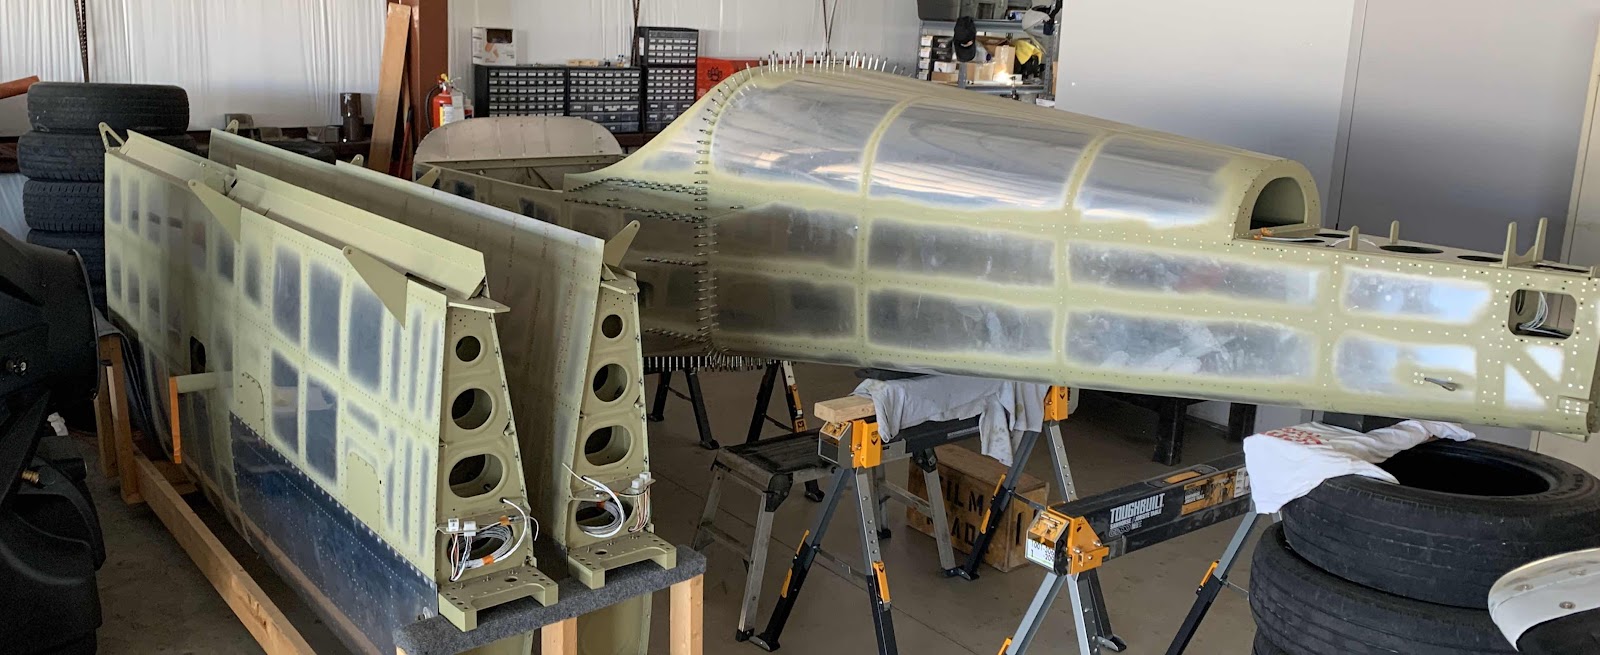
The plans describe using sawhorses to support the Fuselage halves while they are being joined. I like the idea of sawhorses, so I purchases these sawhorses from The Home Depot. They were a little expensive and probably overkill, but if the completed fuselage will need to be supported for several months, I wanted something solid. There were several other sawhorses available to choose from, but many were made of plastic and/or not adjustable. In the pictures below, you can see how the sawhorses were used for the Fuselage assembly. The first four pictures show the two halves positioned as described in the plans. The right side.....
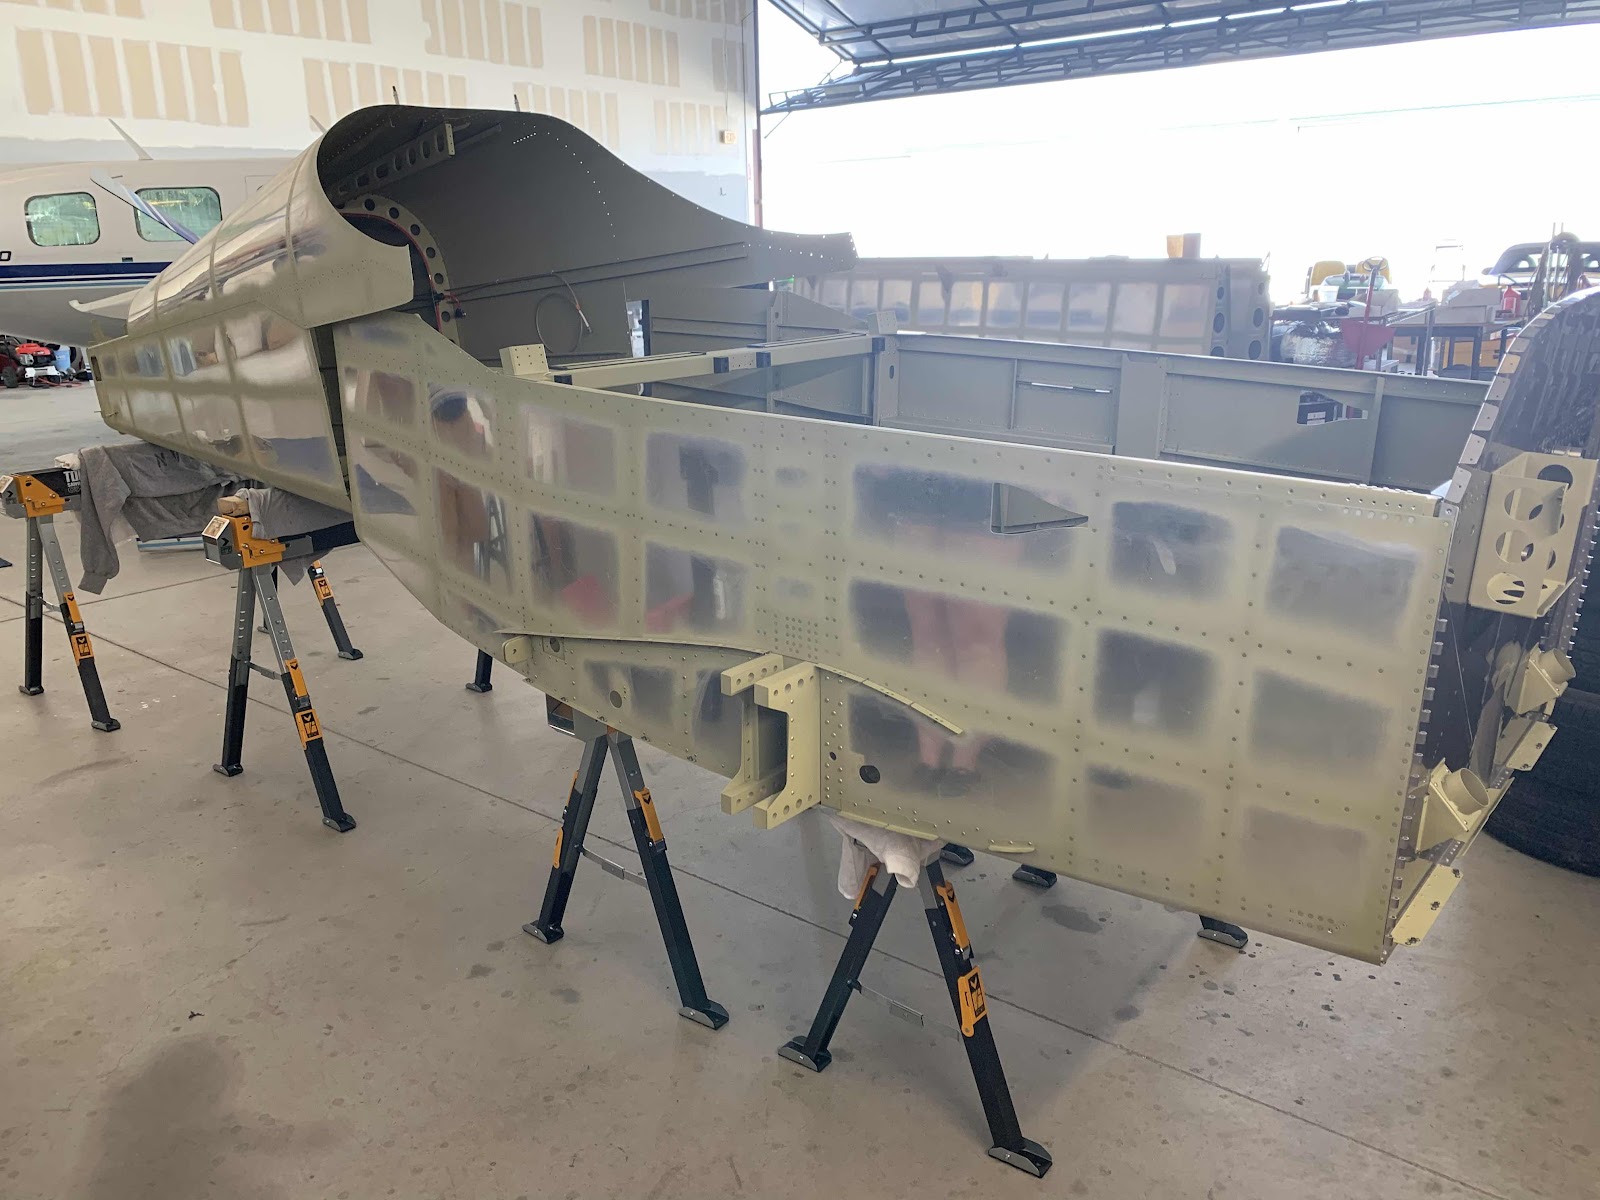
.....the left side.....

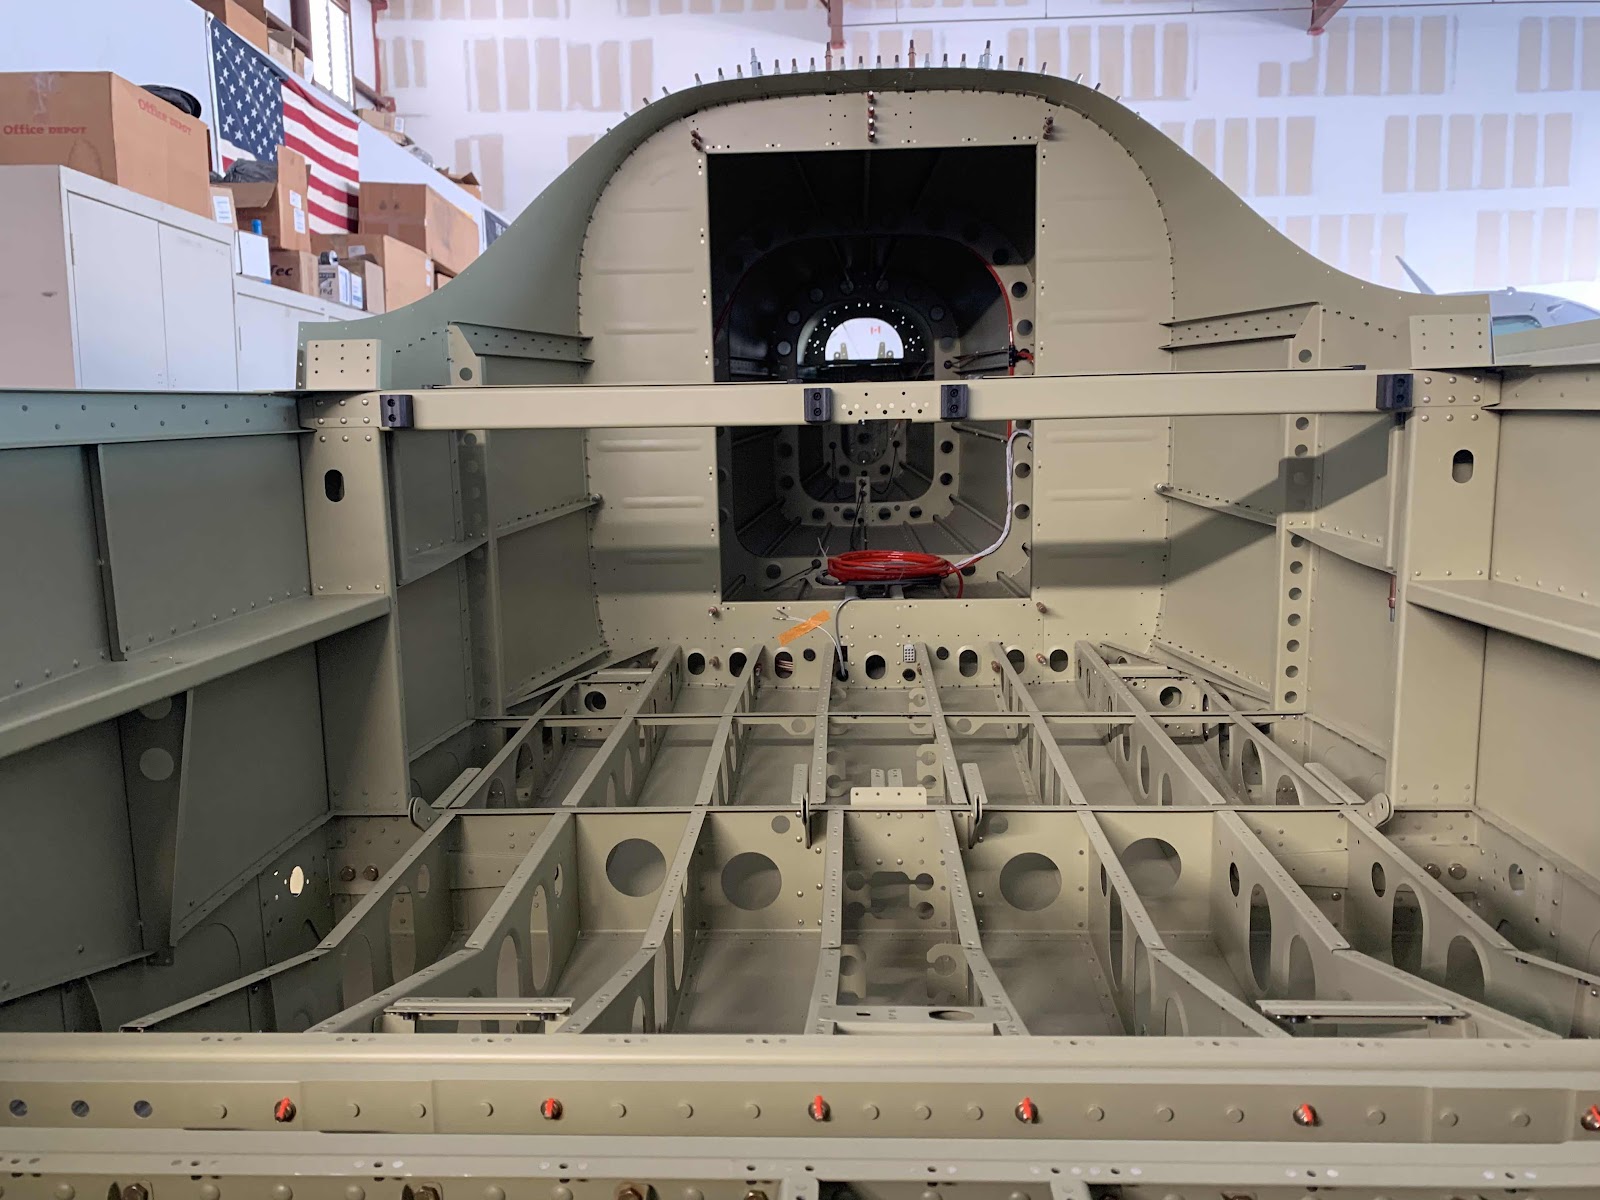
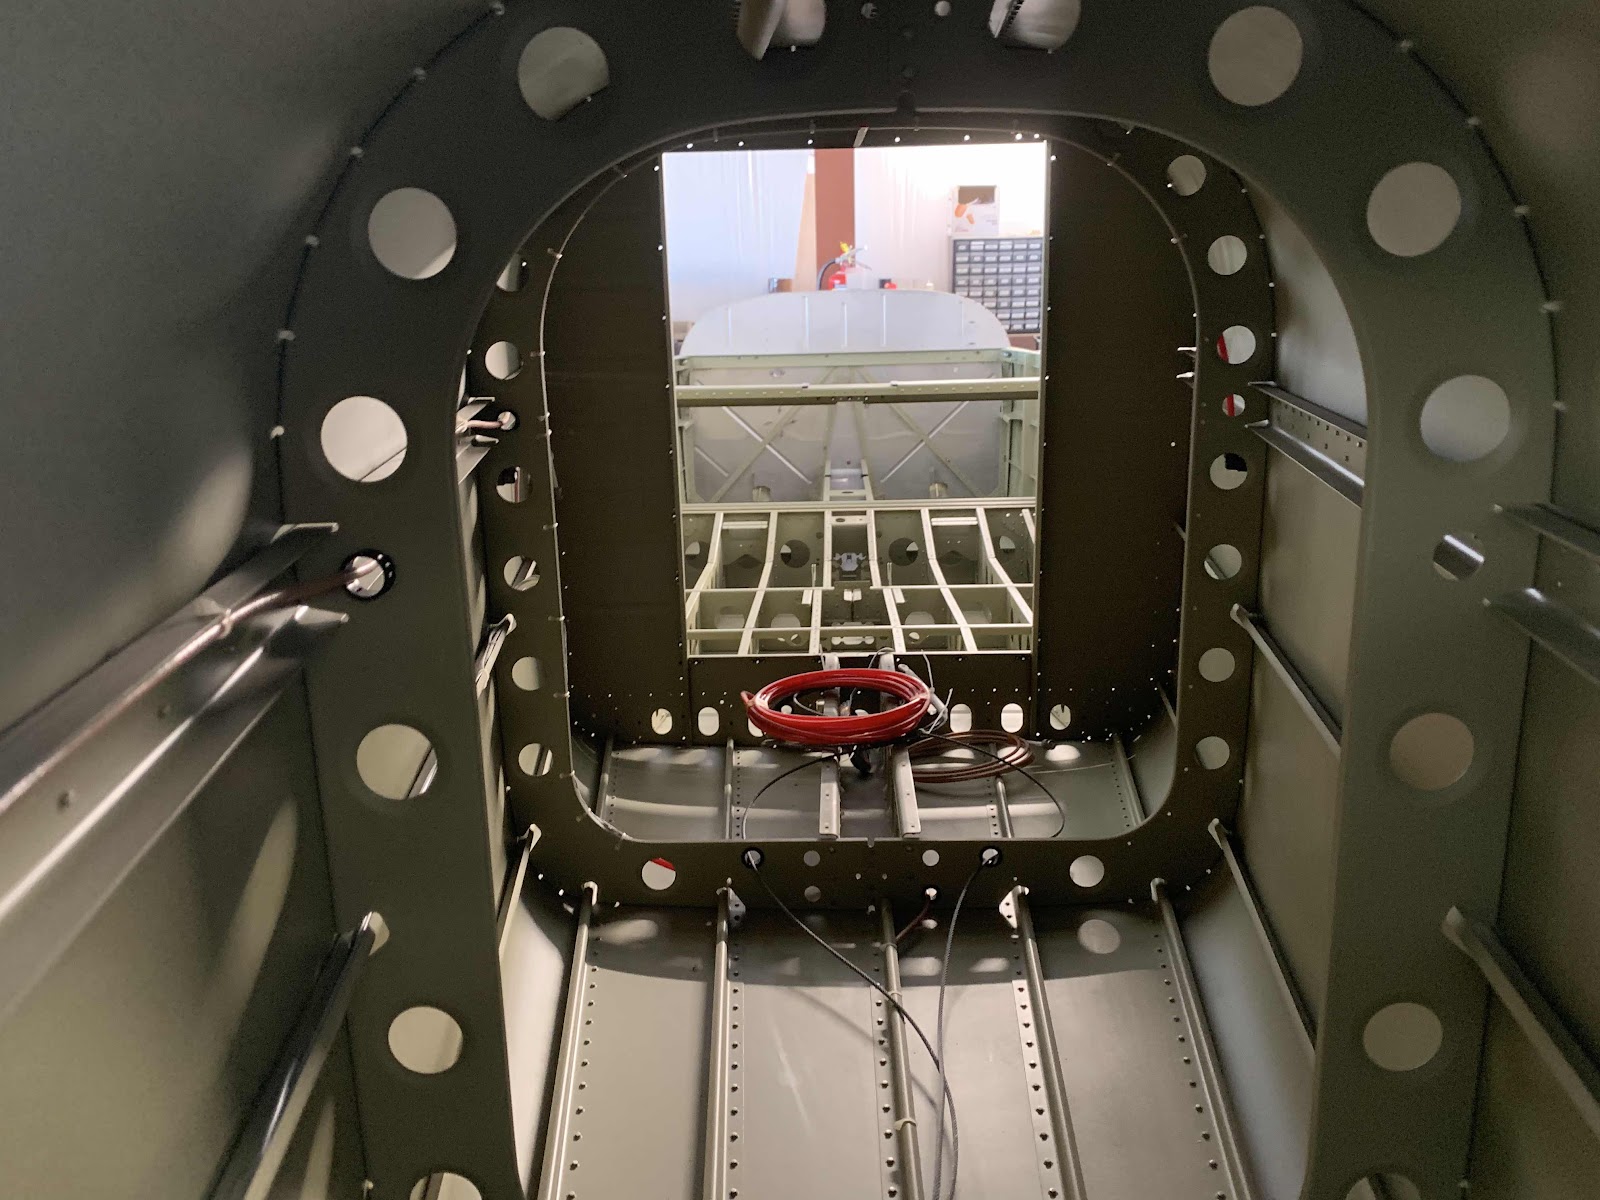
.....looking aft toward the tail from the forward side of the baggage area.....

.....and from the Firweall.

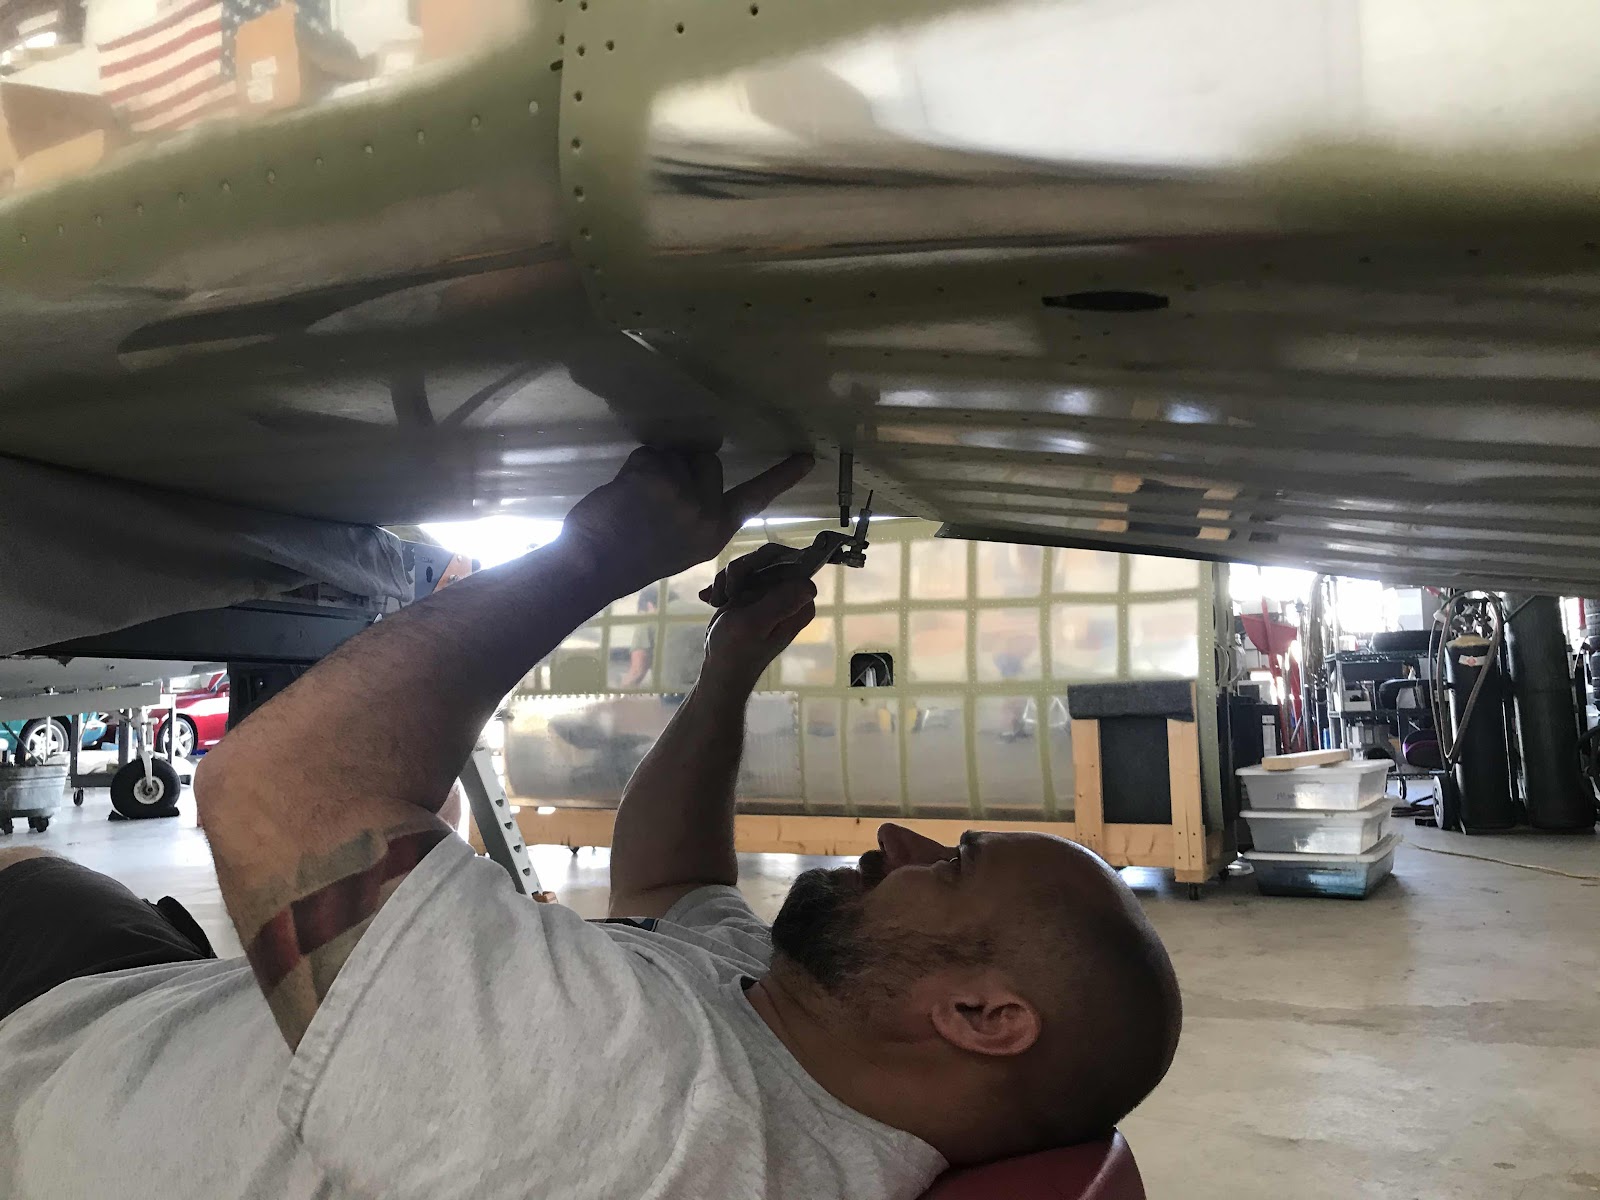
Installing the FIRST two clecos it the bottom Skins.
We lifted the tail as described in the plans and made sure all the pieces (Skins, Ribs, Longerons, etc) fit where they were supposed to fit. Once it we were satisfied the fit was good, four more clecos were installed into the assembly (two on each side). Here are the two clecos installed on the right side of the Fuselage.....

.....and the left side of the Fuselage.
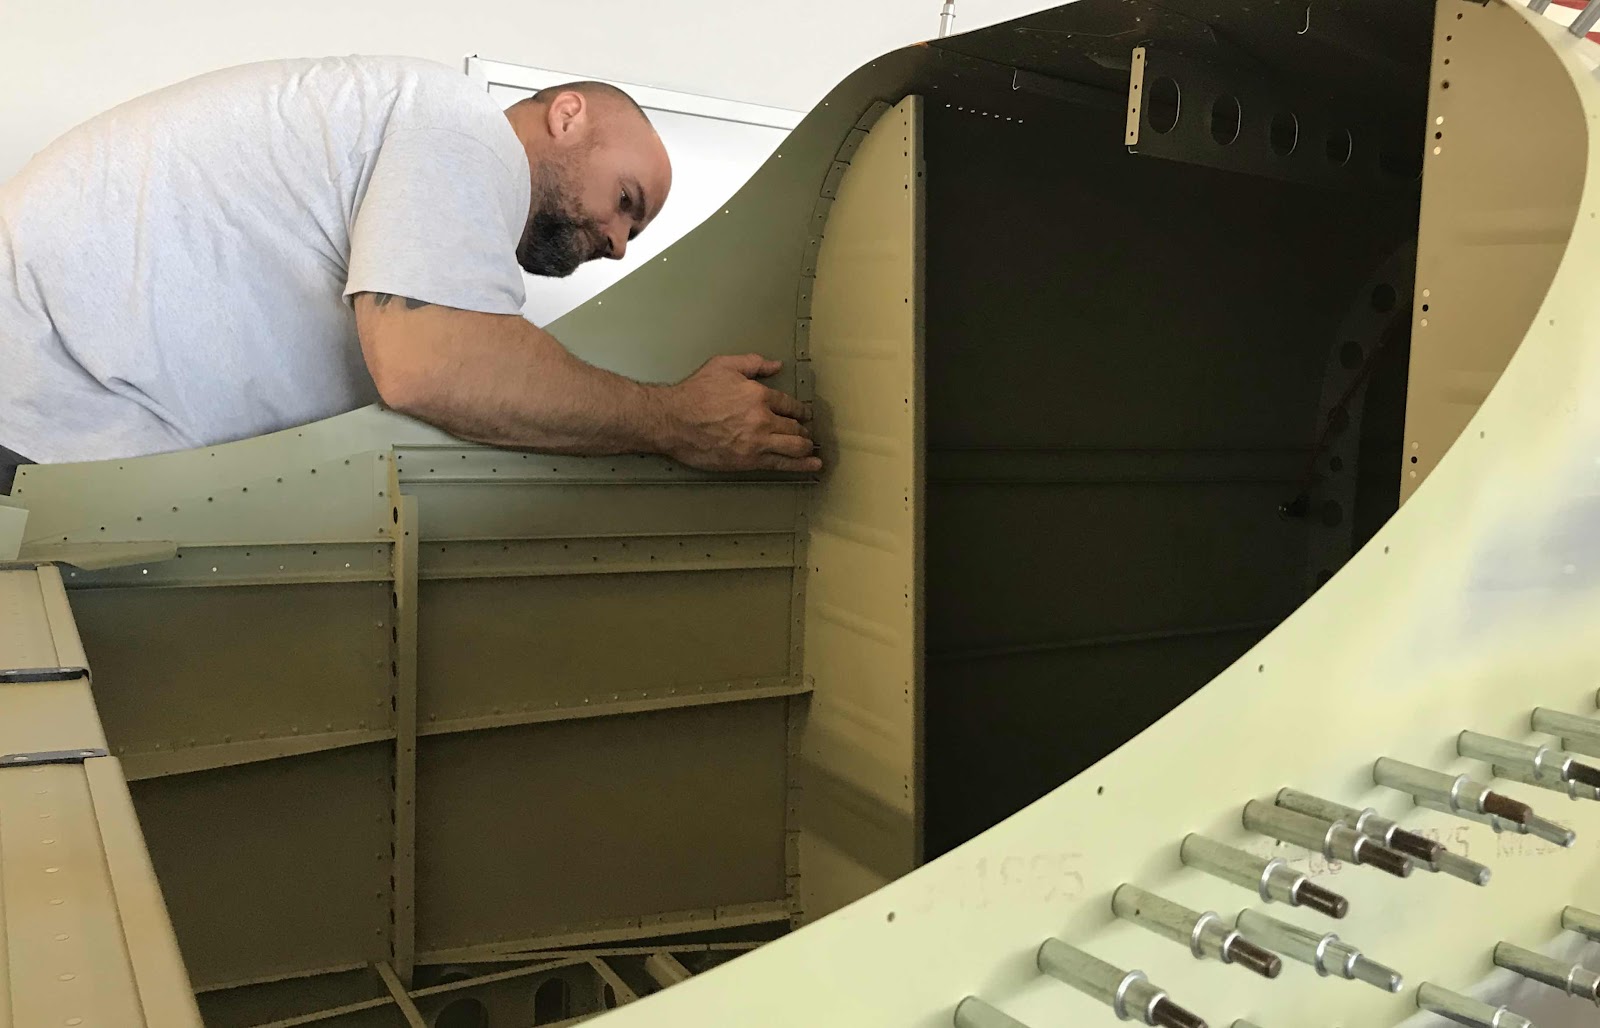
Once the initial clecos were installed in the assembly, the F-01406A-L & -R Bulkheads were put into place. In the picture below, the -L Bulkhead has already been clecoed into place....now, I’m working on the -R Bulkhead.
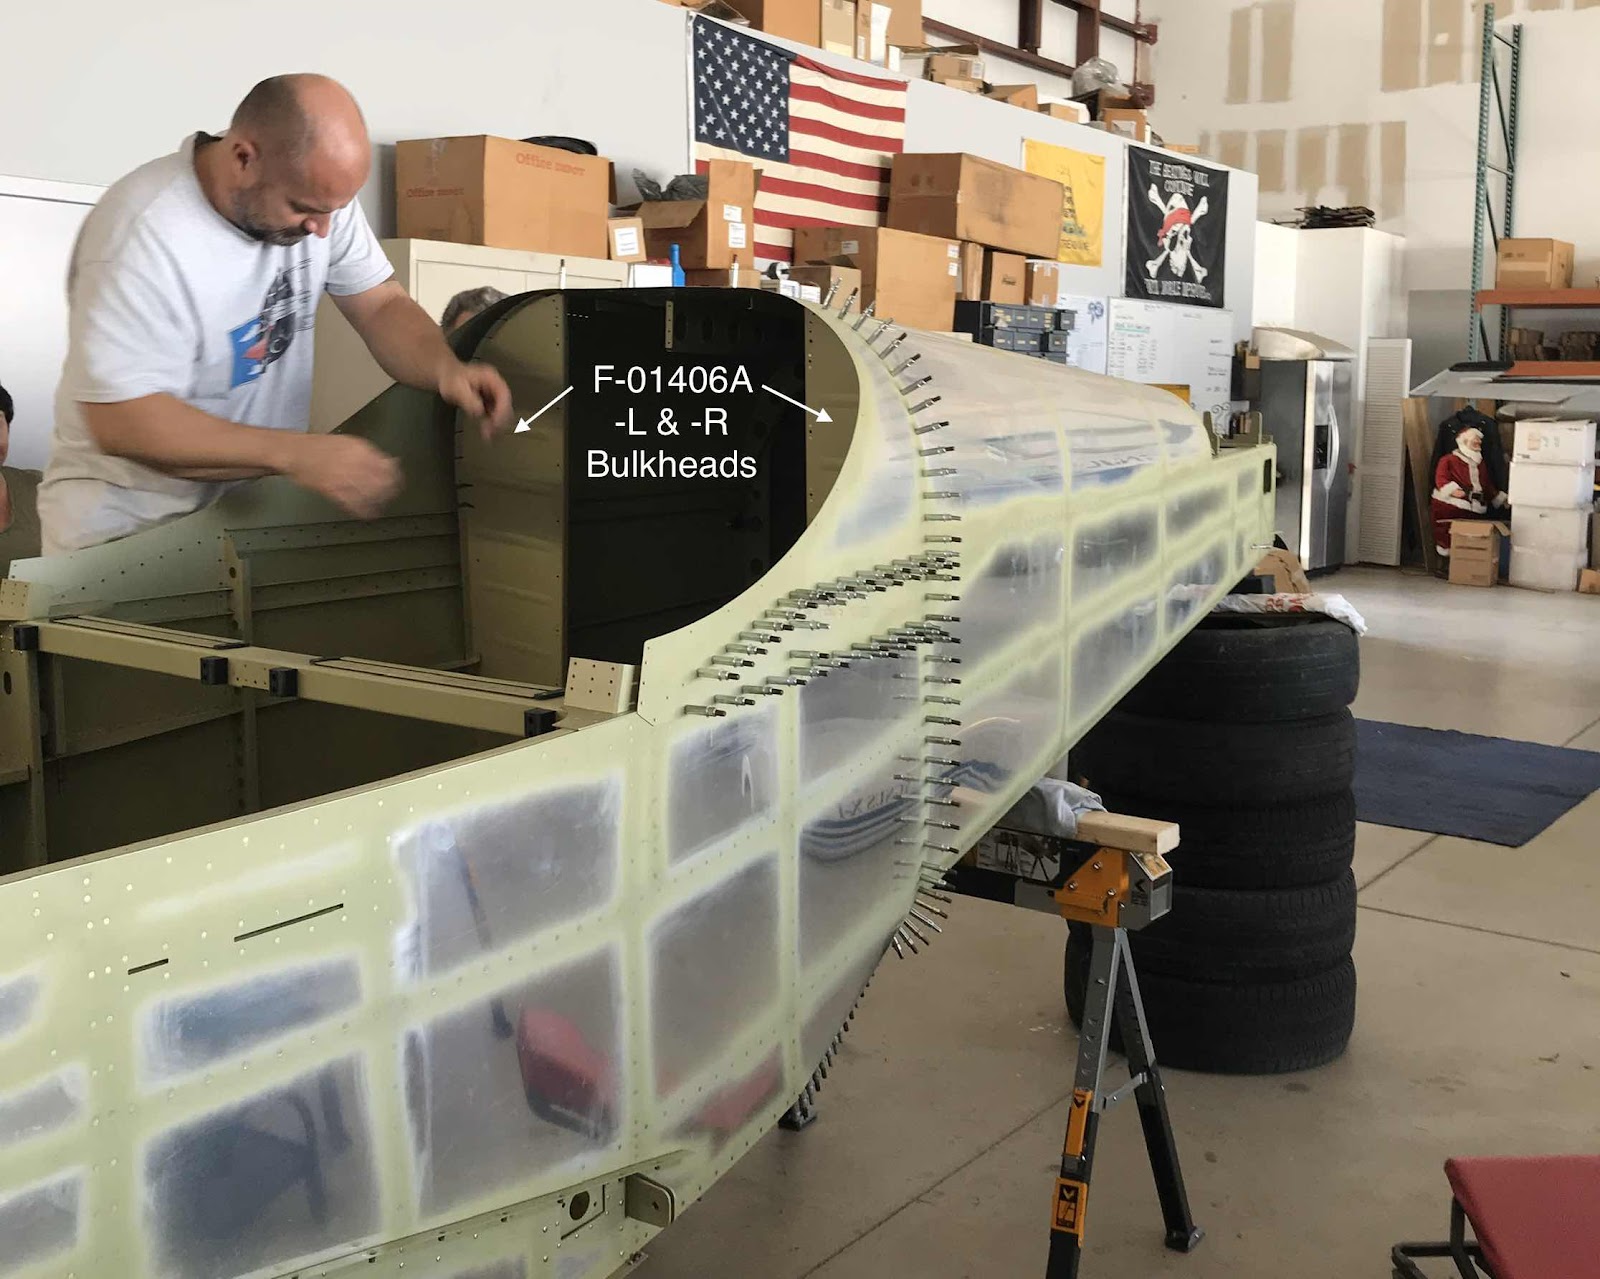
Still fitting the -R Bulkhead into its proper position.
Here are a couple pictures showing the two halves completely clecoed together.....ready for the rivets to be installed.
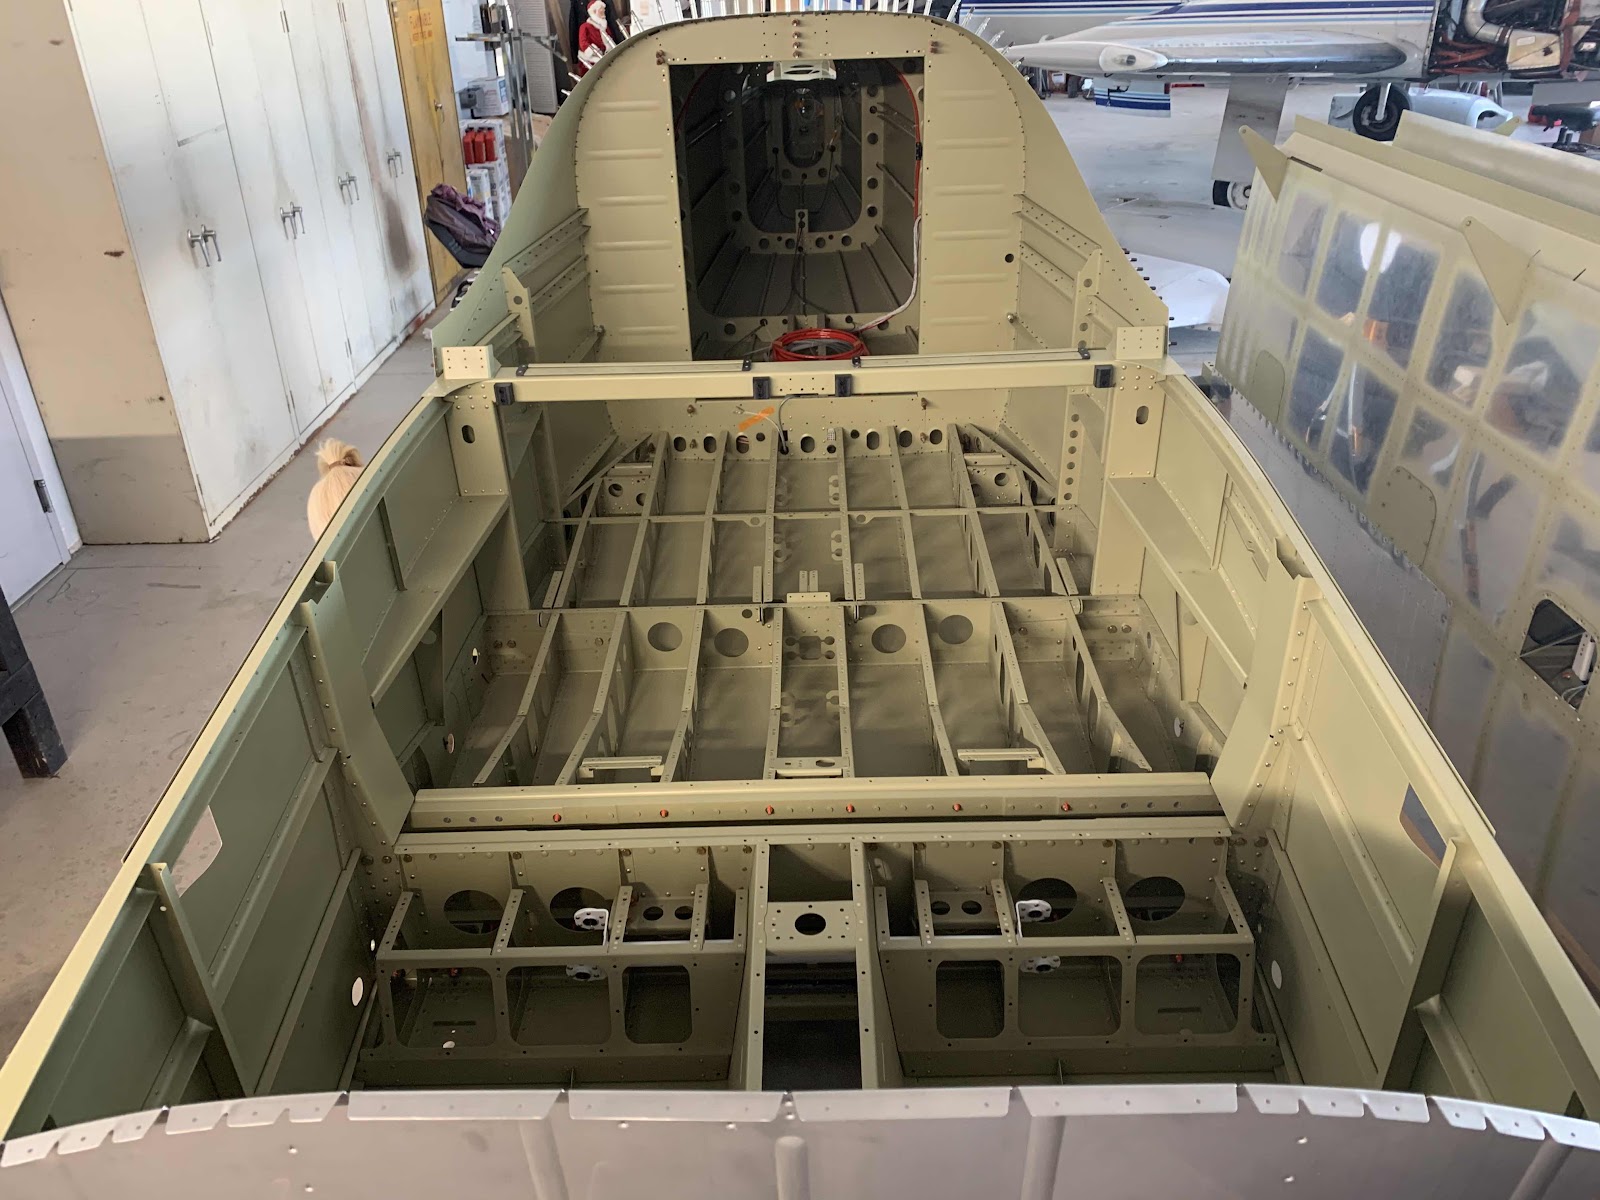
After all the clecoes were installed on both sides, the cradled Wings were rolled next to the Fuselage. Waiting for the next work session.
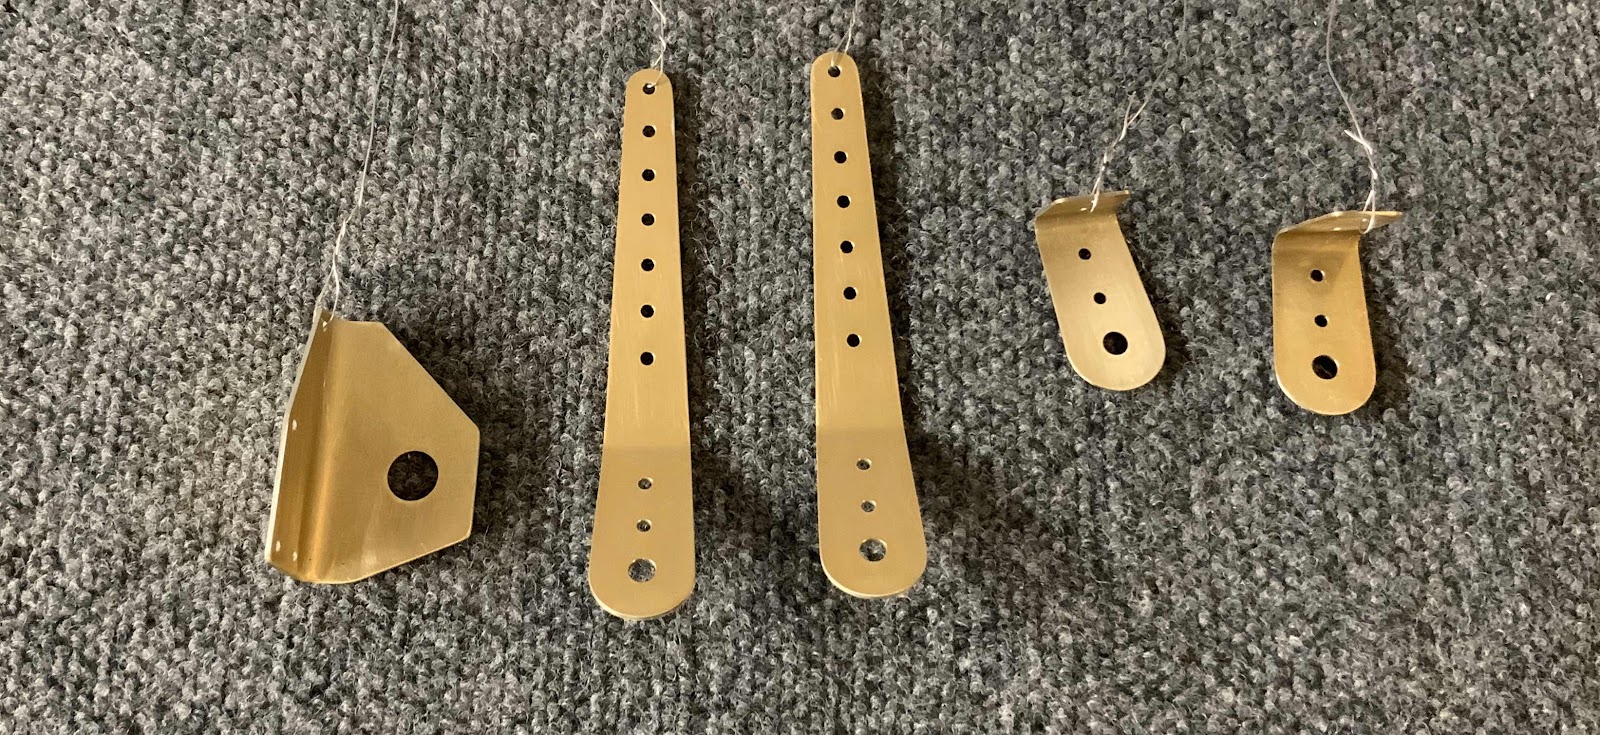
After joining the two halves of the Fuselage, the next parts to get prepared were the F-01406D Shoulder Harness Lug Clips, F-10406E Shoulder Harness Lugs and F-14177 ELT Antenna Bracket. The Lugs and Lug Clips were one piece and had to be separated, but the ELT Bracket was just one piece. After being separated, the edges were cleaned, holes deburred.....
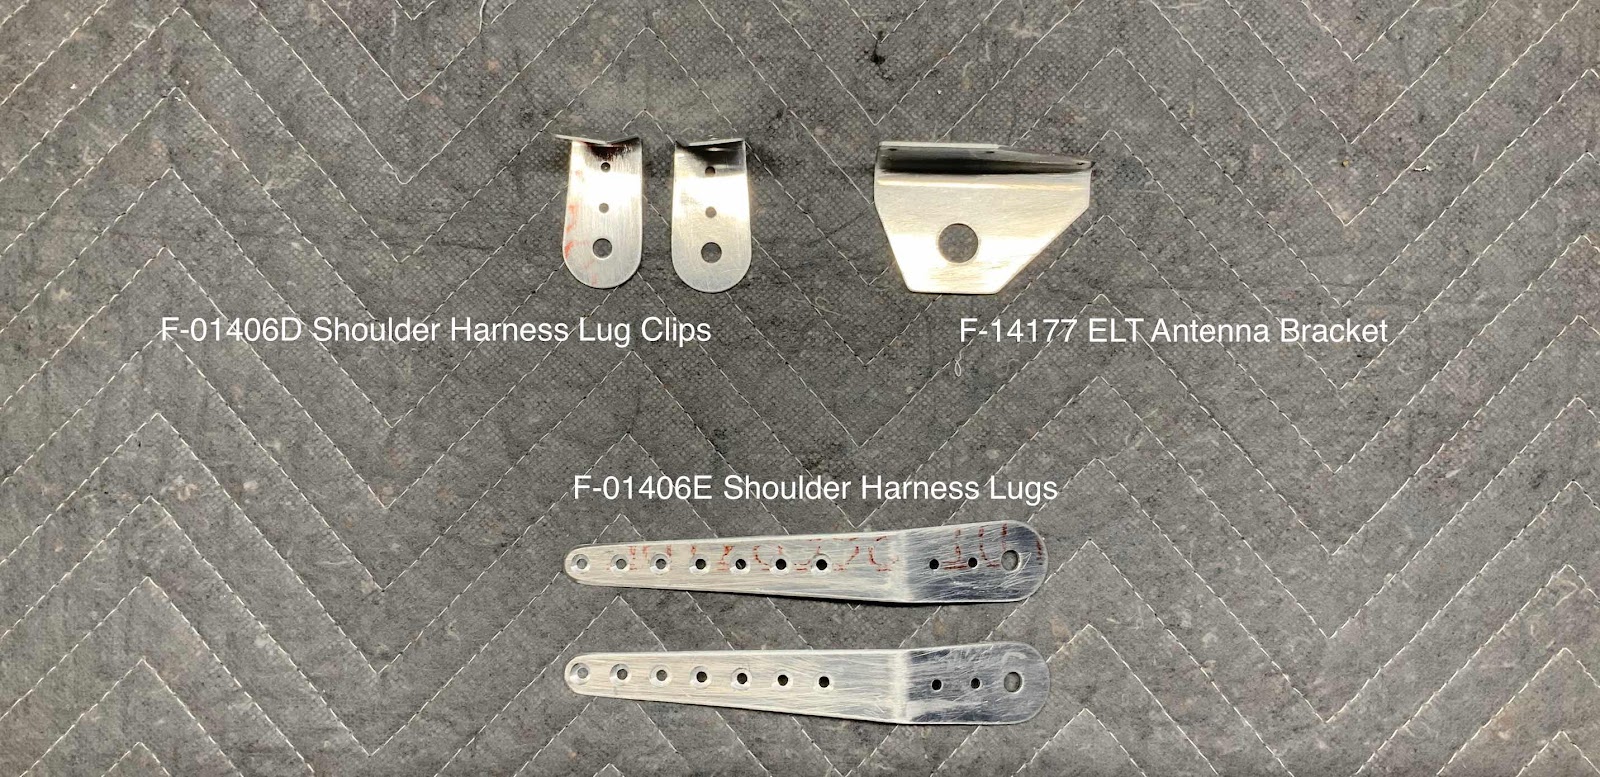
.....and treated with Alumiprep and Alodine. I will Akzo prime the pieces during one of the upcoming sessions.