During this session, I restarted the process of preparing the next “batch” of parts. I looked through the plans to see what parts needed to be prepared and/or were riveted together next. The parts shown below were those parts (at least over the next few pages of the plans). To begin, I deburred all the holes on each piece and dimpled the appropriate holes according to the plans.
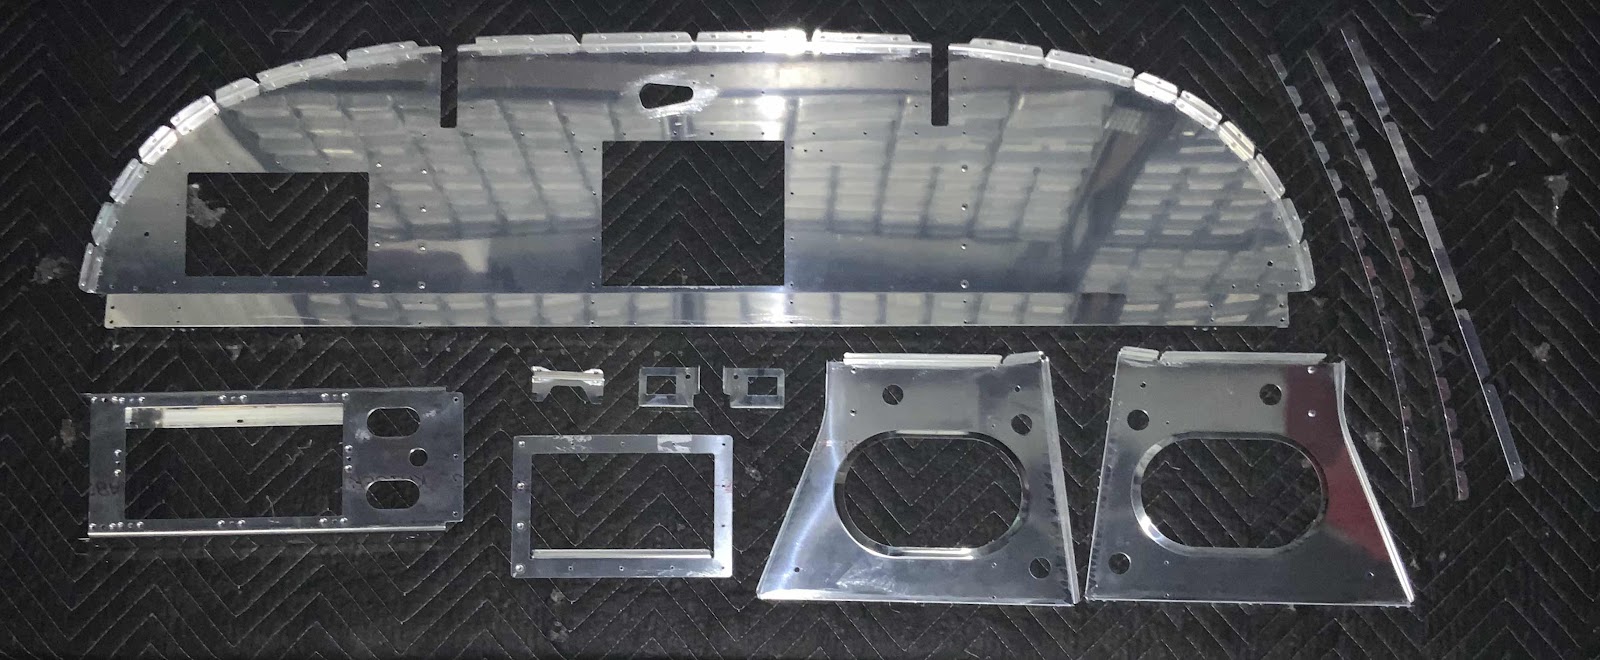
I also stared cleaning all the edges, but did not get finished. I will finish the edge cleaning during the next session and all of them will be ready to be treated with Alumiprep, Alodine and Akzo primer. I will identify each piece after they are primed in a future post.
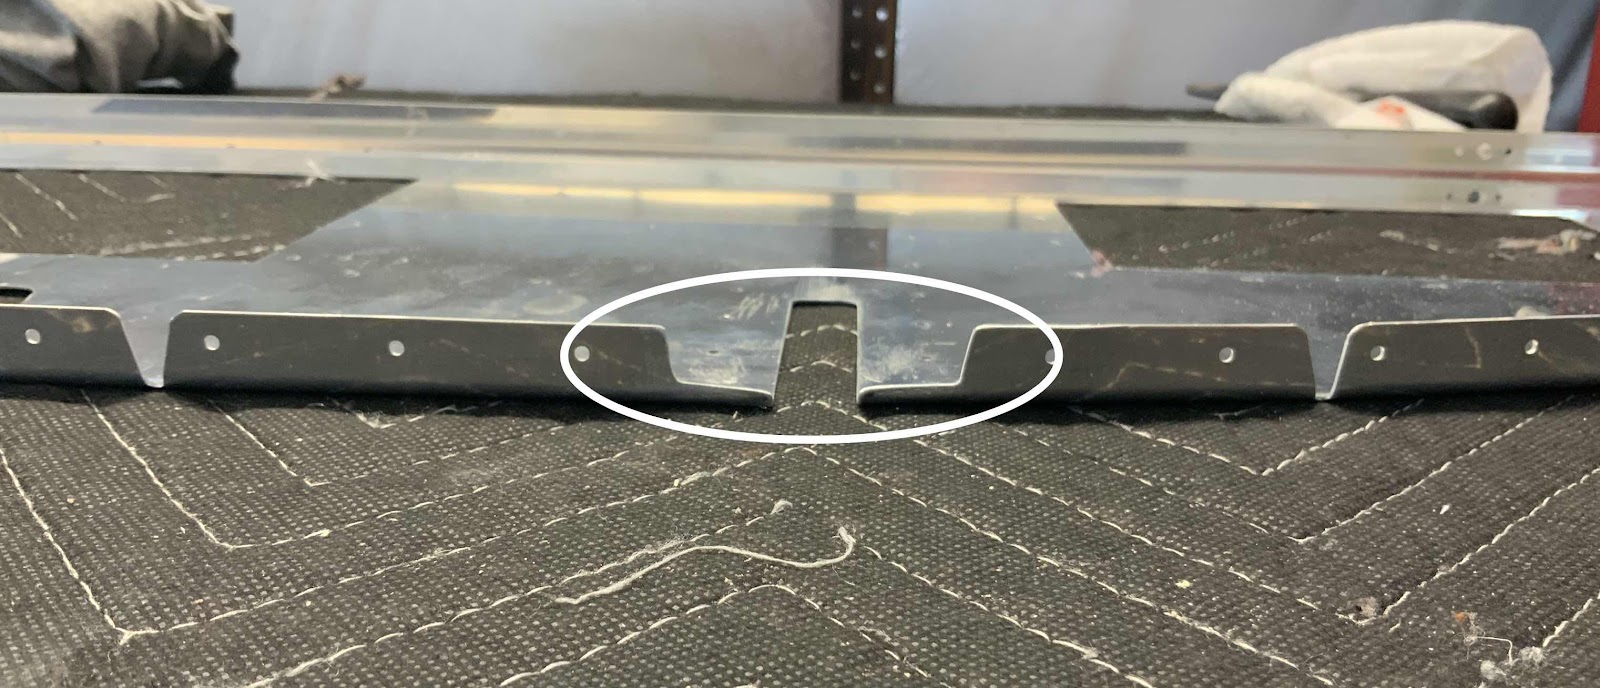
However, I will talk about a portion of the prep work completed on the F-01455 Sub Panel. The plans excerpt below shows two areas of material that needed to be removed.
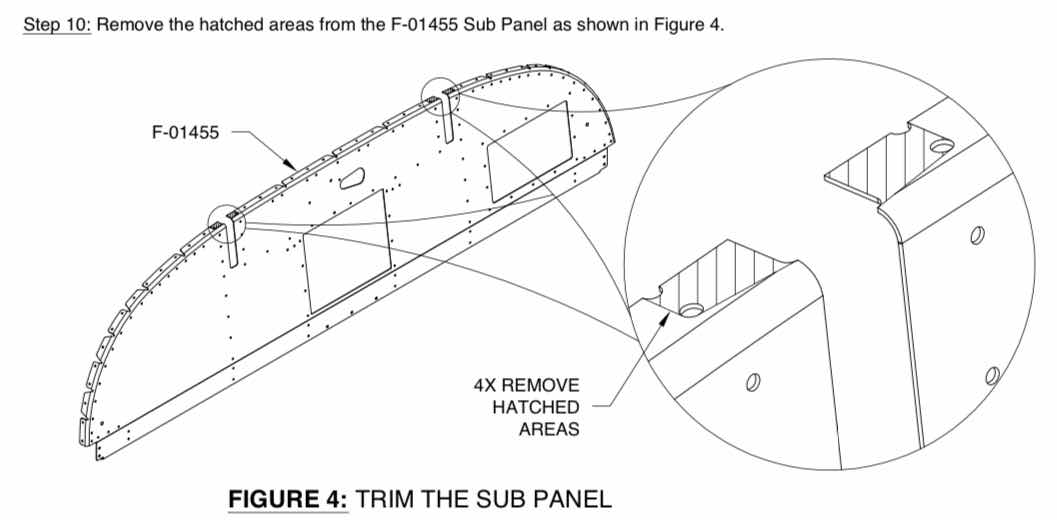
Here is the finished product on the actual Sub Panel after I removed the excess material at each location. I marked each area with a sharpie and used a hand nippler to remove most of the material. Once that was done, I used a small fine hand file and 220 grit sandpaper to make the final adjustments on each side.