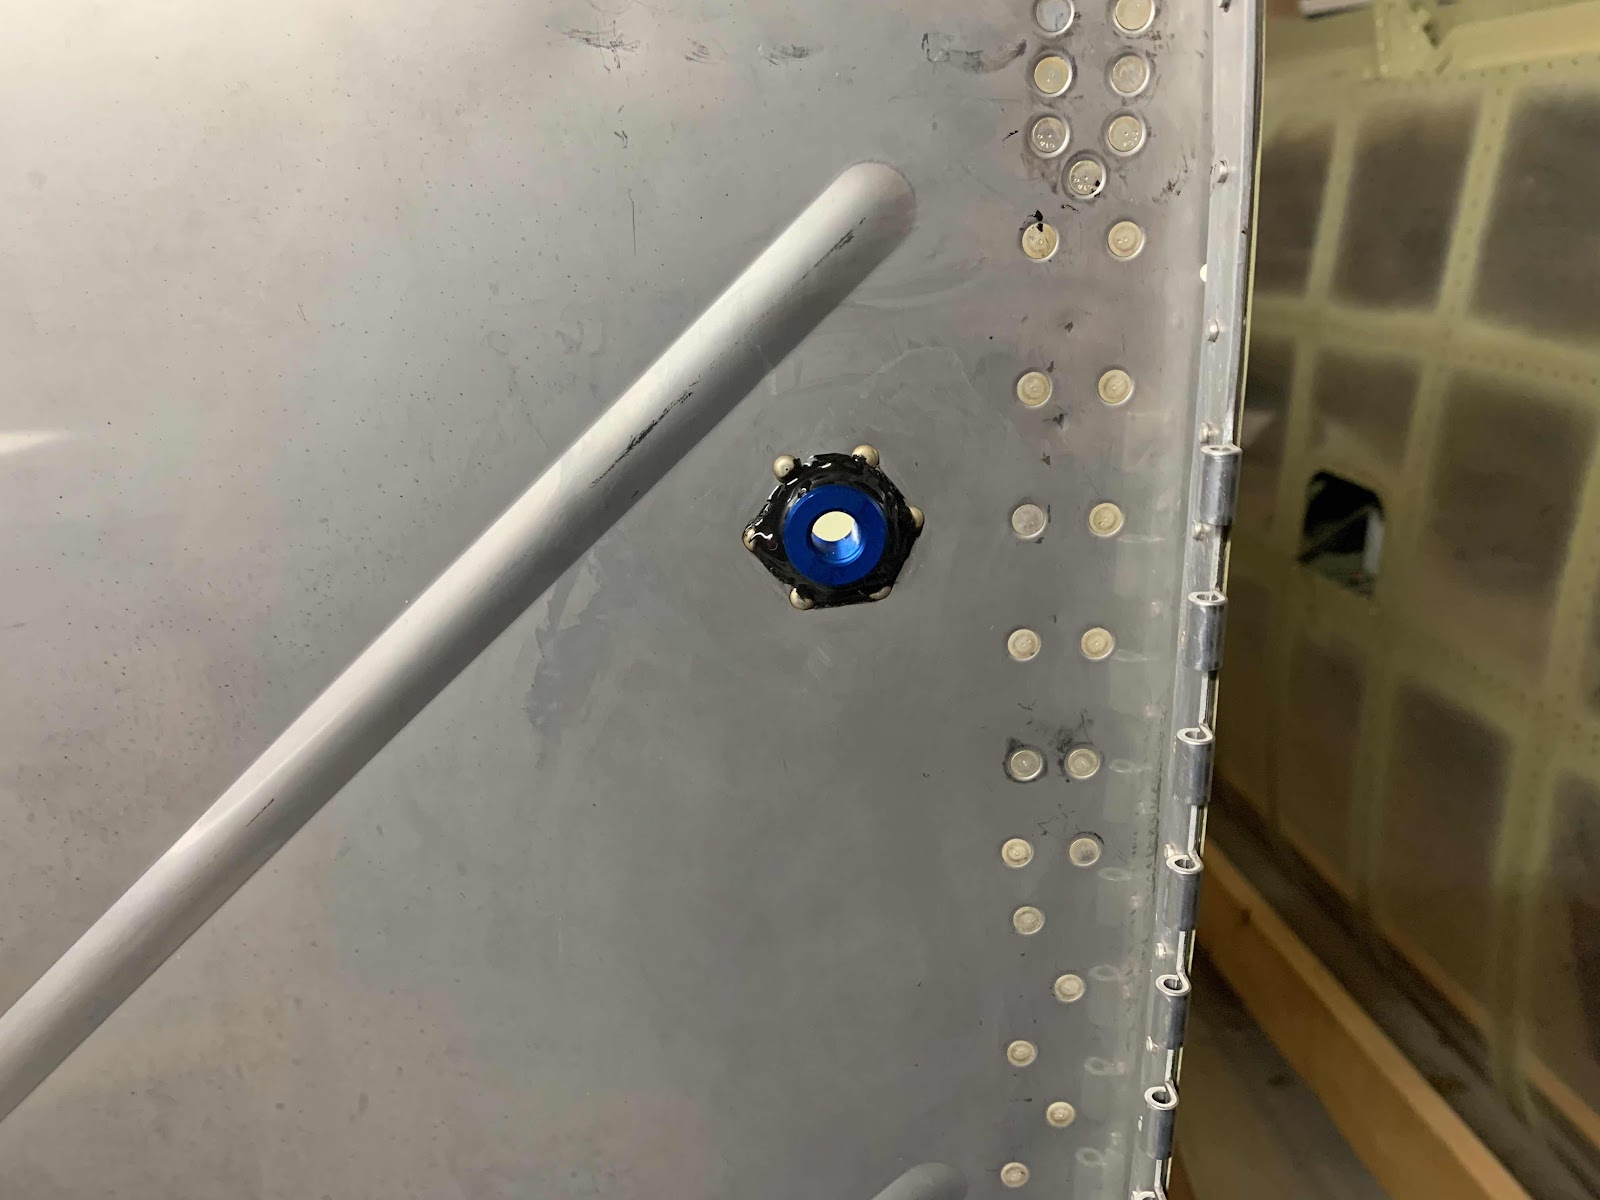
In Part 10, I drilled the two 13/16” holes in the Firewall and match-drilled the six holes in the flanges for the two FLF-00010 Flanged Couplings. Tonight, I riveted them in place using AN470AD3-3.5 rivets. This is the Flanged Coupling installed on the right forward side of the Firewall. From this view, you can see the manufactured heads on the Firewall (as instructed by the plans) and the proseal I put on the forward right side of the Flange/Firewall. Just like before, I applied proseal to the side of the Flange that will mate with the Firewall and “smashed” it into place.....installed clecos and then the rivets.
Here is the completed right side (aft) following the install of the six rivets and all the excess proseal removed with MEK.
This is the left side (forward) of the Firewall. This side was installed the same way as the right side.

And the aft side of the left Coupling after installing the six rivers and removing the excess proseal with MEK.

Now, to install these rivets, you will have to use a “reduced diameter” or “tapered” rivet set. The one I have is on the right and would NOT fit squarely on the manufactured head of the rivet because of the Coupling. So, I had to use my buddy’s on the left. This one worked great and fit perfectly on the head of the rivet.
The next piece to get installed on the Firewall is the VA-107 Brake Fluid Reservoir. It is held to the Firewall with two AN3-5A bolts into previously installed nutplates.
When the Reservoir was installed through the Firewall, proseal was applied to the Reservoir nipple. In the picture below, you can see the black “ring” of proseal around Firewall pass through.

Circled below is the Reservoir nipple that passes through the Firewall. I decided not to put any Proseal on this side of the Firewall because of how good the seal was on the front side. I might change my mind later, but for now I’m going to leave it alone.
