
The work and pictures from this post are from September 3, 2023.
Now that the bracket has been completely trimmed and formed to fit the plane, I repainted it and attached the six K1000-3 nutplates using AN426AD3-3.5 rivets (the same hardware used on the fuel tanks in Section 18). Here is the front side…..
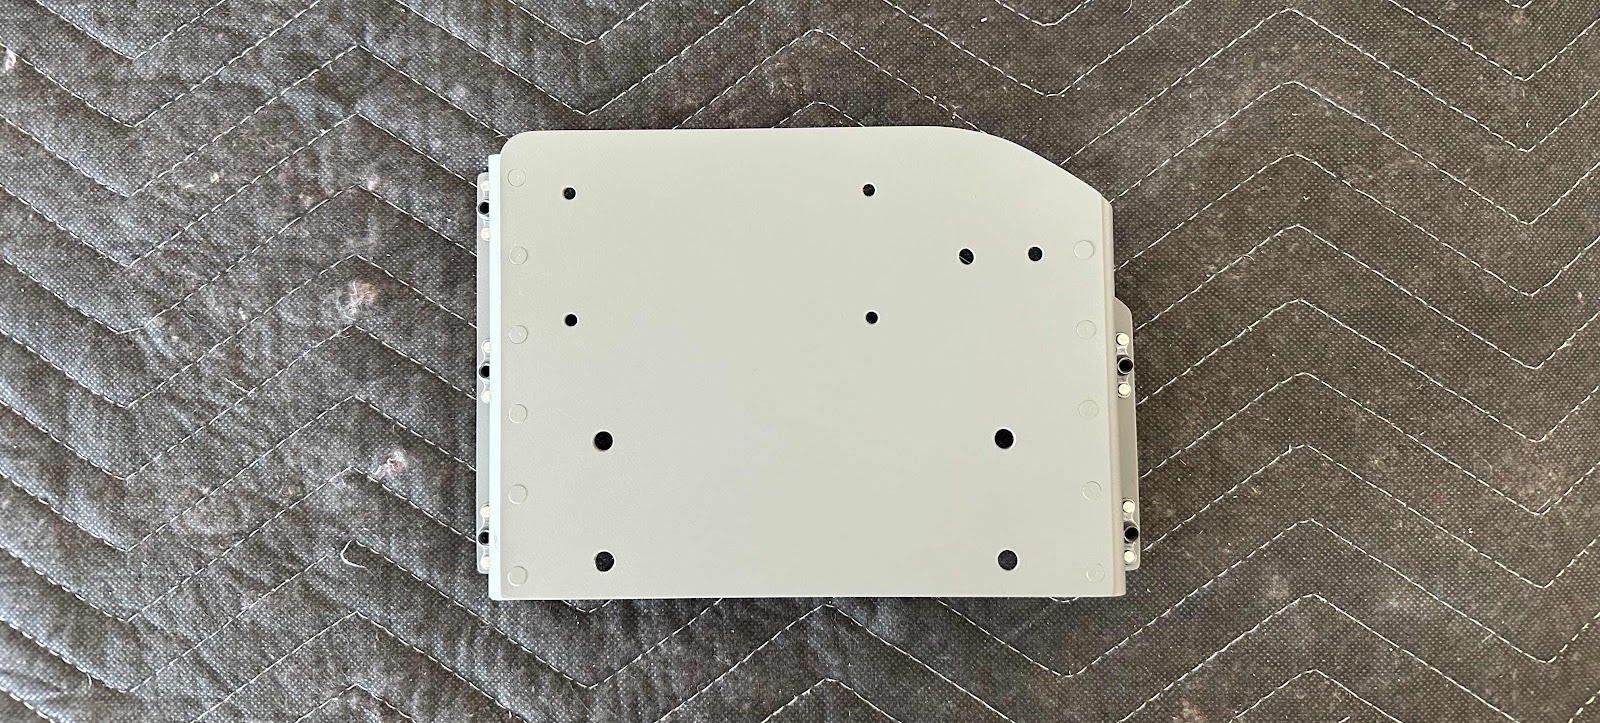
…..and underneath.

The 1/8” of material I trimmed off the zee flanges leaves enough space for the nutplates to sit on and the appropriate edge distance for the rivets.

Now, I installed all four of the parts onto the completed bracket with the hardware described in Part 8. Here are a couple of angles:


I got a little happy with the torque seal and put it on the nuts underneath after everything was mounted. It’s kinda like Frank’s Hot Sauce, “I put that S**** on everything”!

Finally, here is the initial “mounting” onto the airplane using AN3-4A bolts. I didn’t show it, but prior to installing the nutplates on the zee brackets, I match-drilled the five mounting holes into the sub panel. I marked the five holes and used a 90° air drill to make the holes (from forward to aft…..there was not enough room with the avionics to go the other way…..mostly). It also made more sense to match-drill the holes from the side the bracket would be mounted on.

This is looking at the opposite side of the sub panel (looking forward). From this angle you can see the five AN3 bolts I used to mount the bracket to the sub panel.
