This work session was completed on May 3, 2021.
I thought I took several pictures during the fitting and installation of the Tail Gear Spring, but can’t find them if I did. So, the only pictures I have are of the completed and installed Tail Spring. The excerpt below shows the installation process for the Tail Gear Spring.
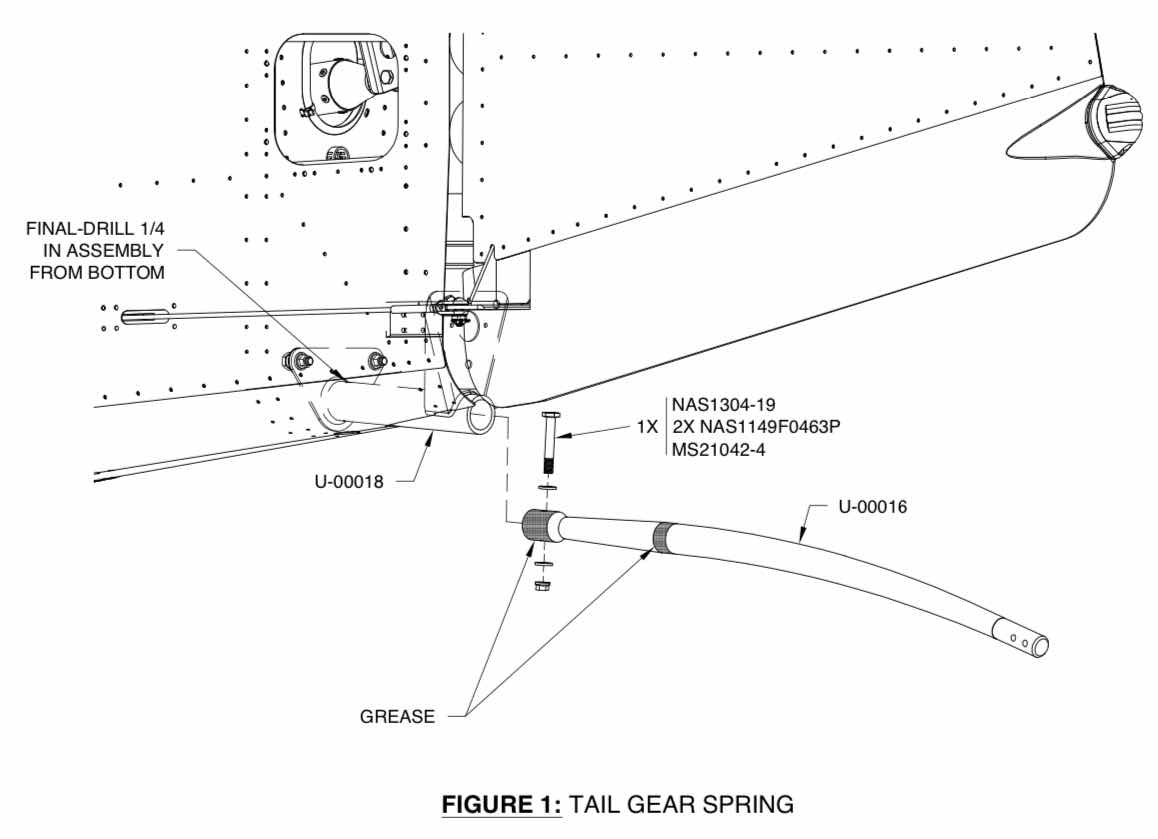
(Excerpt from the Van’s RV-14 Builder Plans)
The first step in the installation process was to clean the inside of the U-00018 Tail Gear Mount Tube and remove any surface rust, roughness or powder coating overspray with 400 grit sand paper. In the excerpt above, the Tail Gear Spring needs to have grease applied in two specific areas. In those areas, I also used 400 grit sand paper to clean those two mounting areas prior to installation. The cleaning of Tail Gear Mount Tube and Tail Gear Spring with 400 grit sand paper was a process that took awhile.....sand, fit, sand, fit, sand, fit.....just like most everything else on the plane. It took ALOT of sanding to get the two pieces to fit together properly.
The first step in the installation process was to clean the inside of the U-00018 Tail Gear Mount Tube and remove any surface rust, roughness or powder coating overspray with 400 grit sand paper. In the excerpt above, the Tail Gear Spring needs to have grease applied in two specific areas. In those areas, I also used 400 grit sand paper to clean those two mounting areas prior to installation. The cleaning of Tail Gear Mount Tube and Tail Gear Spring with 400 grit sand paper was a process that took awhile.....sand, fit, sand, fit, sand, fit.....just like most everything else on the plane. It took ALOT of sanding to get the two pieces to fit together properly.
Next, AeroShell Grease #5 was applied to the two areas on the Tail Gear Spring and it was inserted into the Tail Gear Mount Tube. (I also applied some of the grease inside the Mount Tube). A previously fabricated drift pin was inserted into the mounting hole (from the bottom), the assemble was clamped together with a C-clamp to prevent it from moving, the drift pin was removed and the undersized upper hole in the Tail Gear Mount was final-drilled to 1/4”. Lastly, the NAS1304-19 close tolerance bolt and associated hardware was used to final install the Tail Gear Spring to the Fuselage.
Here is the completed and installed Tail Gear Spring and Tailwheel Assembly from the left side.....
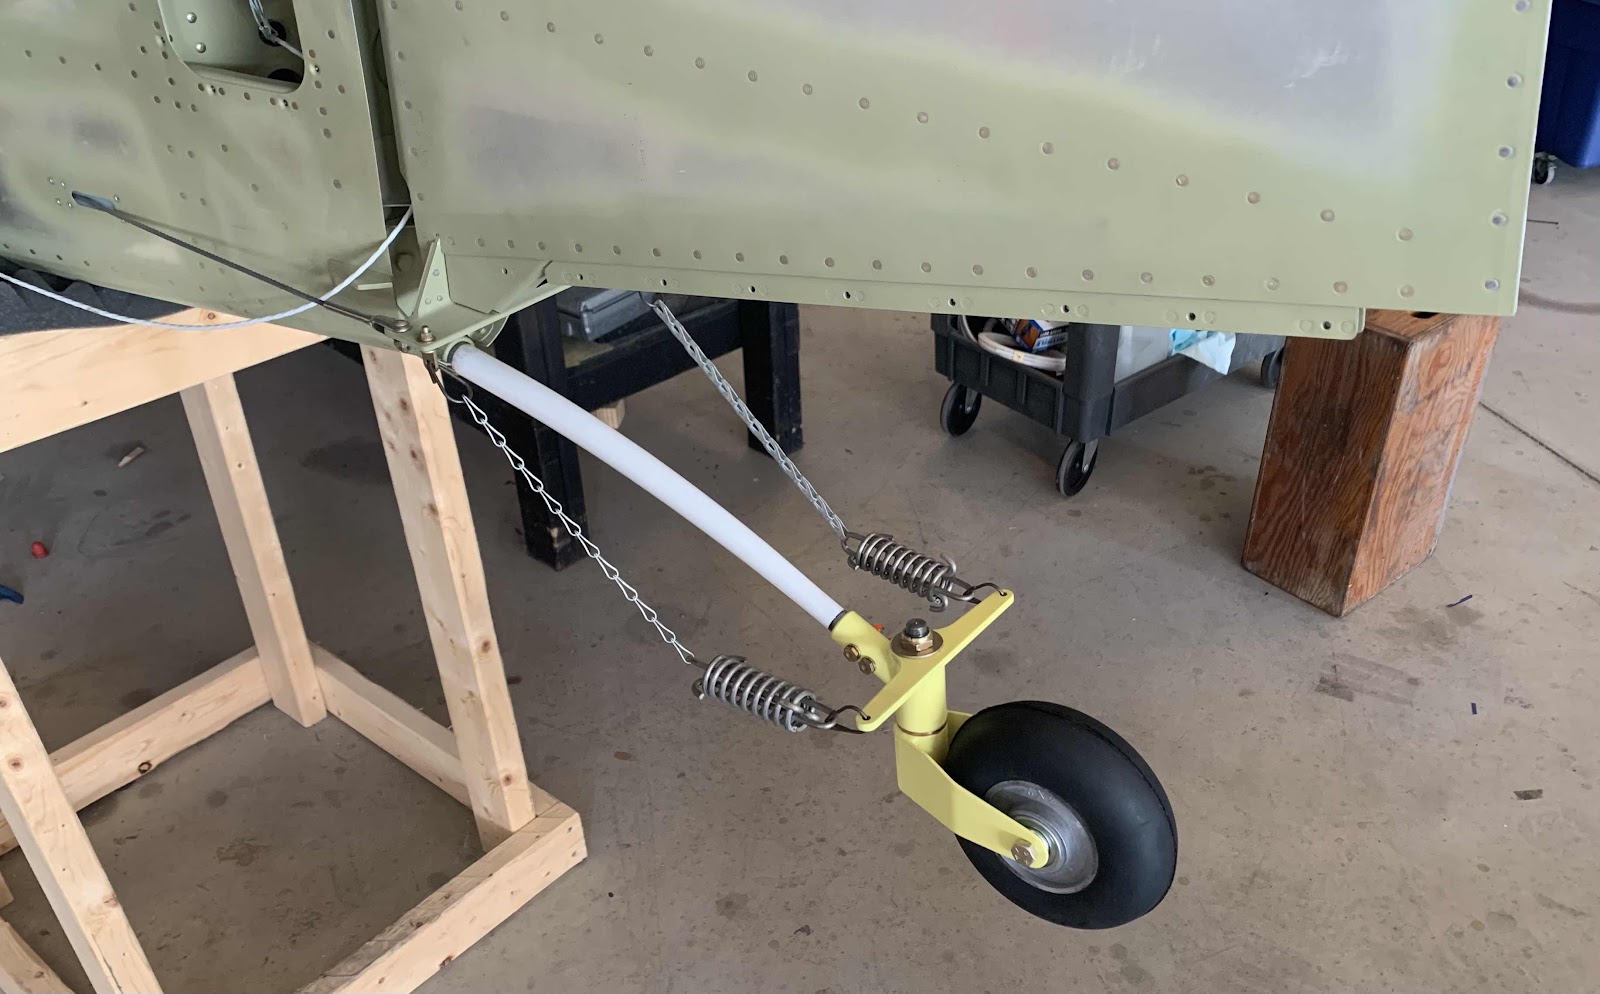
.....and the right side.

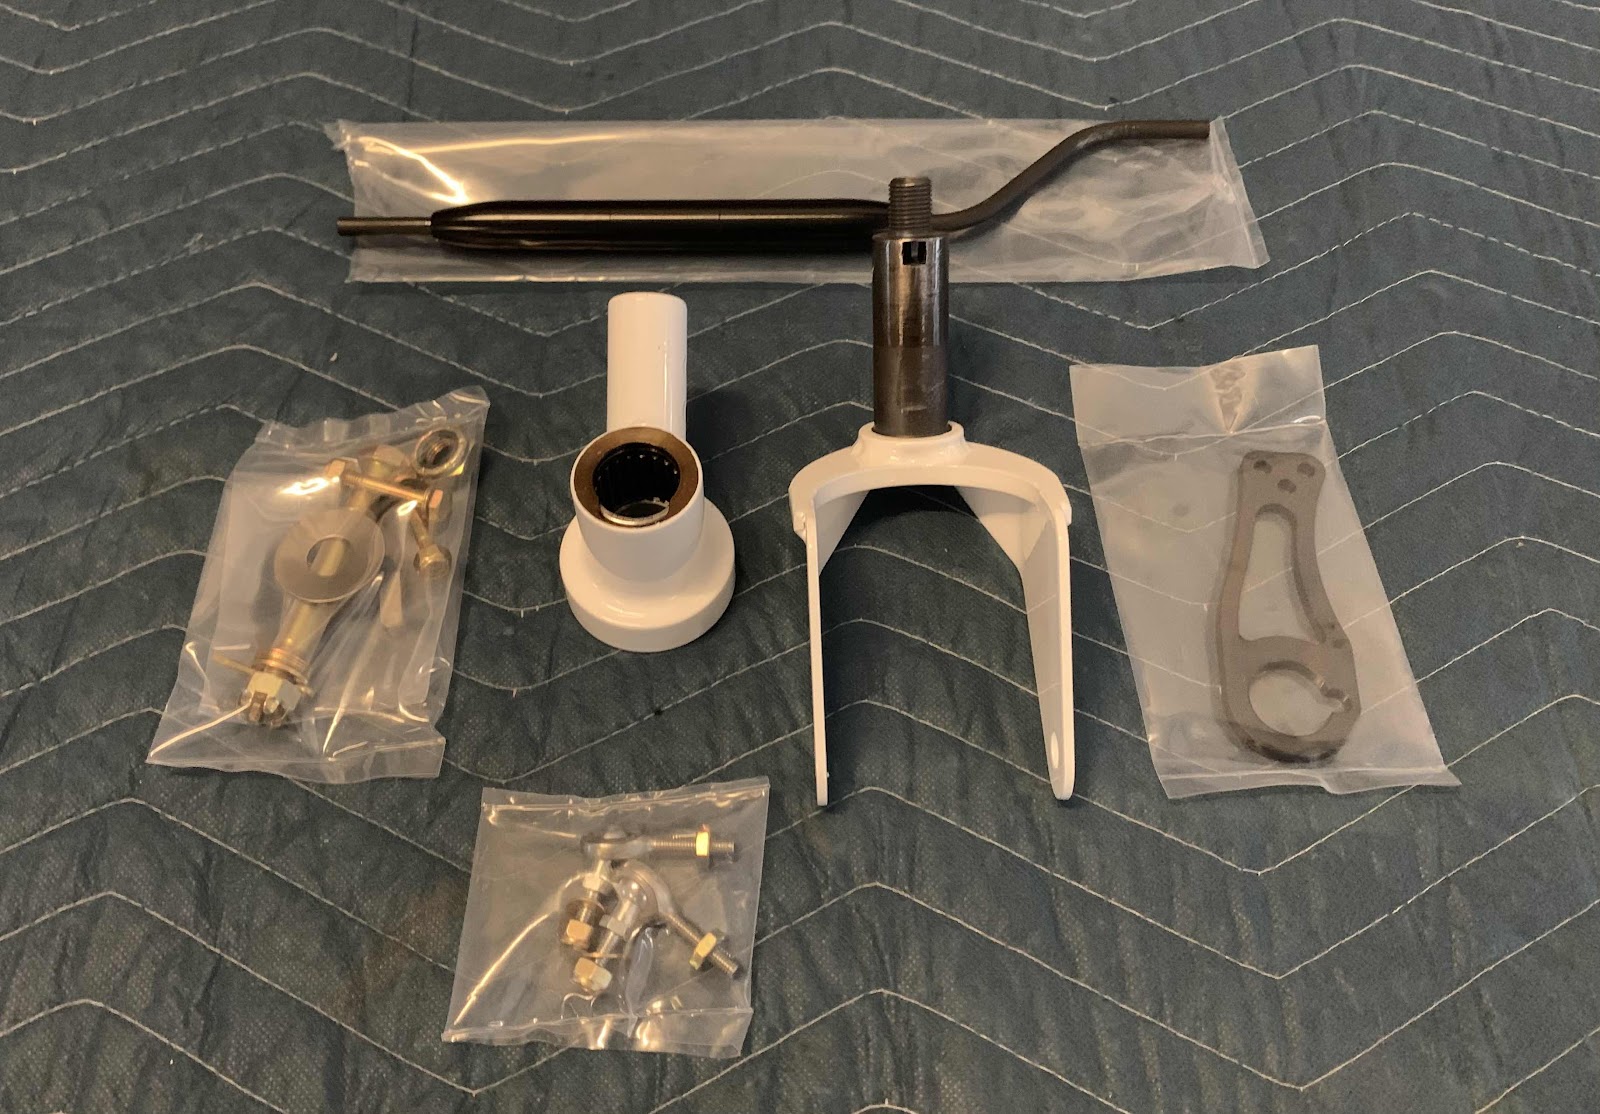
I also don’t have ANY pictures of the installation of the Tailwheel assembly, but it really doesn’t matter! I will be removing the stock Van’s assembly and replacing it with the “RV-14 Tailwheel Assembly Including the Steering Link” (in white) from JD Air. The picture below shows the JD Air assembly out of the box. Just to be clear, there is absolutely NOTHING wrong with the stock Van’s assembly.....I just don’t like the springs and chains. The JD Air version uses a steering link instead of the chains, so it’s a little cleaner installation in my view.
Please see the complete installation of this kit under Modification and Upgrades - Tail Wheel Assembly.
.....BUT FOR NOW......
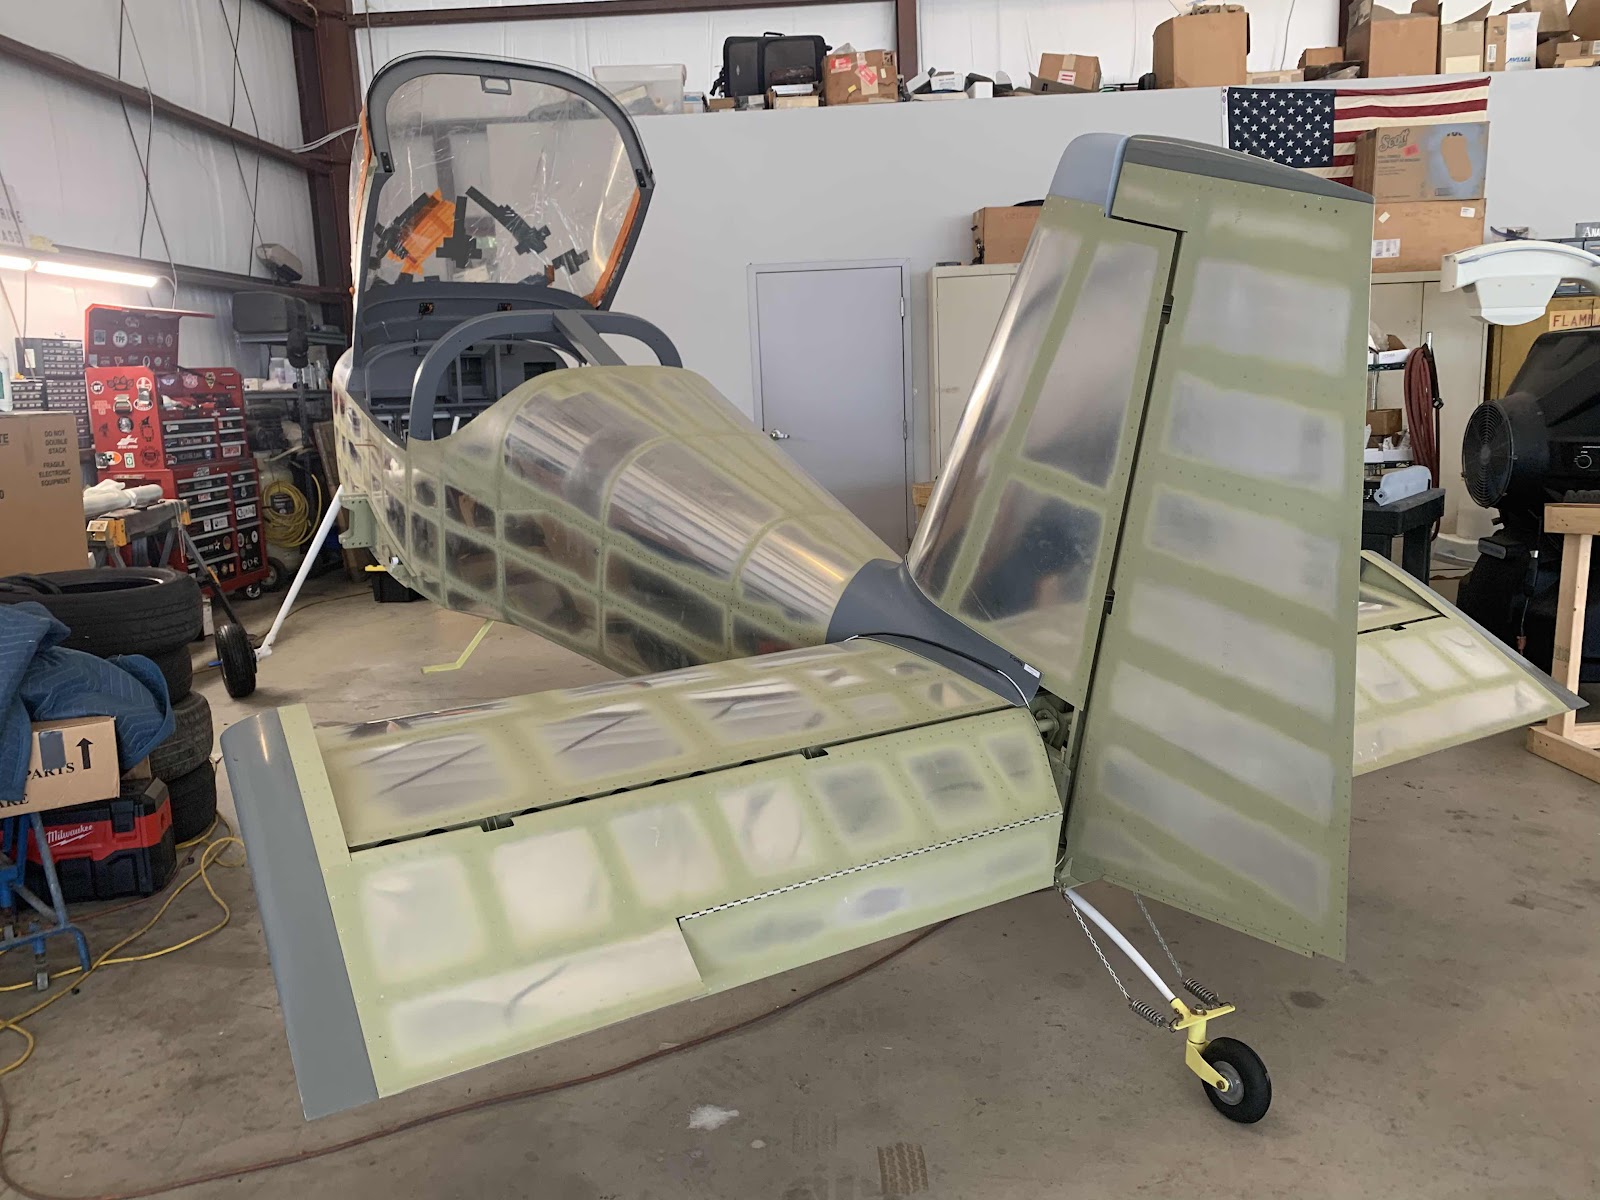
SHE IS STANDING ON HER OWN FEET FOR THE FIRST TIME!!!!!