
This work session was completed on May 1, 2021.
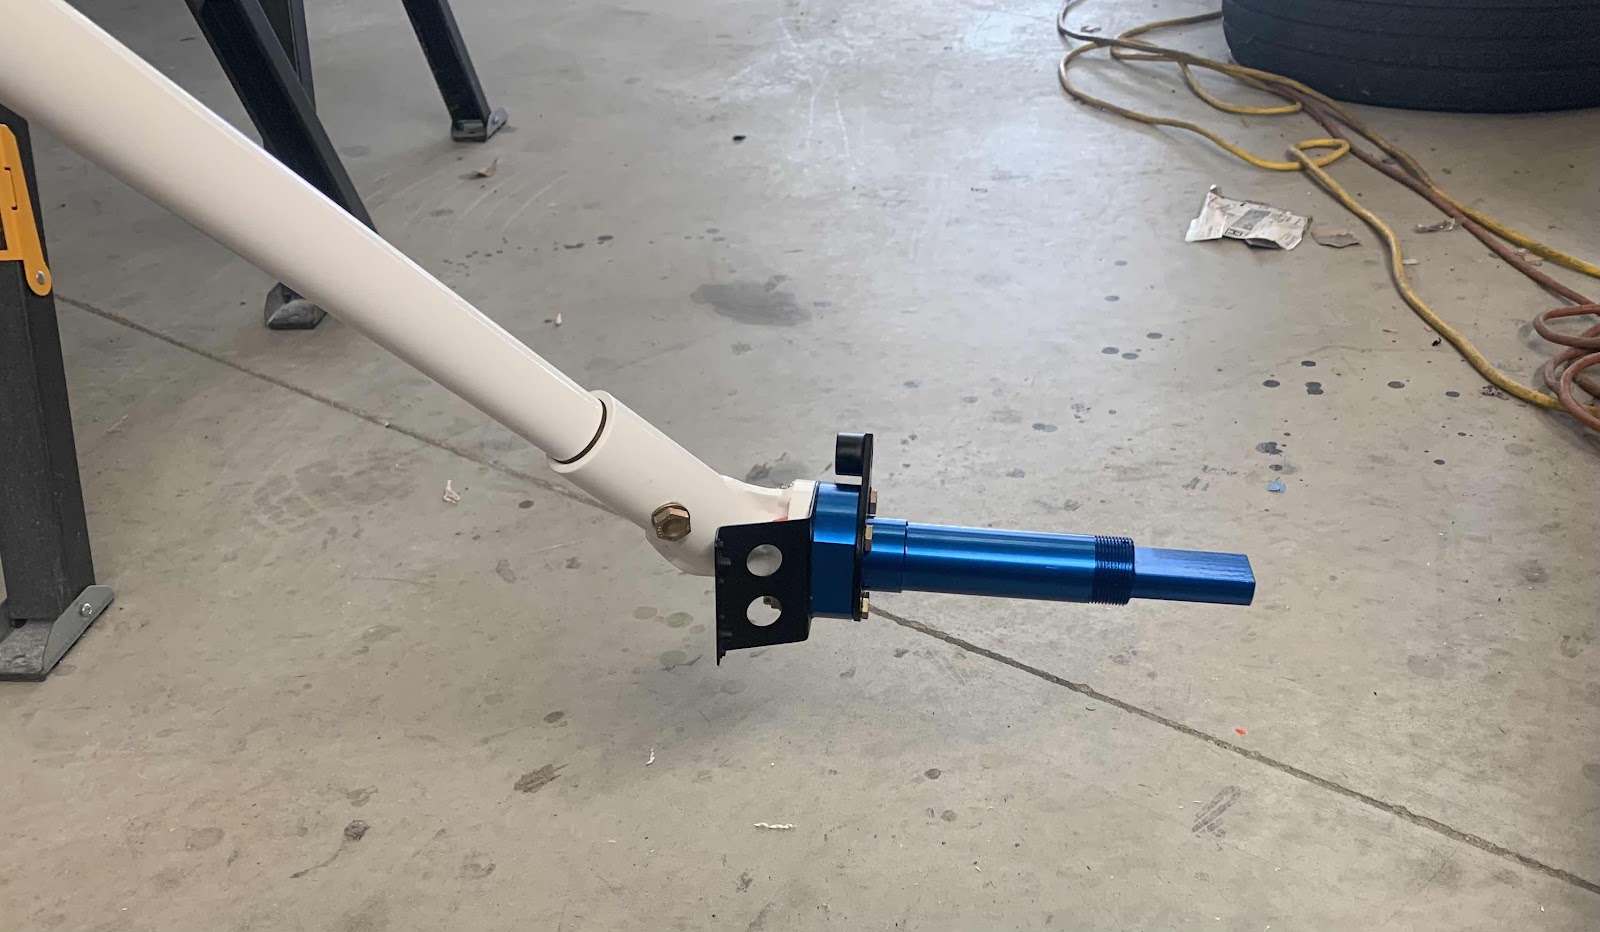
Now it’s time to install the U-00009 Axles (in blue). There are a couple of parts that get bolted together with the Axles during this step. The U-01418 Inboard Wheel Fairing Bracket (black piece on the left with the two holes) and the Brake Torque Plate (black piece on the right). The whole assembly is held together using four NAS1304-21 close tolerance bolts. This is the completed left Axle.....
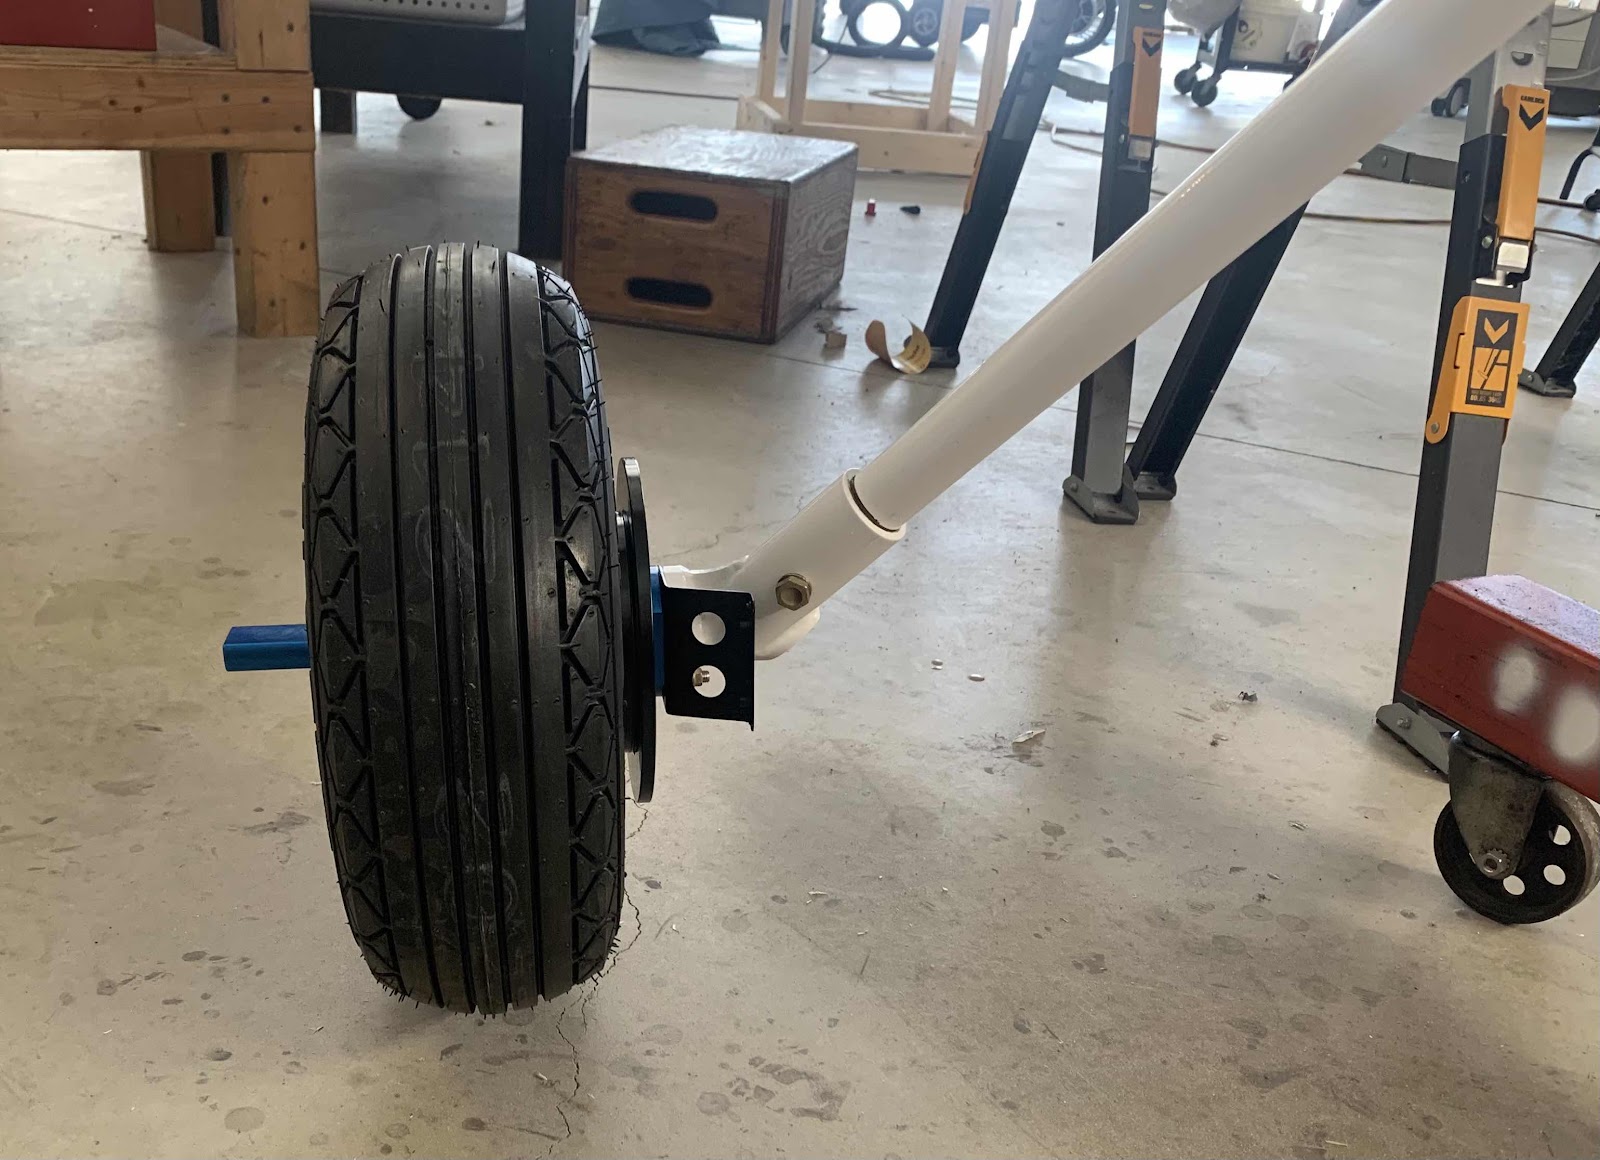
.....and with the left wheel installed.

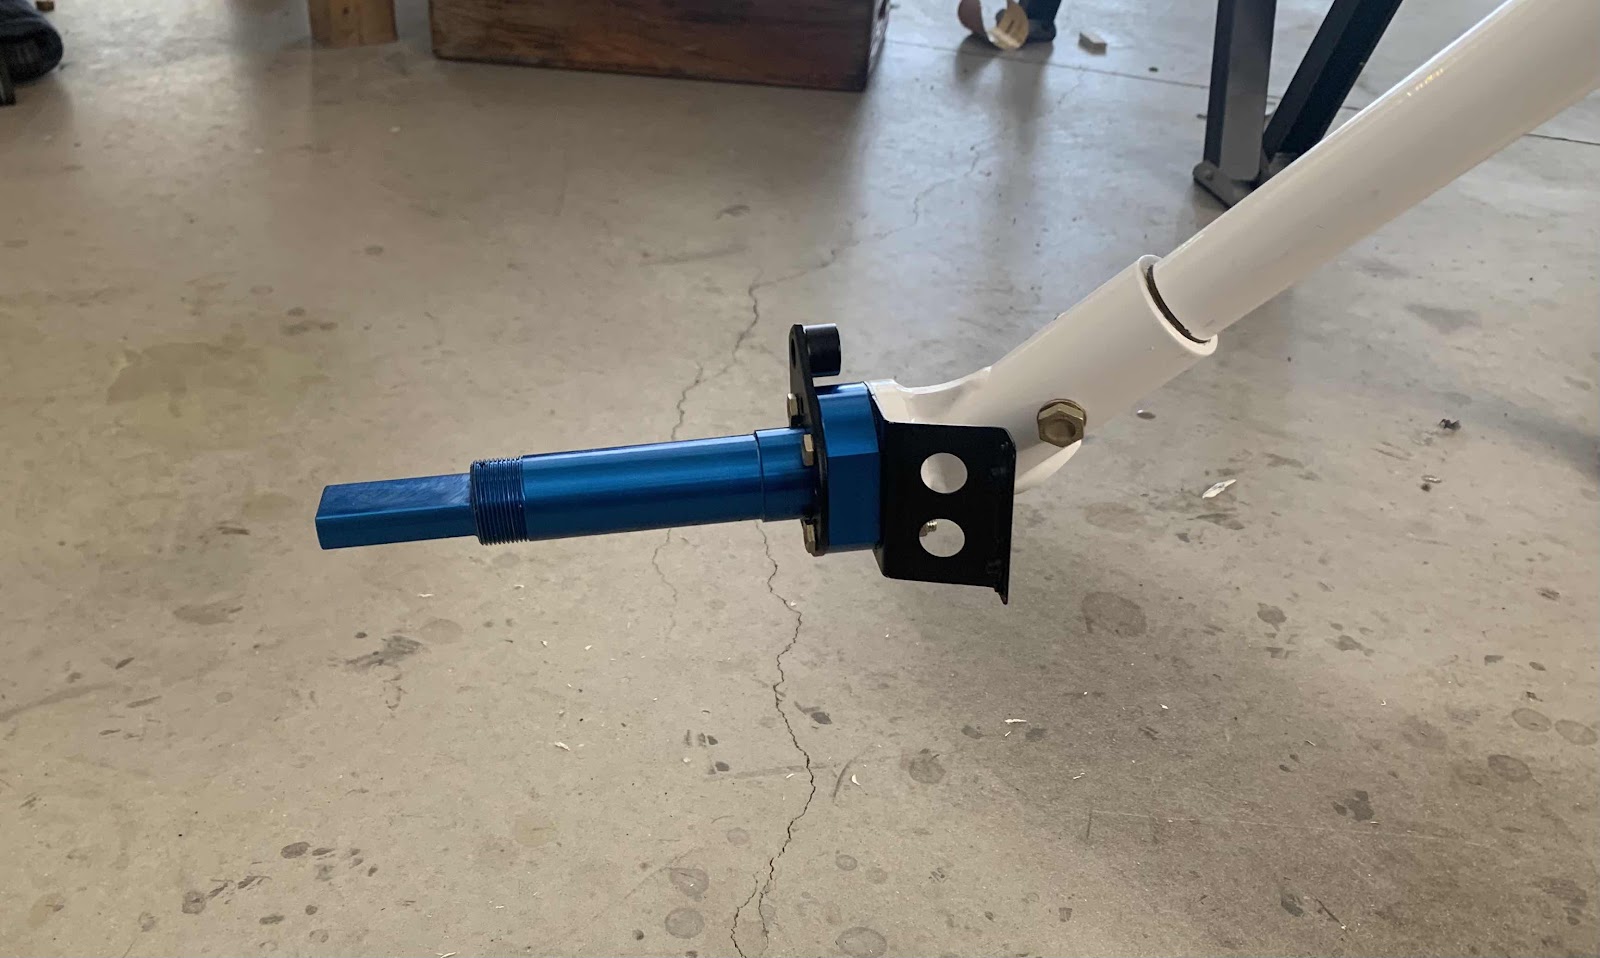
The same parts and pieces went into the assembly of the right Axle. Here is the completed right Axle.....
.....and with the wheel installed.
Just a head on picture with both wheels installed.

Now, I had an “issue” I had to call Van’s about. In the picture below, the MS24665-359 cotter pin did not fit into the predrilled hole in the Axle....the cotter pin was to big or the hole was too small. I wondered if it was the incorrect cotter pin size, mis-drilled during fabrication, etc.....so I called Van’s to inquire. They didn’t really have any answers, as they haven’t run into this “problem” before. One suggestion was to drill the hole out to 1/8th (correct size for the cotter pin), but I didn’t like the idea of “modifying” the Axle. Another suggestion was to use a smaller cotter pin in the hole. I didn’t like the idea of using a smaller piece of hardware than the plans called for during installation. My A&P buddy Jeff said it was the right sized cotter pin. So, what do I do?
I put a 1/8 drill bit into my drill and put the drill bit up to the hole to see the actual size difference. I spun the bit (slowly with my hand) about a 1/2 turn and the drill bit went all the way through the hole! Guess what? Turns out there was a tiny burr on the hole from the manufacturing process the was stopping the cotter pin. Once the burr was removed, the cotter pin also went right through the hole. Much to do about nothing apparently. So, the moral of the story here is.....check for a burr prior to installing your cotter pins!

After installing the Axles, the plans instruct you to verify the Axle alignment is correct by using a method they fully explain. I have decided to wait until the airplane is finished (airframe, engine, prop, interior, panel, etc) to verify the toes. The reason being.....to fix any out of alignment of the Axles, shims will have to be used to correct the error. I would rather wait and correct any errors with the proper weight on the wheels. I fell like I would get a truer result doing it this way.