
On March 6, 2106, Van’s published Service Bulletin 16-03-28 relevant to RV models RV-3, 4, 6, 7, 8, 9, 10 and 14. The reason for the SB was due to cracking of the wing aft spar at the inboard aileron hinge bracket attach rivets.
It’s my understanding (and happened in my case) that all new kit orders will have previous SB’s included in the kits (at the time of order) and any SB’s published prior to receiving your kit, need not be ordered separately. I completed this SB on January 11, 2018 and the work is covered in Section 15: WINGS, REAR SPAR (PART 8).
Fast forward to today…..
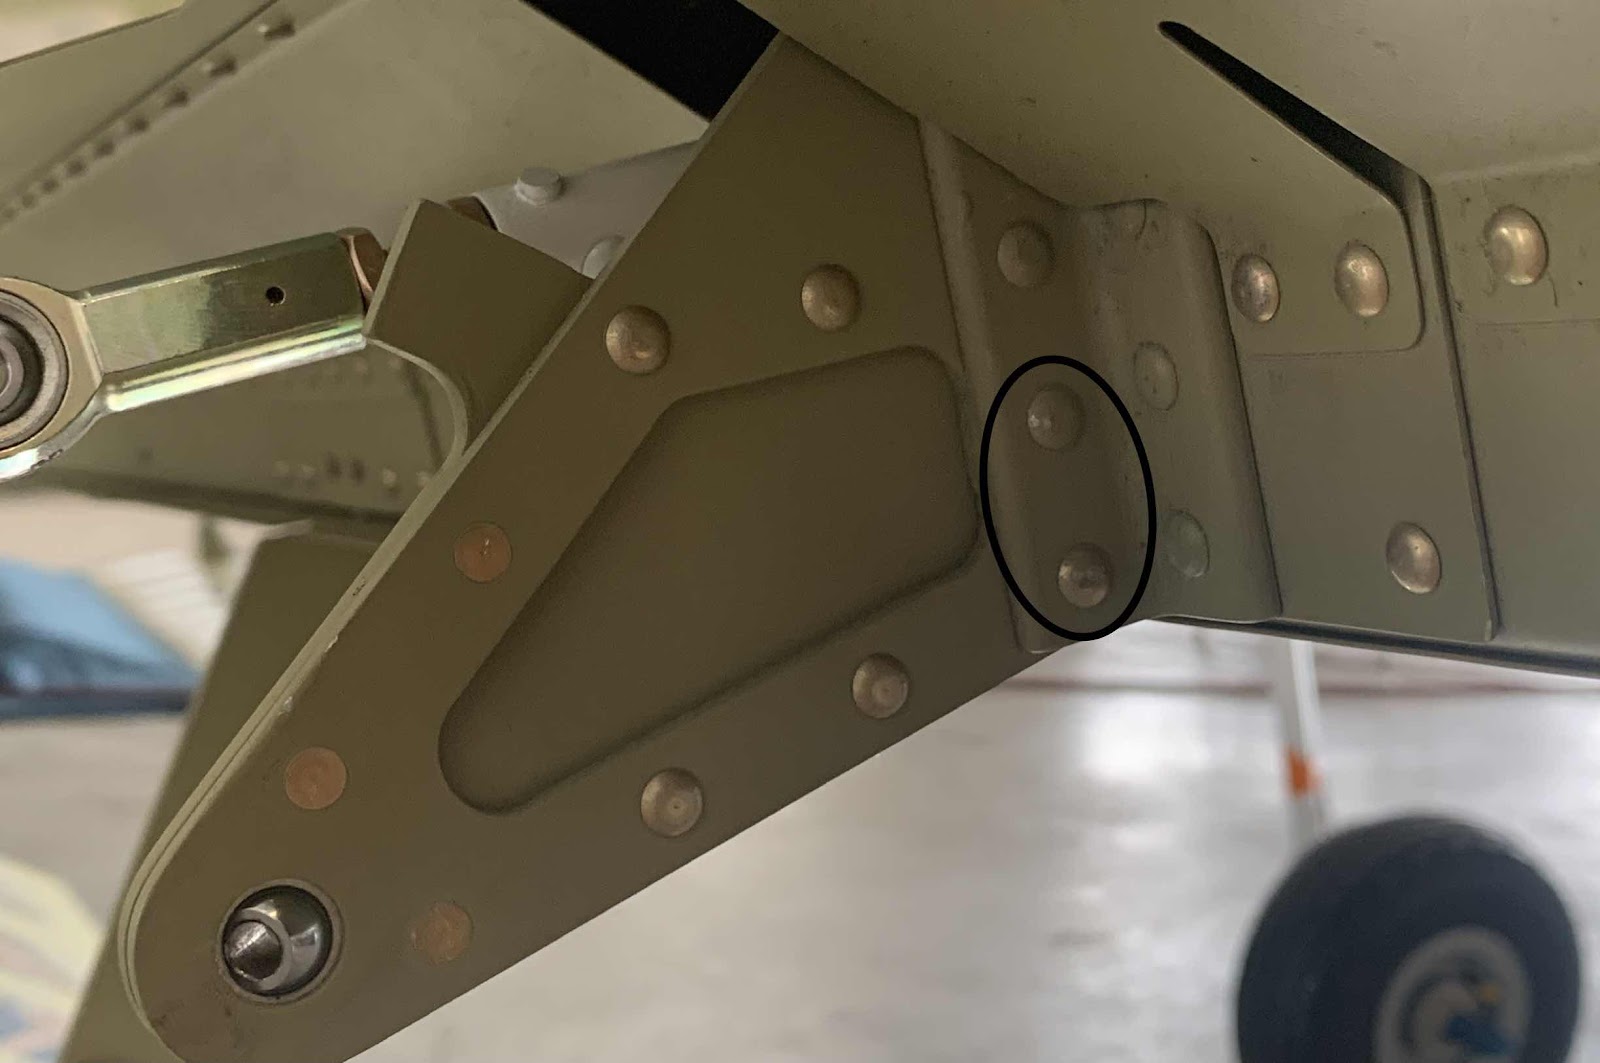
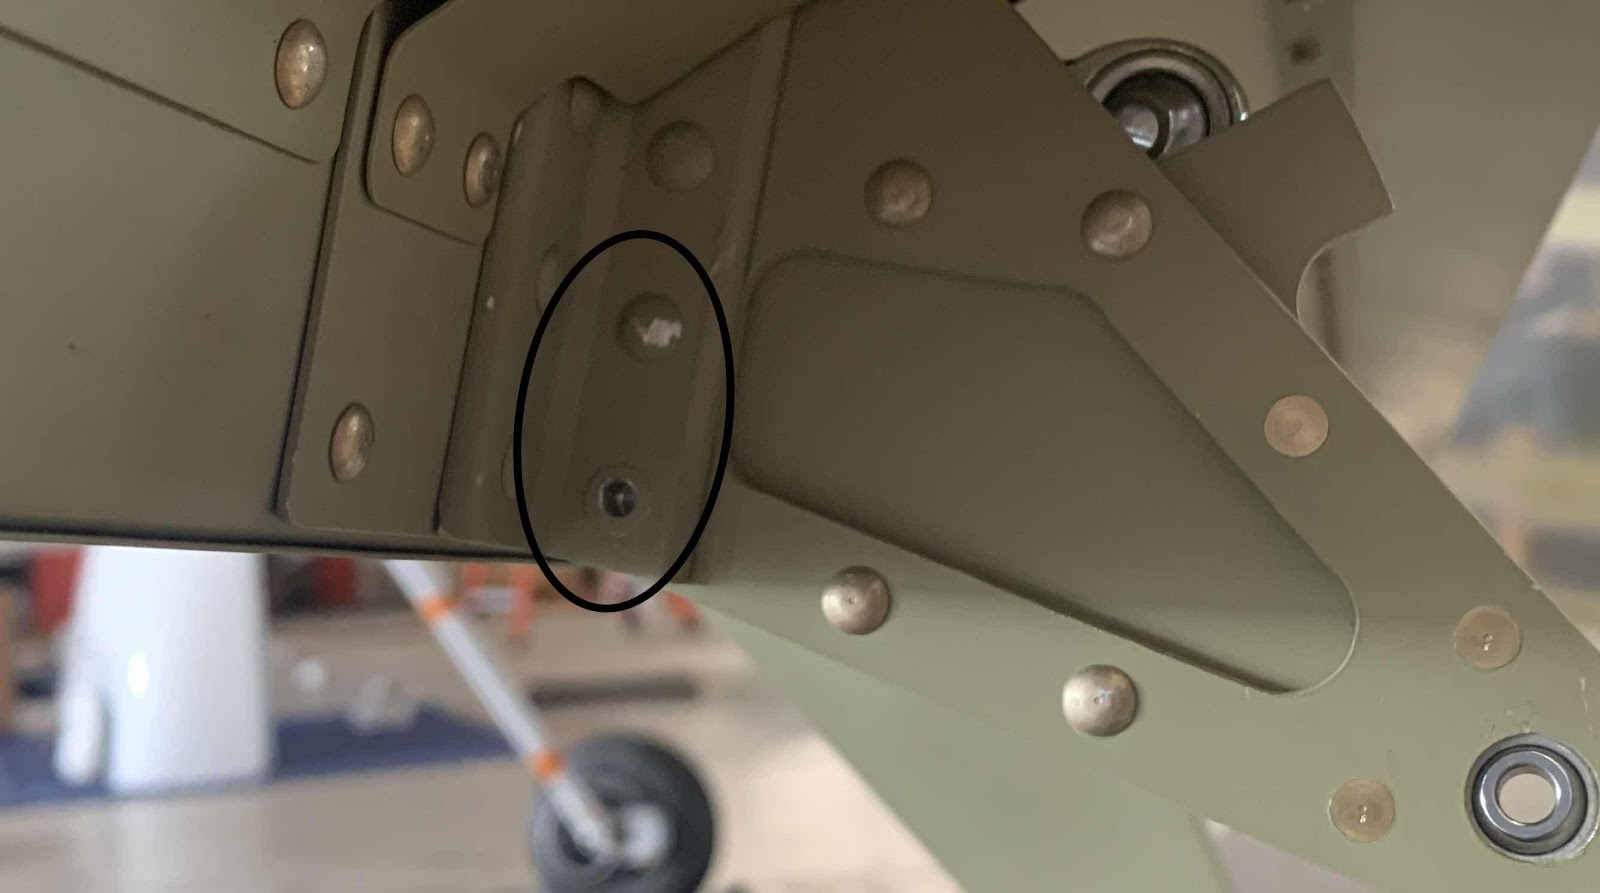
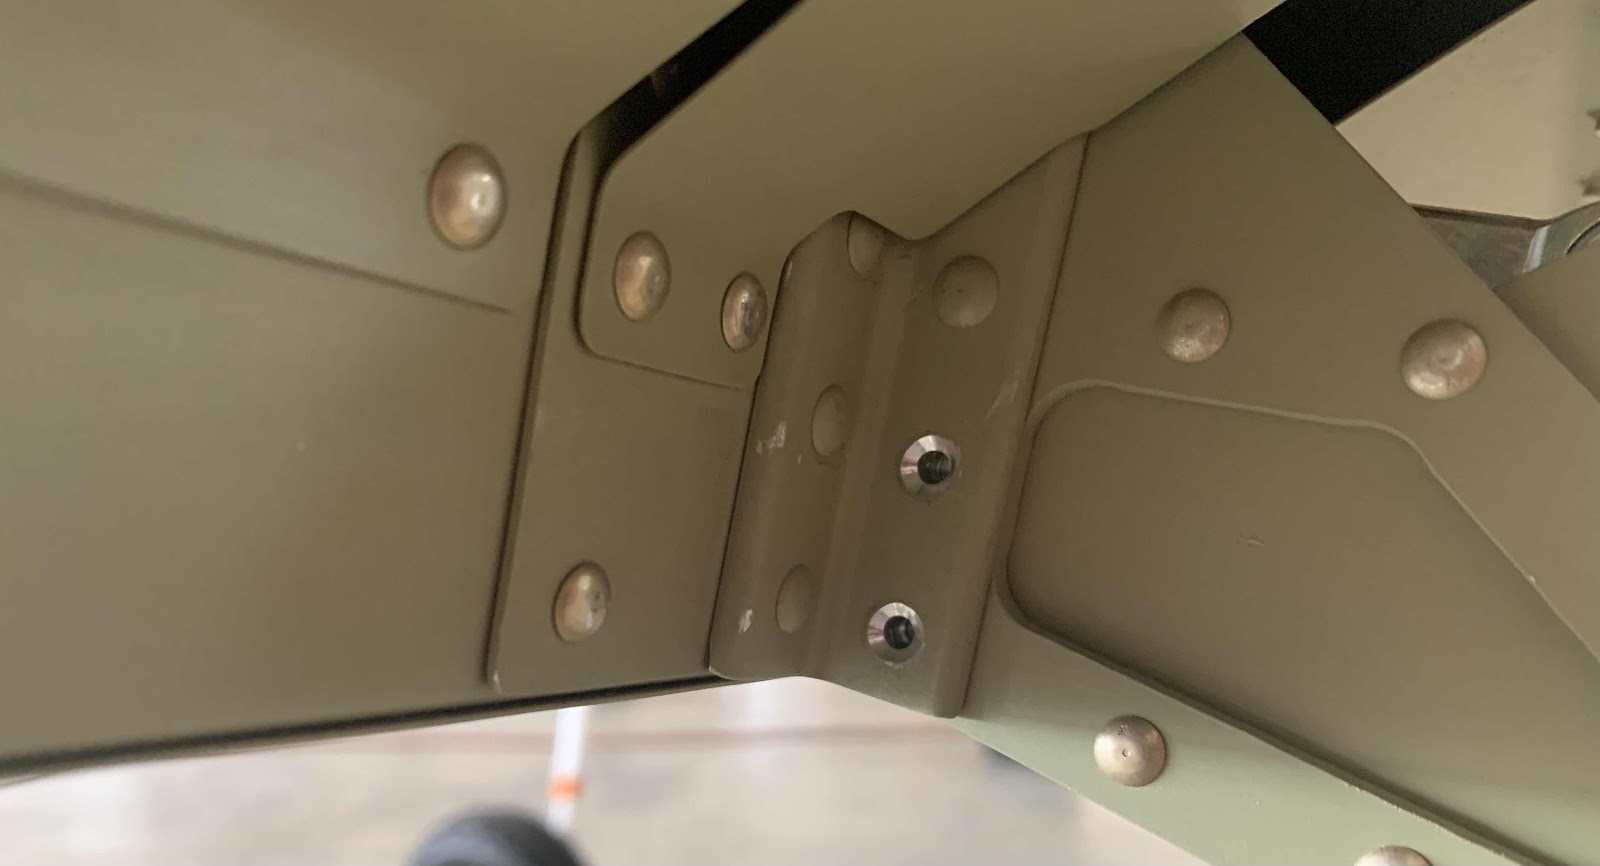
Since the Wings are now installed, it’s time to install the Flaps and Aileron’s and adjust their fitment to neutral positions. I installed the aileron and had a problem immediately…..the two AN470 rivets circled in the picture below (same two on the other wing). These rivets didn’t allow for the proper clearance for the Ailerons and the Ailerons rubbed on the rivet heads.
Initially, I reference the SB instructions to make sure I didn’t accidentally install the incorrect rivets…..AN470AD4-11 were the correct rivets. So, I searched the Van Air Force forums and found this thread from February of 2018 discussing options to fix the problem.
After reading the posts in the thread, I decided to drill the rivets out and replace them with AN426AD4-11. One suggestion was to move the associated washers around on the Aileron attach bolts to try and create the proper clearance with the rivets. Other builders tried this method without success. I wanted to make it as right as I could, so I decided on replacing the rivets. Ultimately, I followed the guidance from Scott McDaniels from Van’s. This is post #15 from the thread referenced above written by Scott:
“Drilling the head off of a rivet and then trying to drive it out with a punch or other tool (regardless of the force applied, I.E., rivet gun, etc.) is problematic because the force you are applying is actually trying to further swell the rivet. Just like when it was originally installed. The situation is even worse when it is a long rivet through thick material because it just increases the friction that resists the rivet from sliding out.
If you instead drill off the head as usual, and then drill an undersized hole down the center of the rivet (#40 in the case of an 1/8" rivet) and stop about 1/16" shy of drilling the full dept of the hole, you have a hole that you can drive at the bottom of with a pin punch of appropriate size.
With this process you are stretching the length of the rivet instead of compressing it. The stretching process actually reduces the diameter of the rivet enabling it to more easily slide out of the hole.”
__________________
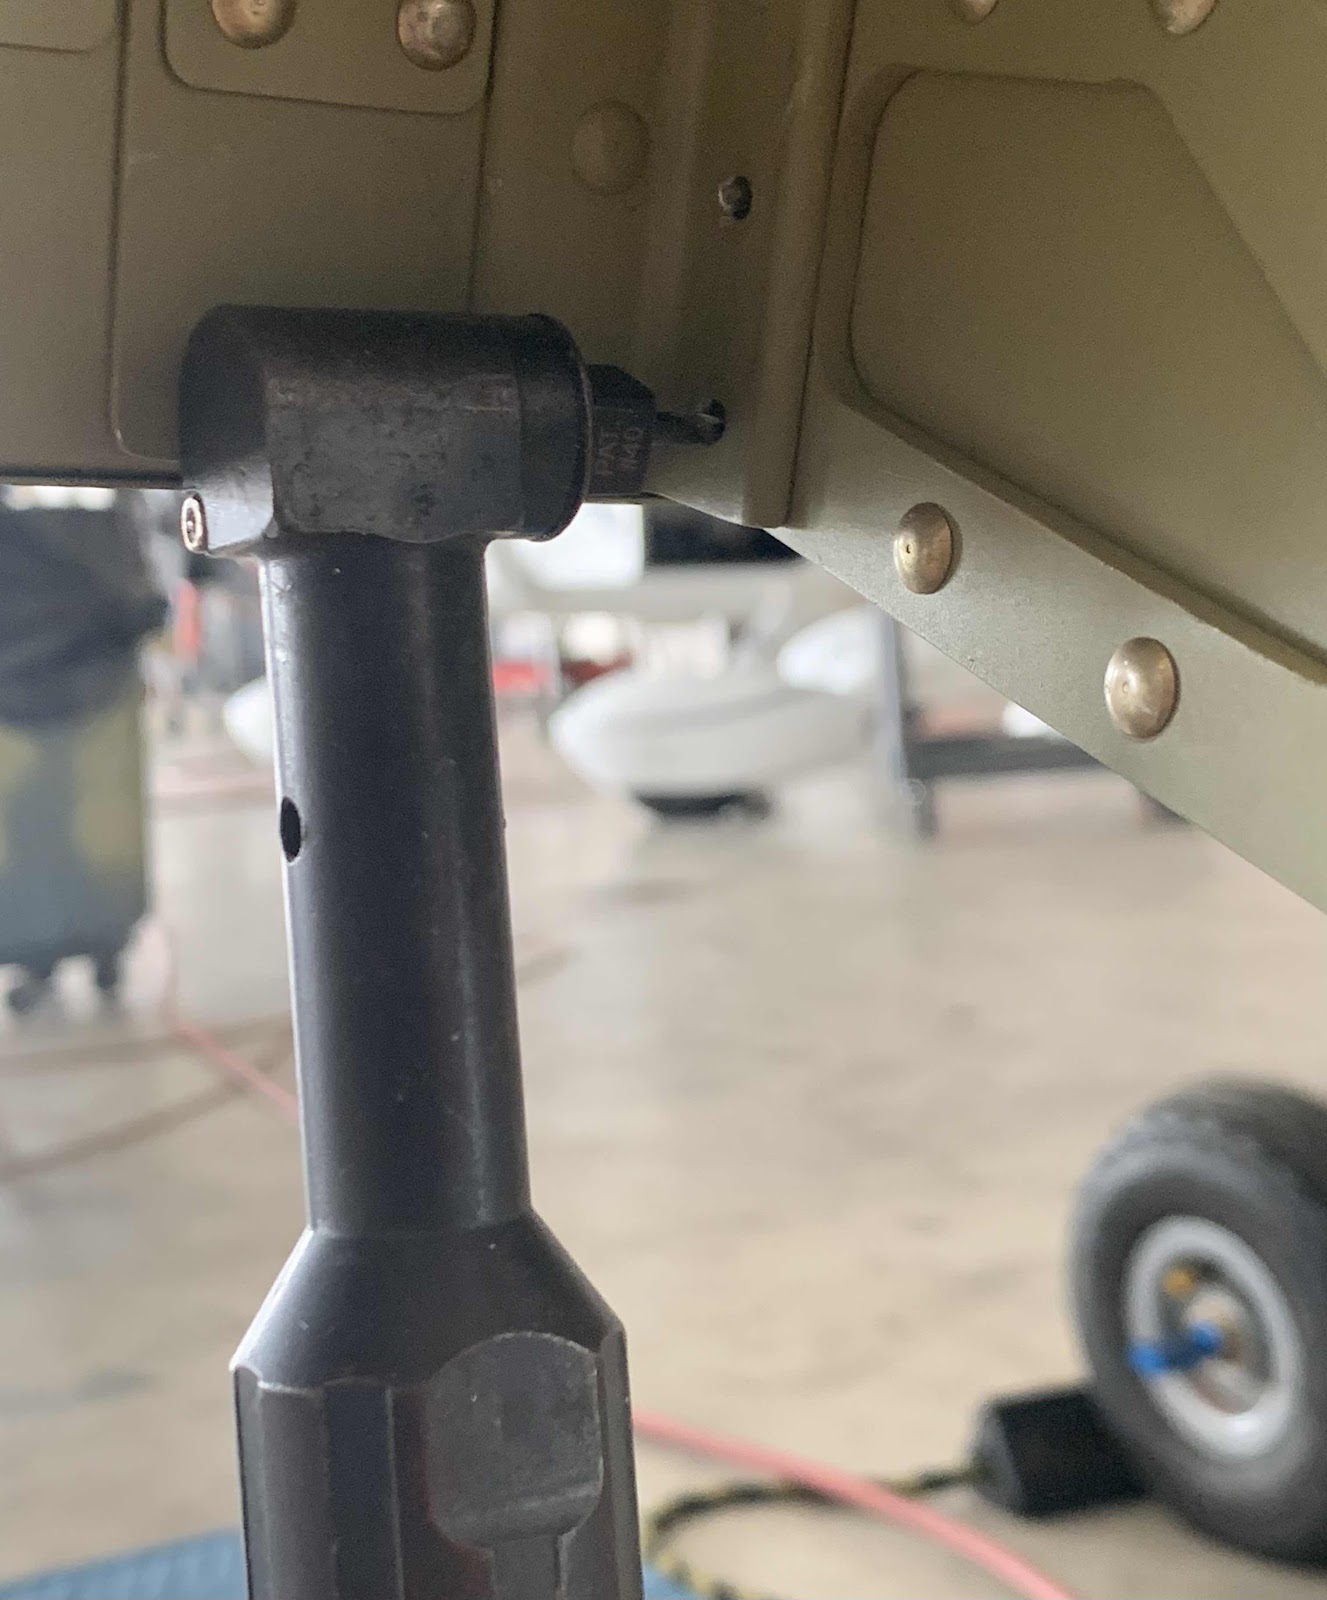
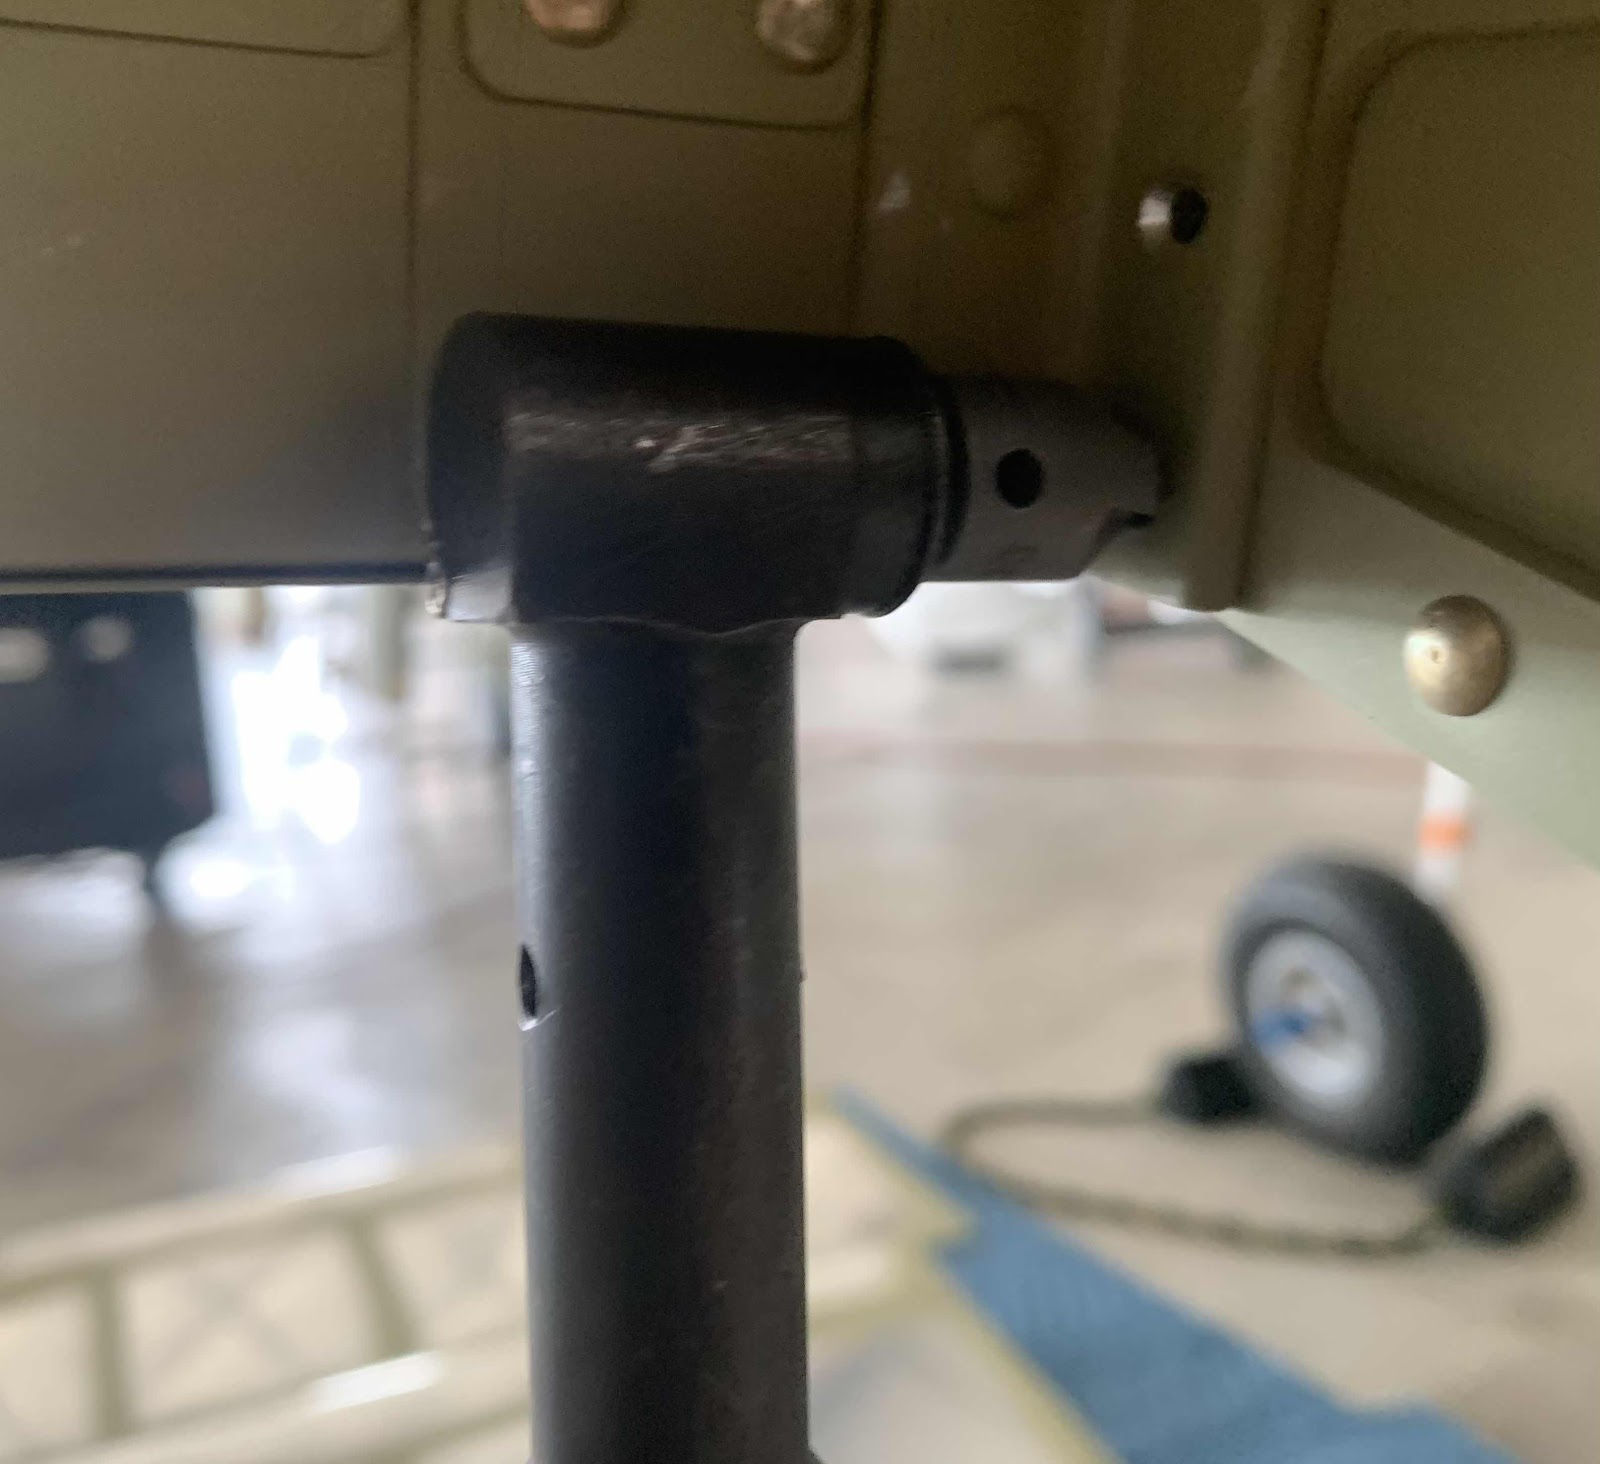
After deciding to follow his guidance, I now needed to figure out how to drill out the rivets. Then it hit me…..the 90° angle drill. There was just the right amount of space for the drill head and it worked out PERFECTLY! Here is the result of drilling out the first rivet…..
…..and the second. In this picture, you can also see the space available for the 90° drill. As suggested, I used a #40 bit to drill the hole.
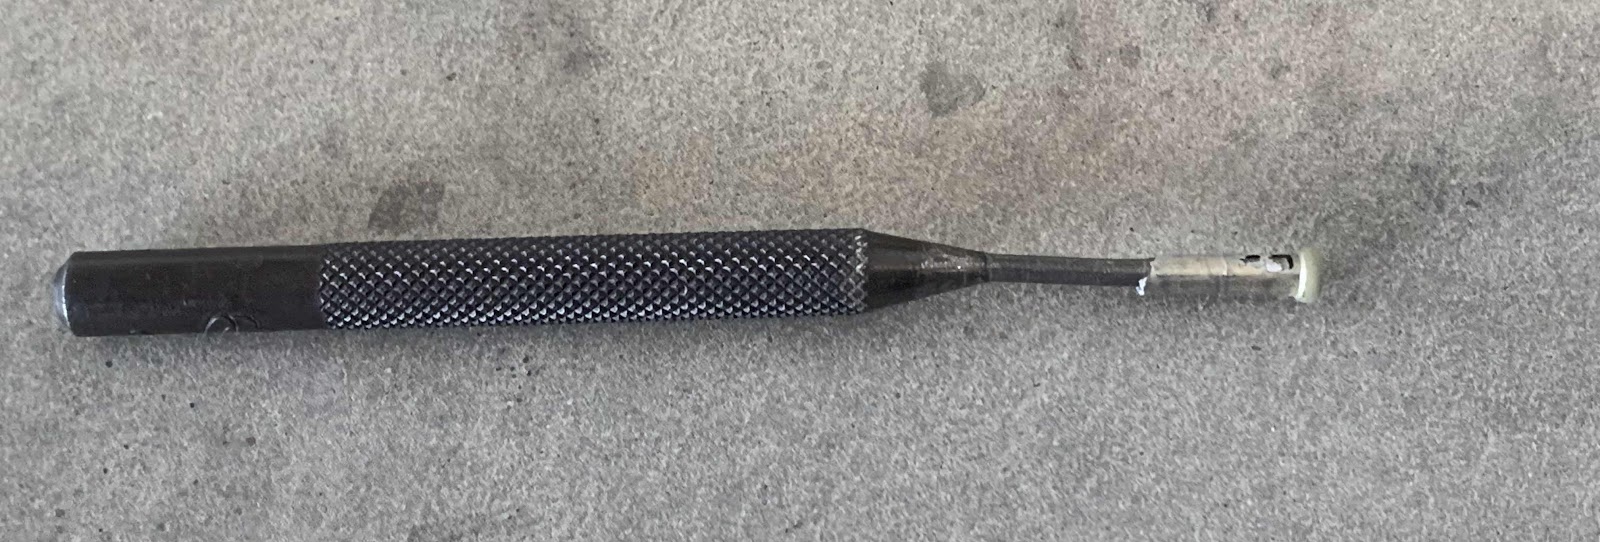
Once I got to the correct depth, I popped off the rivet head like normal, inserted a 3/32 punch and used a hard plastic hammer to tap out the rivet. It took several light taps, but eventually came out pretty easy. I repeated the same process for all four rivets.
*****CAUTION*****
Do NOT drill all the way through the rivet or you will be screwed. You will need the “base” of the rivet at the bottom of the drilled hole for the punch to have something to push against to remove the rivet. Be careful!
Here is what it look liked on the punch…..
…..and all four of them were successfully removed! Score!

Lastly, the four holes need to be countersunk for the new AN426 rivets that will be installed. I attached the #30 countersink cutter to the 90° drill and made the countersinks. There was plenty of room for this also.
Here are the four completed holes after being countersunk. Here is the right Inboard Aileron Bracket…..

…..and the left Inboard Aileron Bracket.
I didn’t have any AN426AD4-11 rivets, so I had to order some. Once they arrive, I will install them and post pictures of the final product.