This work session was completed on June 3, 2021.
Attaching the Wings is a BIG deal.....and a heavy one! So, my Uncle from Atlanta came down to help. He has said since he started helping that he wanted to be here for this milestone.....and he was! Thanks Uncle Jim!
We installed the left Wing first and I forgot to start the camera (remembered for the right Wing install.....see below). We initially used the two work tables to support the Wing next to the Fuselage. The tables turned out to be about 4 inches to high. So we ended up putting both tables together near the outboard end of the Wing and a plastic trash can near the inboard end. As the plans instructed, we lubricated the mating surfaces of the Main Spar Assembly and Bulkhead Assemblies with Boelube to ease installation. Once the Main Spar Assembly was inside the Bulkhead Assemblies, we lined up the holes and inserted two drift pins (previously fabricated) in the lower inboard hole and upper outboard hole. With the drift pins inserted, the Wing was “stable” enough to remove the trash can. Then, my Uncle inserted all nine bolts as I gently rocked the Wing up/down/fore/aft to aid in the installation of the bolts.
The four larger NAS1309-58 bolts (two on top and two on bottom) were installed first.
The four smaller NAS1306-58 (two on top and two on bottom) were installed second.
The single AN6-11 was installed last to secure the Rear Spar Assembly to the Bulkhead Bars
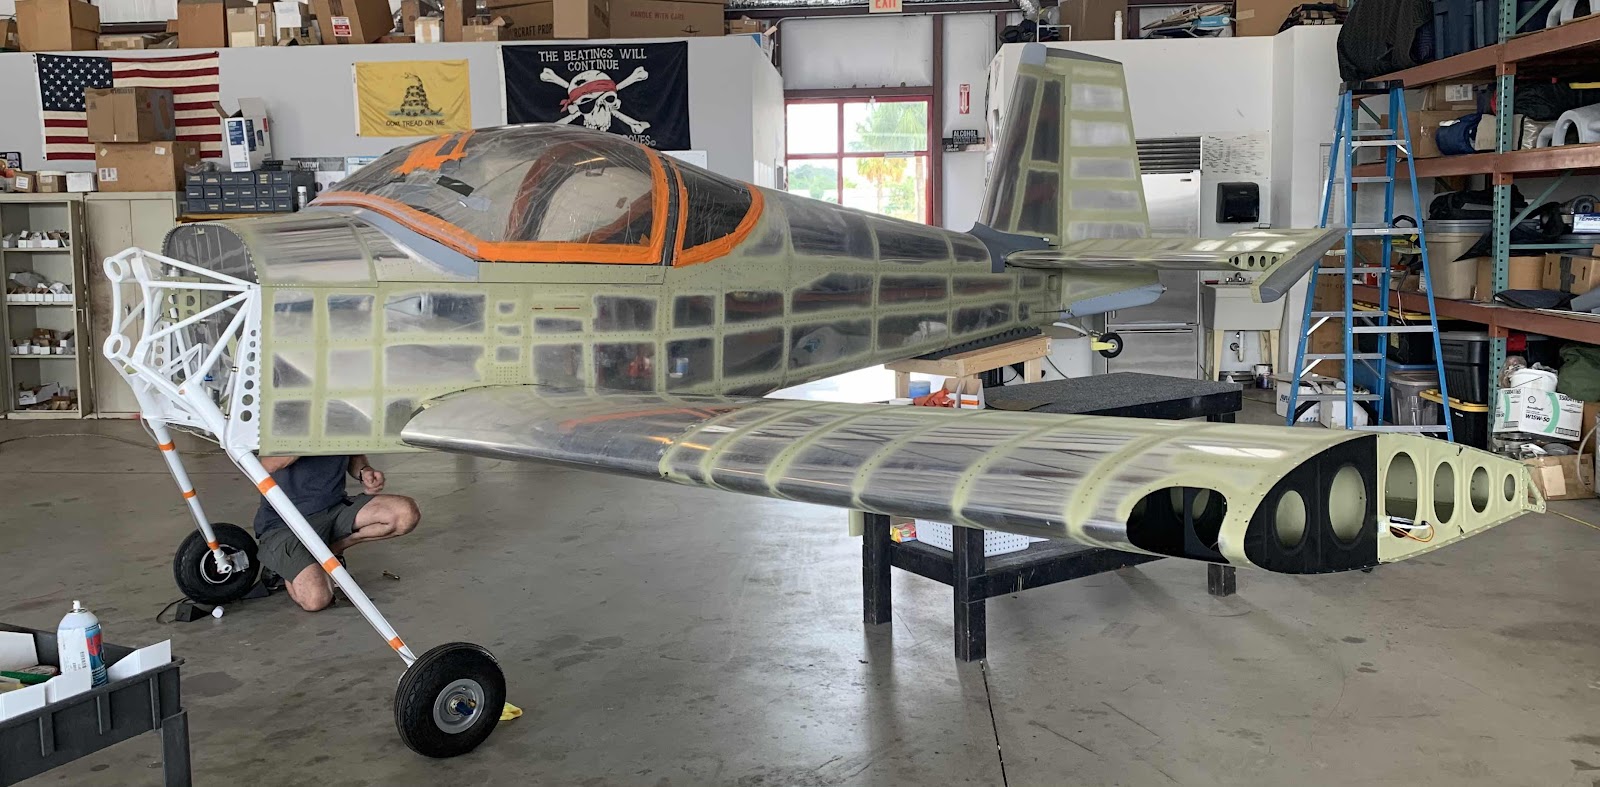
All the shanks of the bolts were lightly lubricated with LPS #1 (but not the threads.....the plans state doing so can result in incorrect torque values) prior to installation. Each of the bolts had to be lightly tapped into place using a hard plastic hammer. After all the bolts and associated hardware was installed, they all got fully torqued in the order they were installed. The picture below shows the left Wing fully installed to the Fuselage.
In this view, you can see the heads of the eight bolts installed between the Main Spar Assembly and the Bulkhead Assemblies.
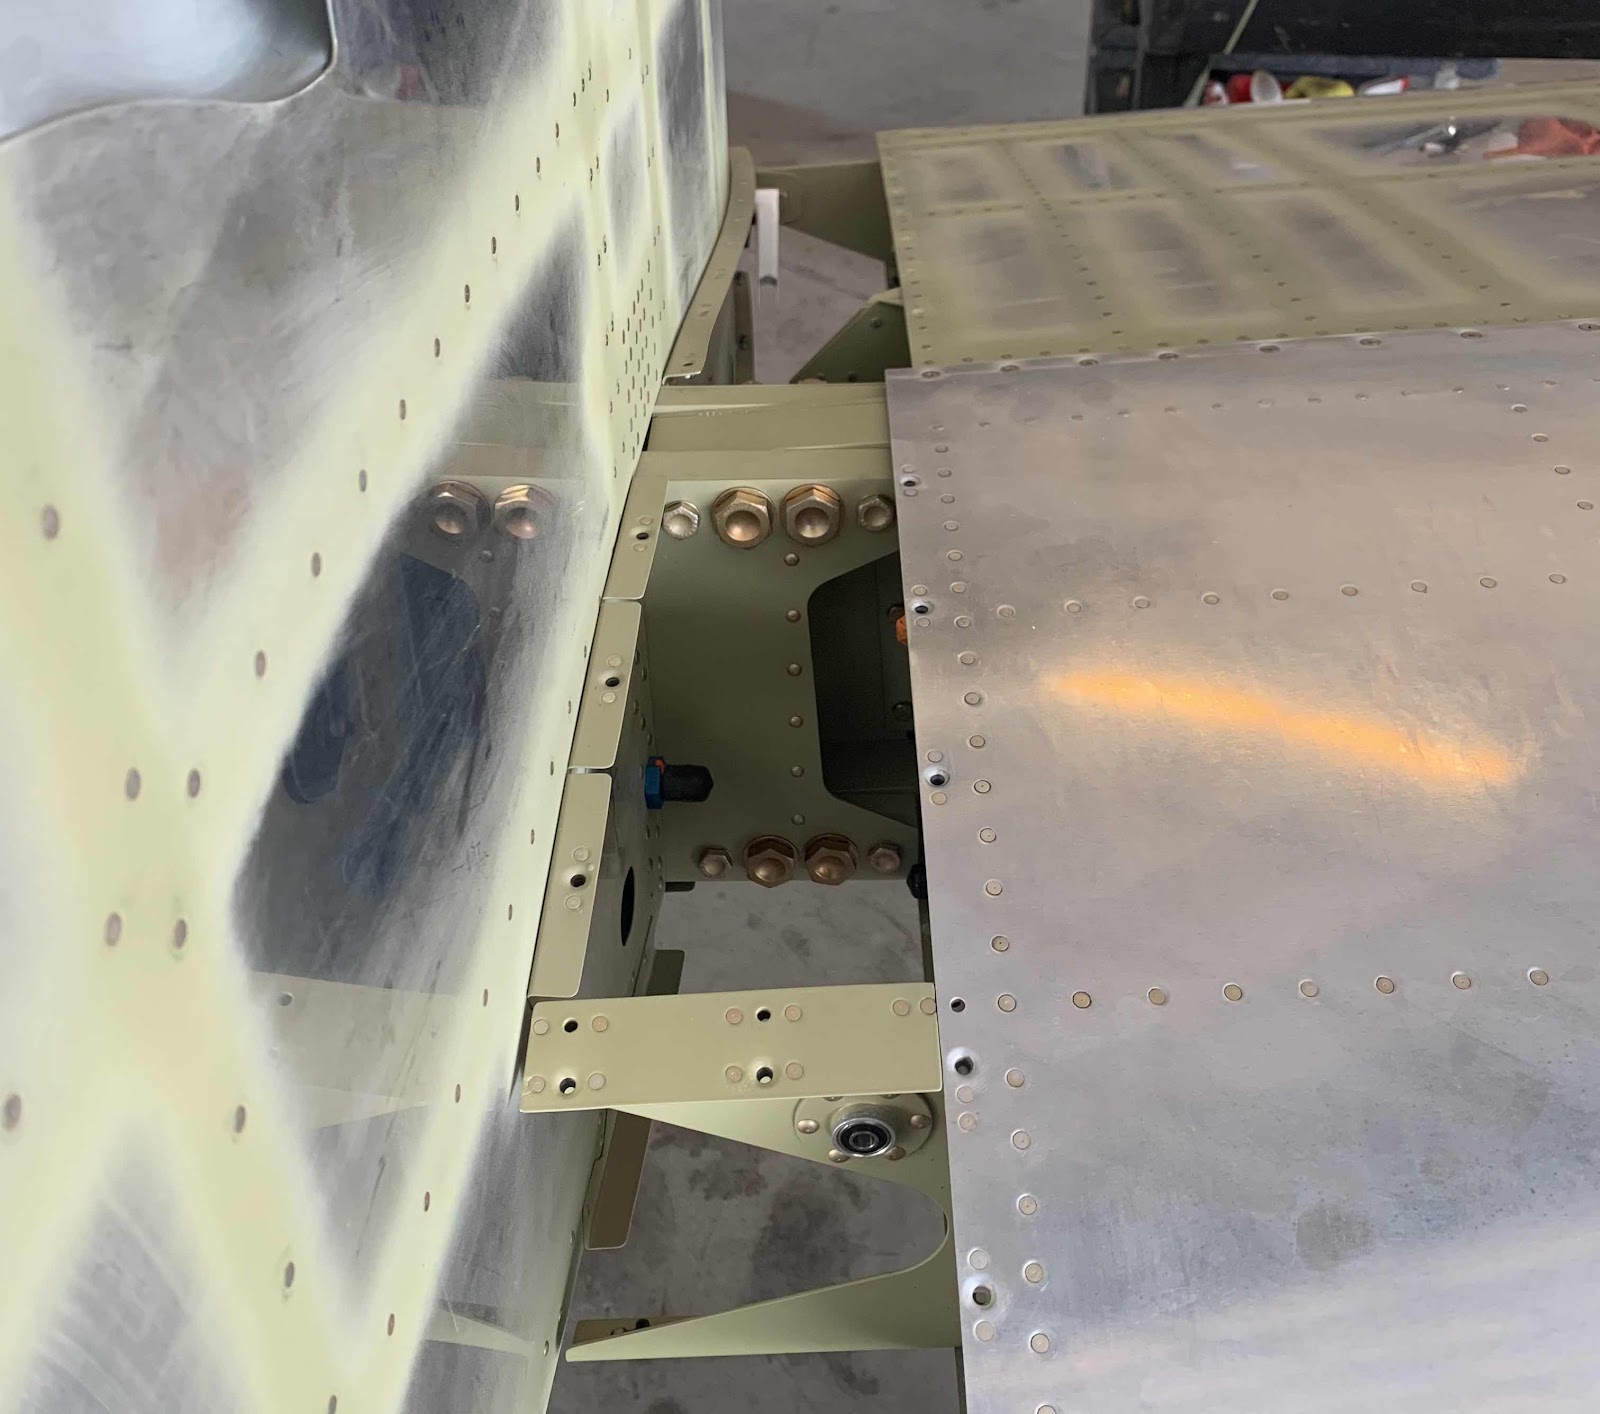
Not the best picture, but you can see a couple of the nuts attached here to the bolts.

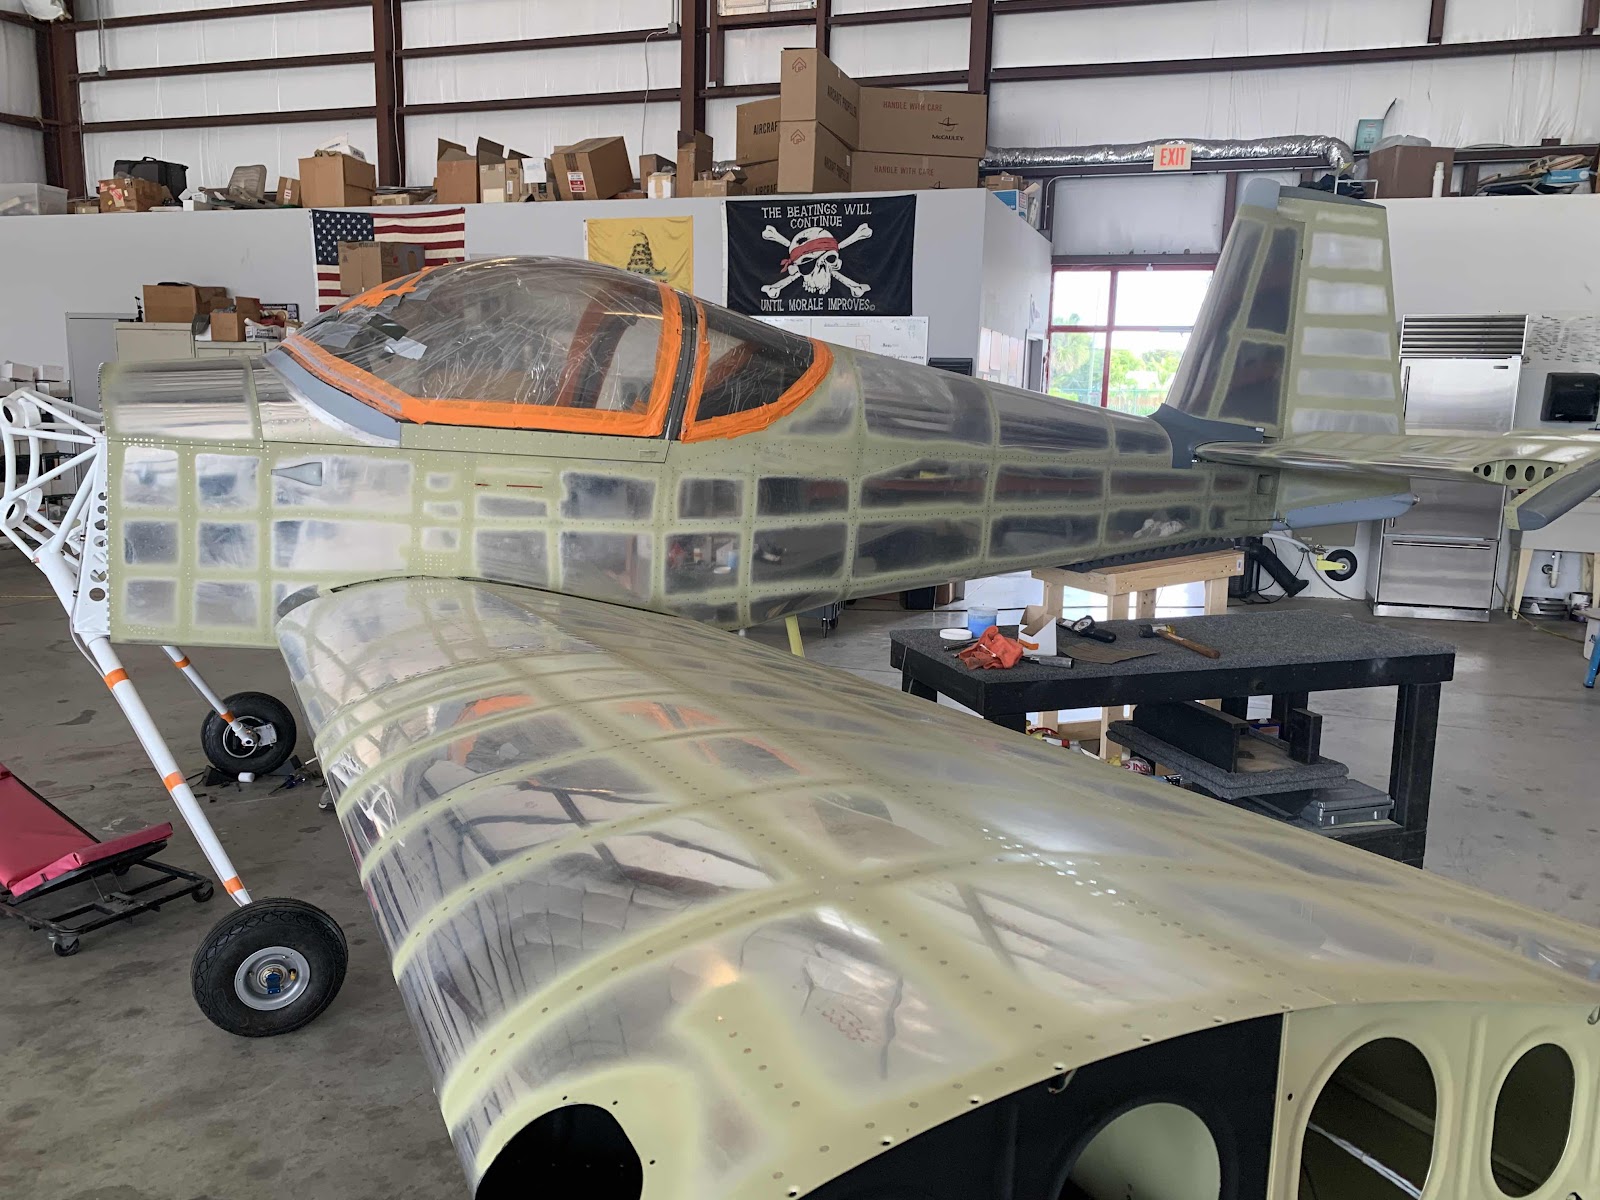
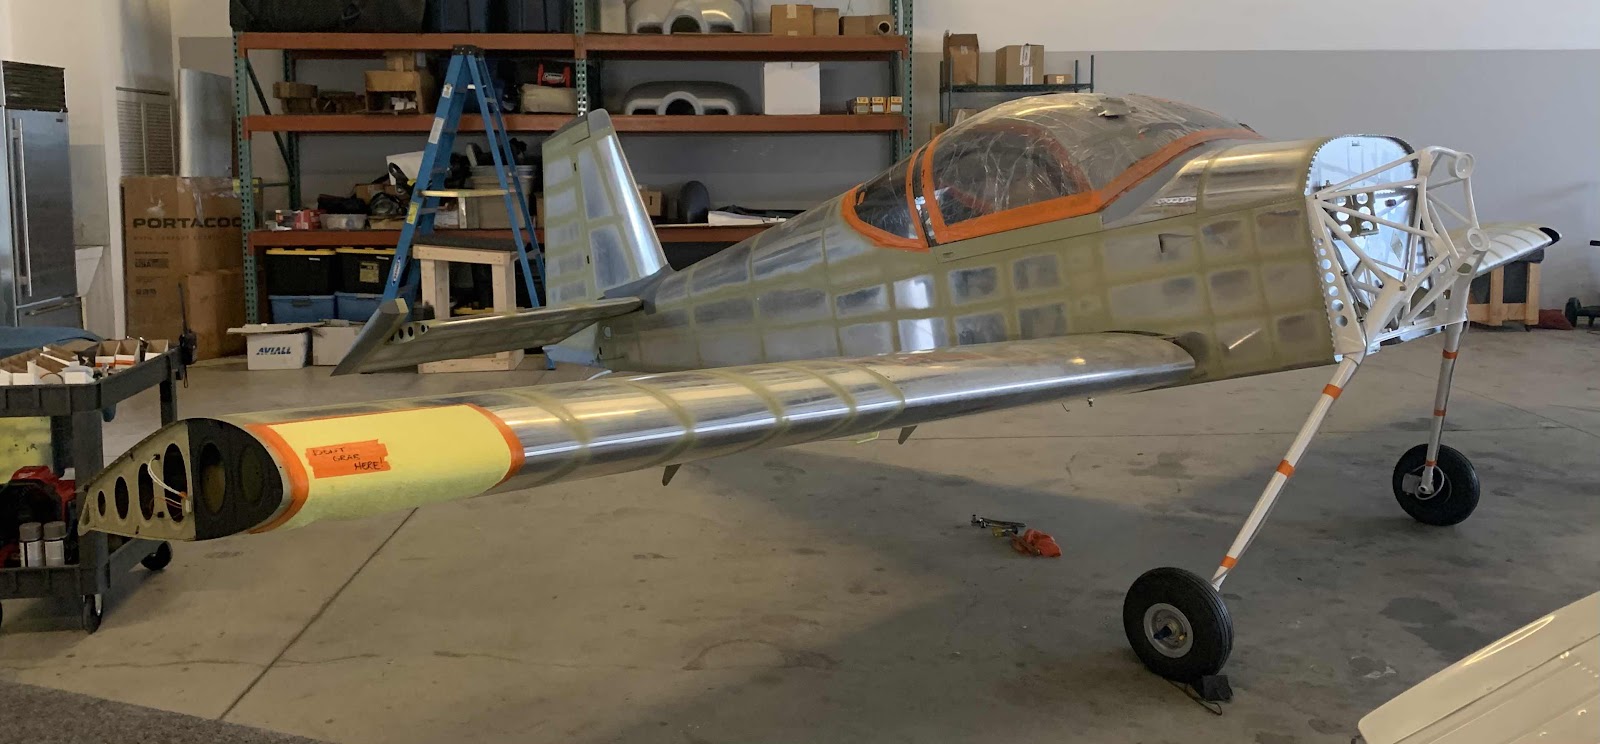
Just another view of the attached left Wing.
The right Wing was installed in the same manner as the left Wing. Although this is a time lapse video, you can still see how we used the tables and trash can to aid in the Wing installation. Using the trash can was money!
Here is the completed right Wing installation.
Such a big milestone, I took several additional pictures.